
There’s something undeniably comforting about a perfectly cooked pot roast that fills your home with a rich, savory aroma. Today, we’re diving into the **yankee pot roast recipe dutch oven**a culinary treasure that promises to satisfy and comfort. In this article, we will cover every step to achieve the perfect **Yankee pot roast** using a dutch oven, ensuring a tender, flavorful, and succulent meal that leaves everyone at the table asking for seconds.
The Perfect Cookware for Pot Roast
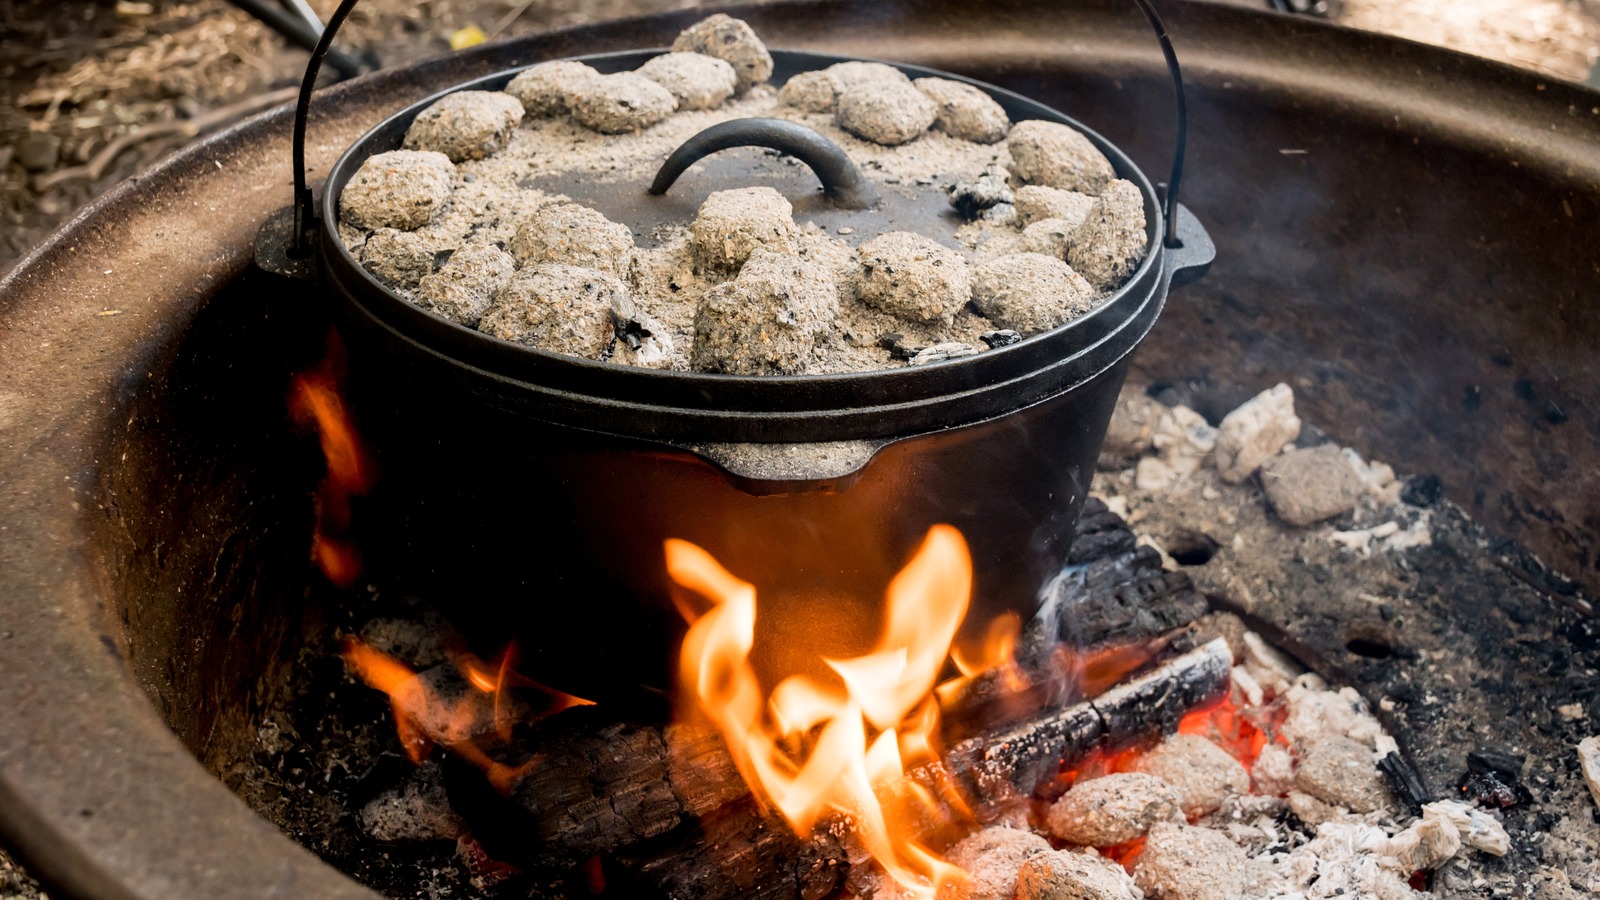
Using the right cookware, especially a **Dutch oven**, is imperative to achieving a delectable pot roast. A **Dutch oven** is known for its ability to maintain an even cooking temperature and its versatility in moving from stove-top to oven effortlessly. Not only is it essential for this recipe, but its also versatile for countless other cooking projects. Learn more about choosing the right size Dutch oven for your needs.
Ingredients
- 3-4 lbs chuck roast
- 2 tablespoons olive oil
- Salt and pepper to taste
- 3 onions, quartered
- 6 garlic cloves, minced
- 4 large carrots, peeled and cut into large chunks
- 4 celery stalks, cut into large chunks
- 3 cups beef broth
- 1 cup red wine
- 2 tablespoons tomato paste
- 2 bay leaves
- 1 teaspoon dried thyme
- 1 teaspoon dried rosemary
- 1 pound small potatoes, halved
Preparing Your Ingredients
The foundation of any hearty dish lies in its ingredients. Start by laying out all your ingredients on a large cutting board. Pat dry the chuck roast with paper towelsit helps you achieve a perfect sear. Generously season the roast with salt and pepper on all sides. The perfect dice on vegetables can often be achieved using a sharp knife.
Searing Your Meat
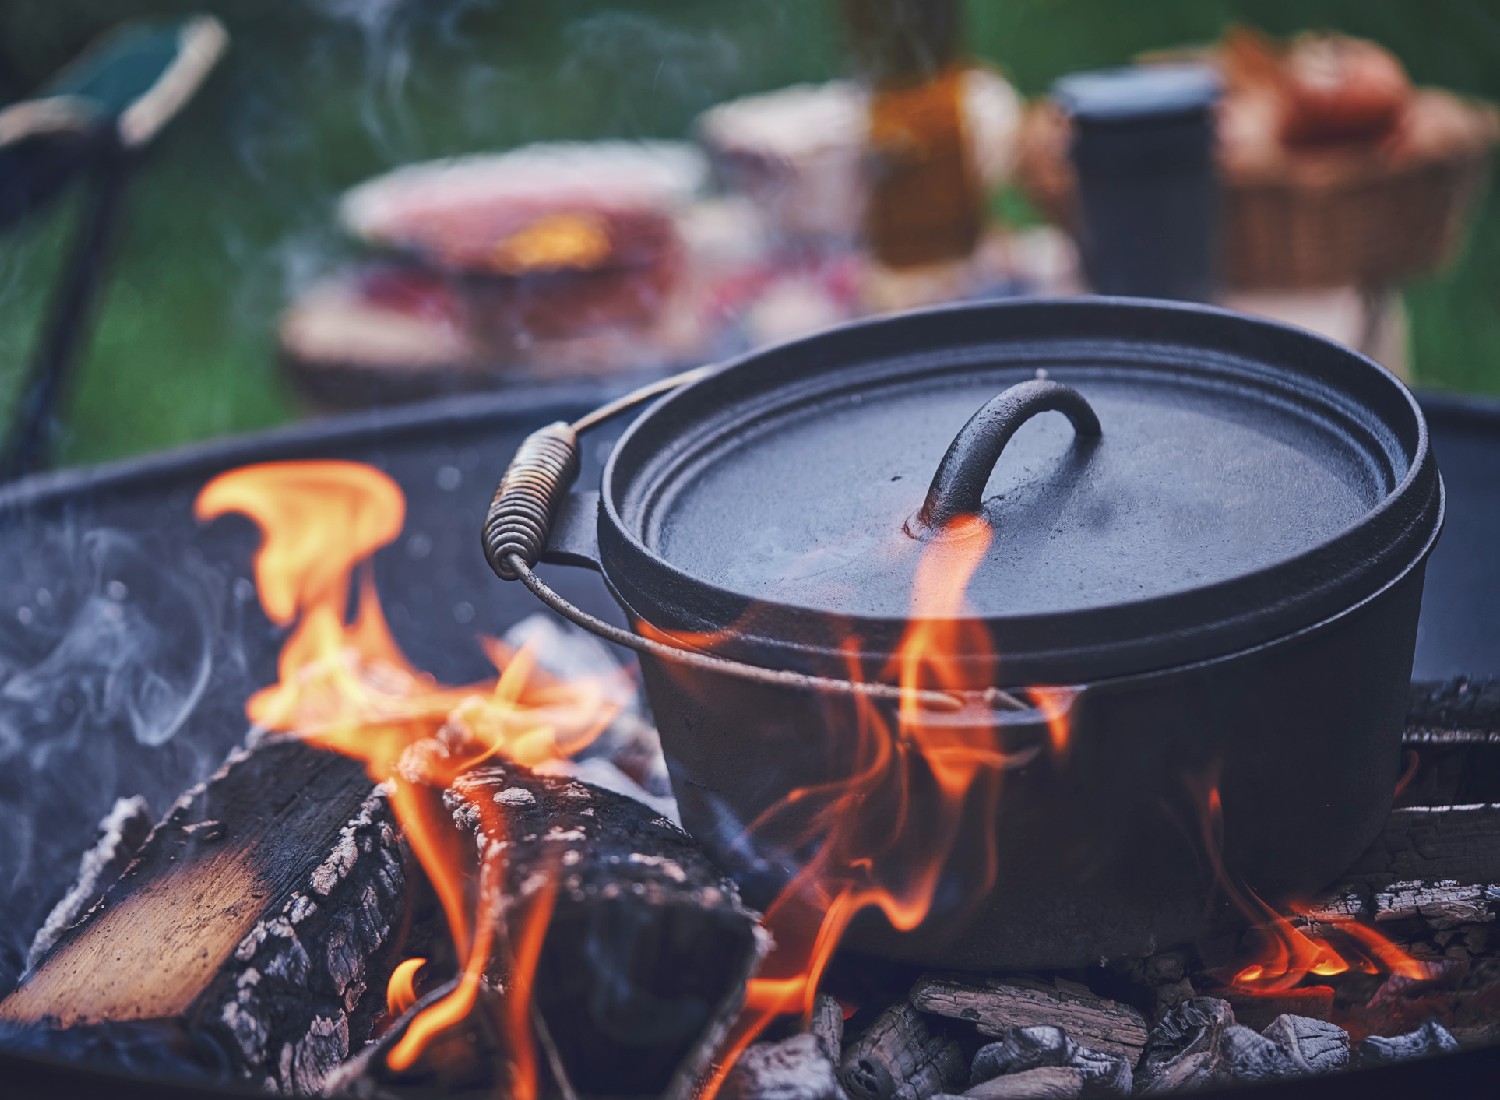
Place your **Dutch oven** over medium-high heat and let it warm up. Add two tablespoons of olive oil and let it shimmer. Carefully place the seasoned chuck roast into the pot. Sear each side until it’s deep brown, approximately 4-5 minutes per side. This step is crucial as it locks in the juices and enhances the roast’s flavor profile.
Want to know more about your Dutch oven? Find out how is a Dutch oven different from a pot.
Building the Broth Base
Once you’ve seared the roast, remove it and set it aside. In the same **Dutch oven**, without cleaning it, add your onions and garlic. Saut for about 5 minutes until they become translucent. This will start to deglaze the pot, incorporating those delicious brown bits stuck to the bottom. Add the tomato paste, stirring for another minute.
The Ultimate Flavor Builders: Adding Vegetables and Herbs
Next, return the roast to the pot. Add the beef broth, red wine, carrots, celery, bay leaves, thyme, and rosemary. This broth will not only be the bath in which your chuck roast transforms into a Yankee pot roast but will also absorb the essence of the herbs and vegetables, creating an unparalleled depth of flavor.
Slow Cooking to Perfection
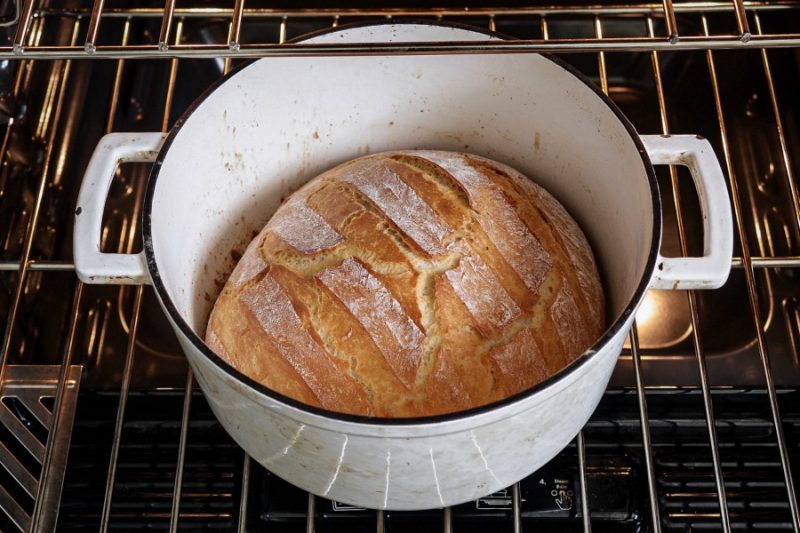
Cover your **Dutch oven** and place it in a preheated 350F oven. Slow-roast for 3-4 hours, or until the meat is fork-tender. Halfway through the cooking time, add the potatoes. This ensures the vegetables dont become too mushy and that the flavors meld beautifully.
For tips on maintaining your cast iron, check out our guide on storing your cast iron Dutch oven.
Serving Your Yankee Pot Roast
Once your **Yankee pot roast** is done, it’s time to plate. Gently remove the chuck roast and vegetables from your pot. Discard the bay leaves. Arrange the roast in the center of a large serving dish and surround it with the vegetables. For a finishing touch, ladle some of the savory broth over the roast and vegetables, enhancing the visual appeal and taste.
Dont forget to check out how to make the perfect fried egg for breakfast the next morning using the leftovers!
Cleaning and Maintaining Your Cookware
Your culinary adventure doesn’t end once the meal is enjoyed. Cleaning and maintaining your cookware is vital to ensure it serves you well in the many recipes to come. For your **Dutch oven**, use a specialized cookware cleaner. For wooden utensils and cutting boards, consider using a cutting board conditioner to keep them in top shape.
As an Amazon Associate, I earn from qualifying purchases.
To understand more about why your Dutch oven might stick and how to remedy it, visit our detailed article here.