
The Ultimate Rustic Bread Recipe in a Dutch Oven: A Comprehensive Guide
Rustic bread is the epitome of homemade comfort, bringing warmth and flavor that’s perfect for any occasion. If you’ve been yearning to create your own rustic bread, you’re in the right place. This article will walk you through an in-depth, step-by-step guide to mastering the art of baking a rustic bread recipe in a Dutch oven. Additionally, we’ll delve into the specifics of why a Dutch oven is an ideal choice for this type of bread and the numerous benefits it provides. So get ready to transform your kitchen into a rustic bakery!
Why Choose a Dutch Oven for Rustic Bread?
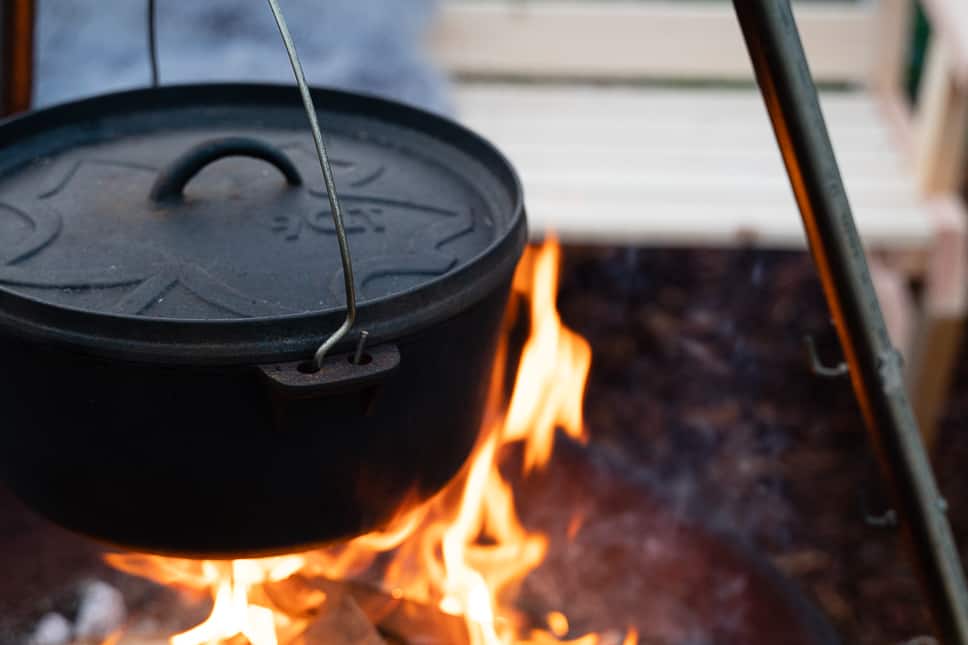
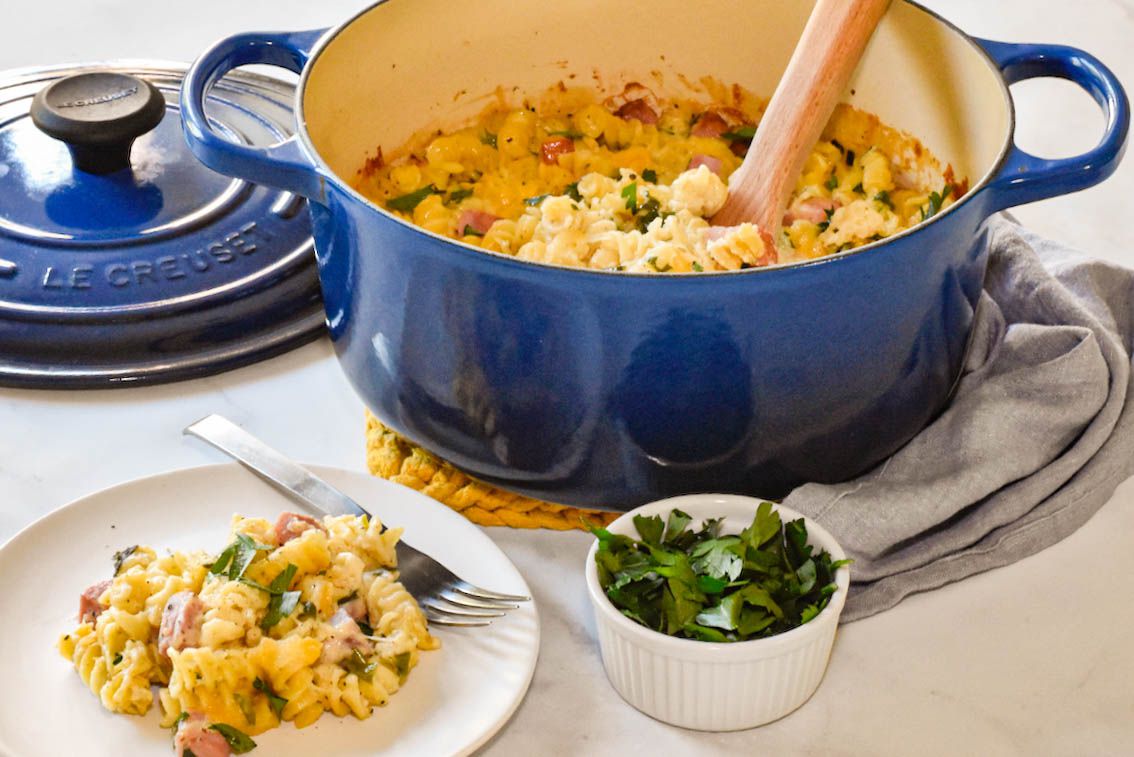
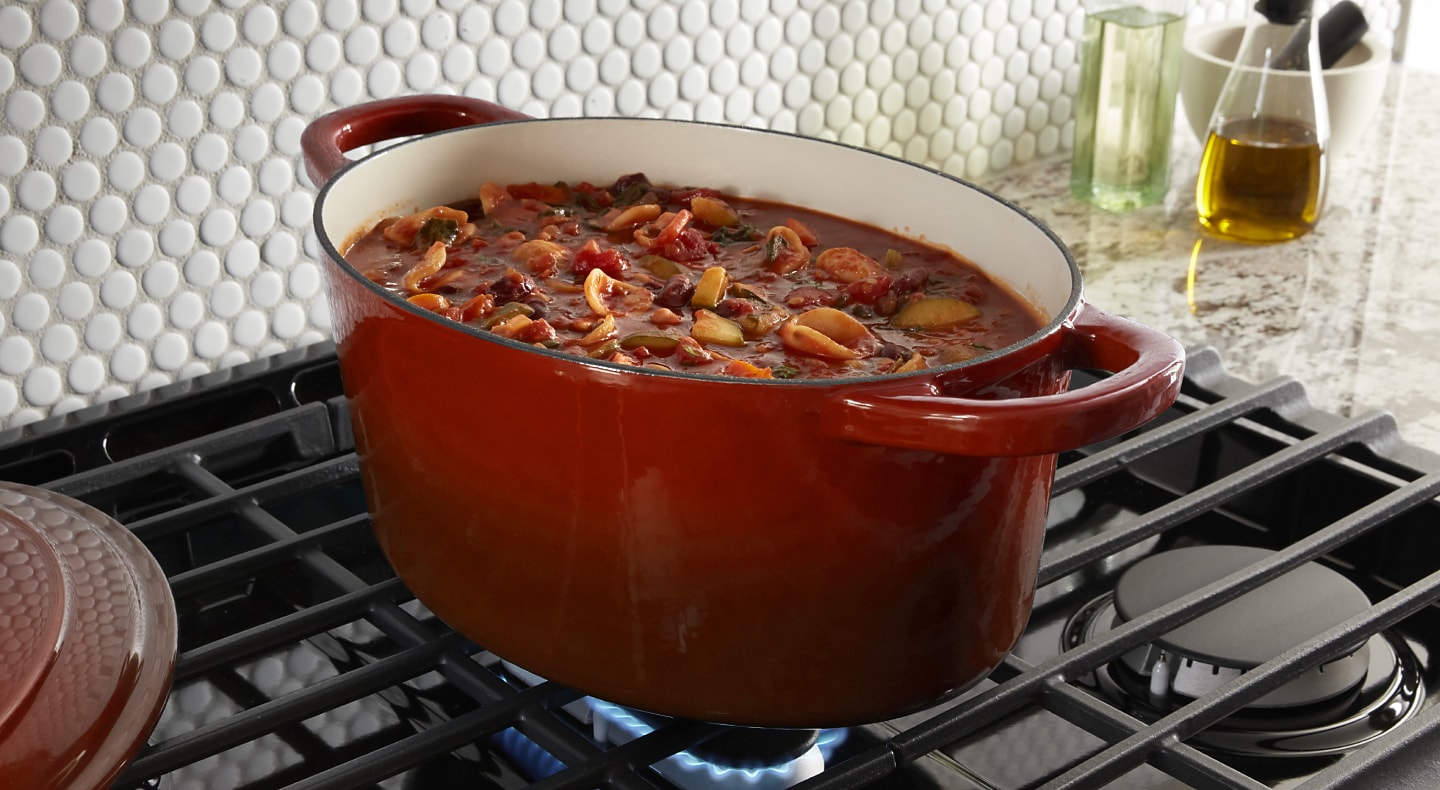
Choosing a Dutch oven for baking bread is no random decision. Dutch ovens are renowned for their ability to create a perfectly baked loaf with an irresistible crust. The cast iron construction ensures even heat distribution, which is crucial for achieving the ideal texture in rustic bread. The tight-fitting lid traps steam inside, which contributes to a beautifully crispy crust and soft, airy interior. Moreover, the durability and versatility of a Dutch oven allow it to be used for various culinary tasks beyond baking bread, such as making chili or stews.
For more information on the versatility of Dutch ovens, check out this article.
Essential Ingredients for Rustic Bread
Creating the perfect rustic bread recipe requires a careful selection of essential ingredients:
- 4 cups of all-purpose flour
- 1 1/2 teaspoons of salt
- 1/2 teaspoon of instant yeast
- 1 1/2 cups of warm water
It’s essential to use high-quality flour and fresh ingredients to achieve the best results. Each element plays a vital role in the texture and flavor of the final loaf. For bread enthusiasts looking to experiment, consider incorporating whole grain or specialty flours to add unique flavors and textures to your bread.
Step-by-Step Instructions
Step 1: Mixing the Dough
To start, combine the flour, salt, and yeast in a large bowl. Gradually add warm water while mixing the ingredients with a wooden spoon. Continue to stir until a shaggy, sticky dough forms. This initial mixing phase is crucial as it determines the hydration level and distribution of ingredients in the dough.
Step 2: First Rise
Cover the bowl with plastic wrap or a damp kitchen towel and let the dough rest at room temperature for 12-18 hours. This long fermentation process allows the yeast to develop flavors and the dough to rise slowly. The dough should appear bubbly and doubled in size by the end of this period.
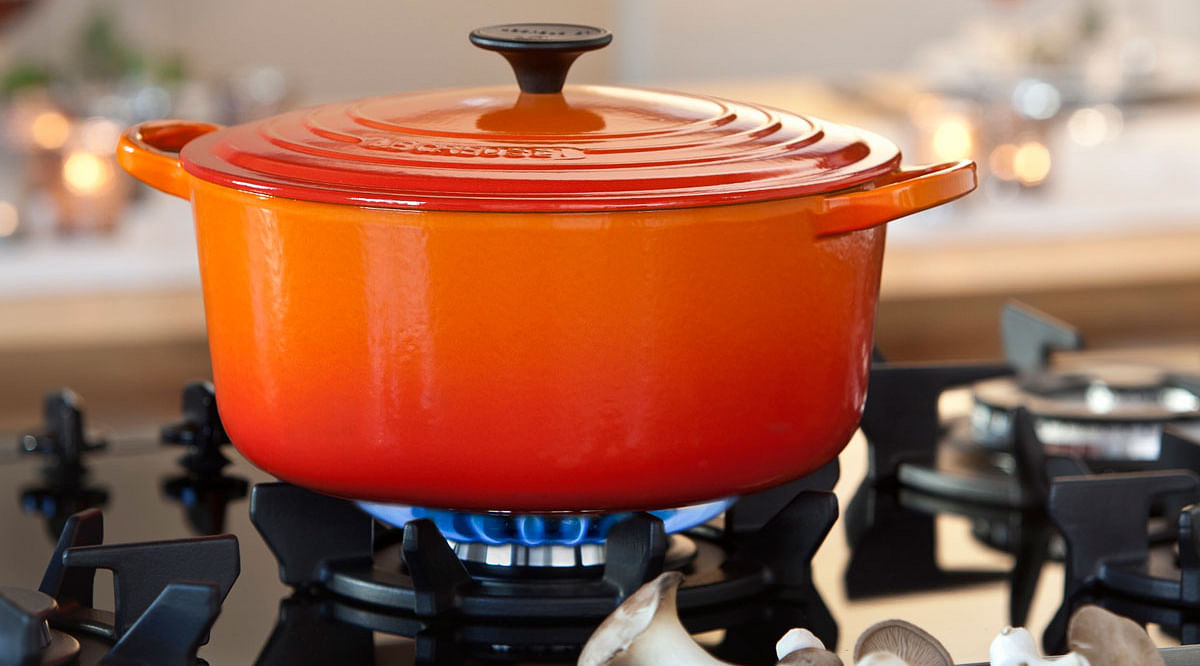
Step 3: Pre-heating the Dutch Oven
About 30 minutes before baking, place your Dutch oven (with the lid) in the oven and preheat it to 450F (232C). Pre-heating the Dutch oven is critical as it ensures the bread receives an initial burst of steam, resulting in a perfectly crispy crust.
Step 4: Shaping the Dough
Once the dough has finished its first rise, turn it onto a lightly floured surface. Using a bench scraper or a floured knife, gently fold the dough over itself a few times and shape it into a ball. Handle the dough gently to preserve its airy texture.
Step 5: Second Rise
Place the shaped dough onto a piece of parchment paper and cover it with a damp towel. Let it rise for another 30-45 minutes. This second rise, also known as proofing, ensures the dough achieves its final volume and structure before baking.
Step 6: Baking the Bread
Carefully remove the preheated Dutch oven from the oven and lift the parchment paper with the dough into the Dutch oven. Cover with the lid and bake for 30 minutes. Afterward, remove the lid and bake for an additional 10-15 minutes or until the crust is golden brown. The final baking phase without the lid helps achieve the desired crust color and crunch.
If you’re curious about maintaining and storing your Dutch oven, visit this guide.
Expert Tips for Perfecting Rustic Bread
Even the most experienced bakers can encounter challenges when making rustic bread. Here are some expert tips to help you perfect your loaf:
1. Use a Kitchen Scale: Measure your ingredients by weight for the most precise and consistent results. A kitchen scale ensures accurate measurements, which is crucial for dough consistency.
2. Experiment with Hydration: The hydration level (ratio of water to flour) can significantly impact the texture of your bread. Higher hydration levels result in a more open crumb and chewy texture, while lower hydration levels produce a denser loaf.
3. Score the Dough: Make a few shallow slashes on the surface of the dough before baking. Scoring allows the dough to expand evenly and prevents it from bursting in unexpected areas during baking.
4. Be Patient: Rustic bread requires time and patience. Don’t rush the fermentation and proofing stages, as these steps are essential for developing flavor and texture.
5. Rotate the Dutch Oven: Midway through the baking process, rotate the Dutch oven to ensure even browning and baking. This simple step can make a significant difference in the final appearance of your loaf.
Serving and Storing Your Rustic Bread
After you’ve achieved the perfect loaf of rustic bread, it’s time to enjoy it! Allow the bread to cool on a wire rack for at least an hour before slicing. This cooling period allows the crumb to set and makes slicing easier. Rustic bread is incredibly versatile and can be served with various dishes, from soups and stews to cheese and charcuterie boards.
Storage: Store your rustic bread in a paper bag at room temperature for the first day to maintain its crust. For longer storage, transfer the bread to a resealable plastic bag to prevent it from drying out. If you have extra bread, consider freezing it by wrapping it tightly in plastic wrap and placing it in a freezer-safe bag. To reheat frozen bread, simply thaw it at room temperature and refresh it in a preheated oven for 10 minutes.
For more tips on maintaining and using your Dutch oven, visit this guide.
Cleaning and Maintaining Your Dutch Oven and Tools
Proper care and maintenance of your Dutch oven and other baking tools are essential to ensure their longevity and performance. Here are some cleaning tips:
Cleaning Your Dutch Oven: After each use, allow the Dutch oven to cool before washing it with warm, soapy water. Avoid using harsh abrasives or metal scouring pads that can damage the enamel surface. If you have stuck-on food, soak the Dutch oven in warm water with a mild detergent. Use a soft sponge or brush to gently scrub away any residue. For more detailed instructions on cleaning your Dutch oven, check out this article.
Maintaining Your Bread Knife: After slicing your rustic bread, clean the knife with warm, soapy water and dry it thoroughly. Store the knife in a protective sheath or knife block to prevent damage to the blade.
Conditioning Your Cutting Board: Regularly condition your cutting board with food-grade mineral oil to prevent it from drying out and cracking. Apply a generous amount of oil to the surface and let it soak overnight before wiping off any excess.
For high-quality cookware cleaner and cutting board conditioner, consider exploring the recommended products.
As an Amazon Associate, I earn from qualifying purchases.
Final Thoughts
Baking a rustic bread recipe in a Dutch oven is a gratifying experience that yields deliciously satisfying results. With the right tools, ingredients, and techniques, you can master the art of rustic bread and share this homemade delight with your friends and family. Remember, patience and practice are key, so don’t be discouraged if your first attempts aren’t perfect. Each loaf you bake will bring you closer to rustic bread perfection. Happy baking!
If you’re curious about other culinary uses for your Dutch oven, check out this link.