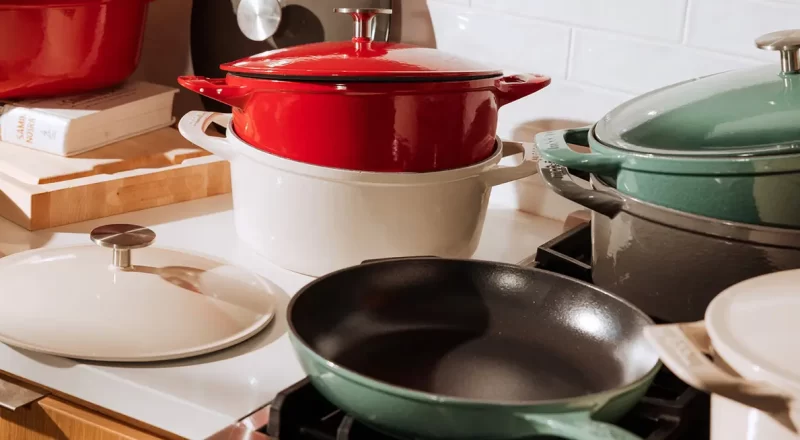
Have you ever wondered how to make a pot roast in a Dutch oven? This comprehensive guide will walk you through the entire process, ensuring a terrific and delicious meal every time. Pot roast is a classic comfort food that can bring warmth to any home. Using a Dutch oven can elevate your pot roast, making it tender and flavorful.

Introduction to Pot Roast and Dutch Oven Cooking
The Dutch oven is a fabulous piece of cooking technology. Known for its tremendous versatility, it’s perfect for making pot roast. This traditional cooking method has been approved by chefs and home cooks alike for its ability to evenly distribute heat, ensuring perfectly cooked meals.
:max_bytes(150000):strip_icc()/Which-Dutch-Oven-Size-Is-Right-for-You-FW-tout-72667962e9d849258bce69ba1e82a7b9.jpg)
The History of Pot Roast
Pot roast has been a staple in many households for generations. Its origins can be traced back to various cultures, each bringing their own unique flavors and techniques to the dish.

Why Use a Dutch Oven?
A Dutch oven can retain and evenly distribute heat, making it perfect for slow-cooking methods required for a succulent pot roast. The tight-fitting lid locks in moisture, ensuring your meat remains tender.
Ingredients Needed
- 3-4 lbs of chuck roast
- 2 tablespoons of olive oil
- Salt and pepper
- 4 cups of beef broth
- 1 large onion, chopped
- 3 carrots, peeled and cut into chunks
- 3 potatoes, peeled and quartered
- 2 cloves of garlic, minced
- 1 sprig of thyme
- 1 bay leaf
Step-by-Step Instructions
Step 1: Preparing the Meat
Start by seasoning the chuck roast generously with salt and pepper. This will enhance the flavor and lock in moisture.
Step 2: Searing the Roast
Heat the olive oil in your Dutch oven over medium-high heat. Once hot, sear the roast on all sides until browned. This process will help develop a rich flavor and a lovely crust.
Step 3: Sauting the Vegetables
After removing the roast, add the chopped onion, carrots, and potatoes to the Dutch oven. Cook them until they are slightly softened, which will add extra flavor to your pot roast.
Step 4: Adding the Broth and Herbs
Place the roast back into the Dutch oven. Pour in the beef broth and add the garlic, thyme, and bay leaf. Ensure that the liquid covers at least half of the roast.
Step 5: Cooking the Pot Roast
Cover the Dutch oven and place it in a preheated oven at 325F (163C). Cook the roast for about 3-4 hours, or until the meat is tender and can be easily shredded with a fork.
Step 6: Serving the Pot Roast
Once cooked, remove the pot roast from the Dutch oven and let it rest for a few minutes. This allows the juices to redistribute throughout the meat. Slice the roast and serve it with the cooked vegetables and some of the broth.
Cleaning Your Dutch Oven
Cleaning a Dutch oven is essential for maintaining its quality. Follow our guide on how to clean a Dutch oven for detailed instructions.
Pot Roast Variations
Red Wine Pot Roast
Replace some of the beef broth with red wine for a richer, deeper flavor. This variation adds elegance to your traditional pot roast.
Herb and Garlic Pot Roast
Add extra garlic cloves and a mix of fresh herbs like rosemary, thyme, and parsley to the pot. This will infuse the roast with a robust flavor.
Common Mistakes to Avoid
Overcooking or undercooking your pot roast can result in chewy or tough meat. Make sure to monitor the cooking time and temperature to achieve the perfect tenderness.
Storage Tips
Leftover pot roast can be stored in an airtight container in the refrigerator for up to 4 days. Reheat gently to avoid drying out the meat.
FAQs
1. Can I use a different cut of meat?
Yes, other cuts like brisket or round roast can also be used, but chuck roast is the most commonly preferred for its tenderness.
2. Do I need to preheat the Dutch oven?
No, preheating the Dutch oven is not necessary when making pot roast. Just ensure it’s properly heated during the searing process.
3. Can I make pot roast in advance?
Absolutely! Pot roast often tastes better the next day as the flavors have more time to meld together. Simply reheat before serving.
Looking to explore more about Dutch oven cooking? Check out our guide on baking bread in a Dutch oven and elevate your cooking skills further!
As an Amazon Associate, I earn from qualifying purchases.

