
There is something uniquely fulfilling about baking a homemade loaf of bread in your own kitchen. For many, mastering the art of the **sourdough bread recipe dutch oven** is a milestone in their culinary journey. This comprehensive guide will transform any kitchen novice into a seasoned baker, offering a delightful and yeast-infused experience that captivates the senses.

The Magic of Sourdough
Sourdough bread, unlike regular bread, boasts a rich history that dates back several millennia. This ancient bread relies on a natural fermentation process that provides a depth of flavor and chewiness that store-bought bread simply cannot match. The process of making sourdough is both an art and a scienceone that requires patience and dedication. The good news is, with the right sourdough bread recipe for the **dutch oven**, you can achieve a perfect loaf every time.

Benefits of Using a Dutch Oven
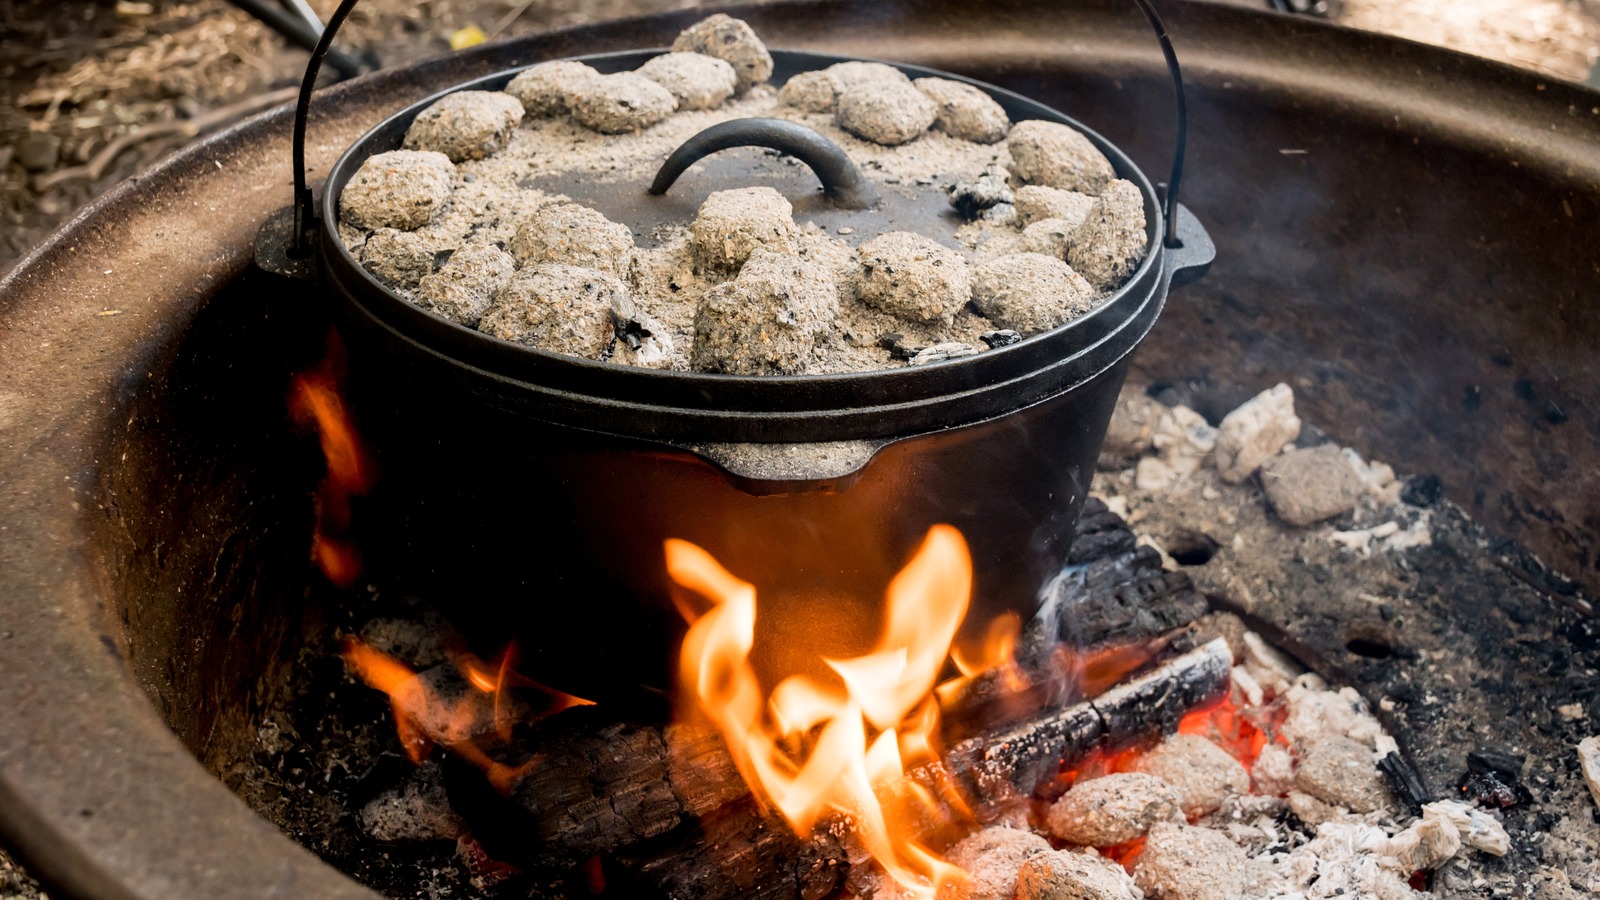
Baking in a Dutch oven offers numerous benefits. The heavy lid traps steam, creating a perfect environment for sourdough bread to rise beautifully. The dry heat once the lid is removed crisps up the crust, offering that characteristic crunchy exterior. Dutch ovens, especially enameled ones, are excellent for distributing heat evenly, ensuring that your bread cooks through uniformly. For a reliable Dutch oven, consider checking out this essential cookware.

Ingredients and Equipment
Ingredients
- 500g bread flour
- 325g water
- 100g sourdough starter
- 10g salt
Equipment
Step-by-Step Process
Making sourdough requires time and a bit of elbow grease, but the results are immensely satisfying. Follow these steps to create your homemade sourdough bread:
Step 1: Preparing Your Starter
A crucial component of a fascinating **sourdough bread recipe dutch oven** is a robust and lively starter. Ideally, you should feed it the day before you plan to bake. Combine 50g of starter with 100g of flour and 100g of water, and let it sit at room temperature. The next morning, your starter should be bubbly and ready to use.
Step 2: Mixing the Dough
In a large mixing bowl, combine 100g of your starter with 325g of water. Stir until the starter is incorporated into the water. Gradually add 500g of bread flour and mix until a shaggy dough forms. Cover it with a damp cloth and let it rest for 30 minutes. After the rest period, sprinkle 10g of salt over the dough and incorporate it by folding the dough several times. Cover again and let it sit for another 30 minutes.
Step 3: Bulk Fermentation
The bulk fermentation phase is where the magic happens. Over the next 4-6 hours, youll perform a series of stretch and folds every 30 minutes. To do this, wet your hands, grab one side of the dough, stretch it out, and fold it over itself. Rotate the bowl a quarter turn and repeat until youve completed four folds. Repeat this process every 30 minutes, allowing the dough to become airy while developing its gluten network.
Step 4: Shaping the Dough
Once your dough has roughly doubled in size and feels aerated, its time to shape it. Lightly flour your cutting board and gently turn the dough out onto it. Using your knife, divide the dough into two equal portions if you are making smaller loaves. With each portion, fold the doughs edges towards the center, creating a tight surface tension. Flip it over so the seams are on the underside. Let the shaped dough rest for 20 minutes.
Step 5: Final Proofing
Prepare your proofing basket by lining it with a kitchen towel and dusting heavily with flour. Carefully place your shaped dough into the basket, seam side up. Cover it and let it rest at room temperature for another 2-3 hours, or until the dough has noticeably risen. Alternatively, you can refrigerate it overnight for a longer, slower proof.
Step 6: Baking in the Dutch Oven
Preheat your oven to 475F (246C), with the Dutch oven inside, for at least 30 minutes. When youre ready to bake, carefully remove the hot Dutch oven from the oven. Turn the proofed dough out onto parchment paper and score the top with a sharp knife to allow it to expand. Using the parchment paper as a sling, gently lower the dough into the Dutch oven, and cover it with the lid. Bake for 25 minutes. After 25 minutes, remove the lid and bake for an additional 20-25 minutes, until the crust turns a deep golden brown.
Step 7: Cooling and Enjoying
Once your sourdough loaf is baked to perfection, remove it from the Dutch oven and let it cool on a wire rack for at least an hour. This cooling period is crucial as it allows the bread to finish cooking internally, resulting in a moist and structured crumb. Slice your bread with a sharp knife, and enjoy the fruits of your labor!
Storing Your Sourdough
Proper storage is essential to maintain the condition and flavor of your homemade sourdough bread. Keep your loaf in a bread bag or wrapped in a clean kitchen towel to allow it to breathe without drying out. Avoid storing bread in a plastic bag as this encourages mold growth. For longer storage, slice the loaf and freeze the pieces individually wrapped, and you can thaw as needed. Check out these storing techniques for more insights.
Maintaining Your Dutch Oven
Regular maintenance of your Dutch oven is crucial for longevity and optimal baking results. After each use, make sure to clean it thoroughly and keep it dry to prevent rust. Season the Dutch oven periodically with a light coating of oil to maintain its nonstick surface. Learn more about proper Dutch oven care here.
For all your cleaning needs, consider using a cookware cleaner and a cutting board conditioner as recommended by kitchen professionals.
As an Amazon Associate, I earn from qualifying purchases.