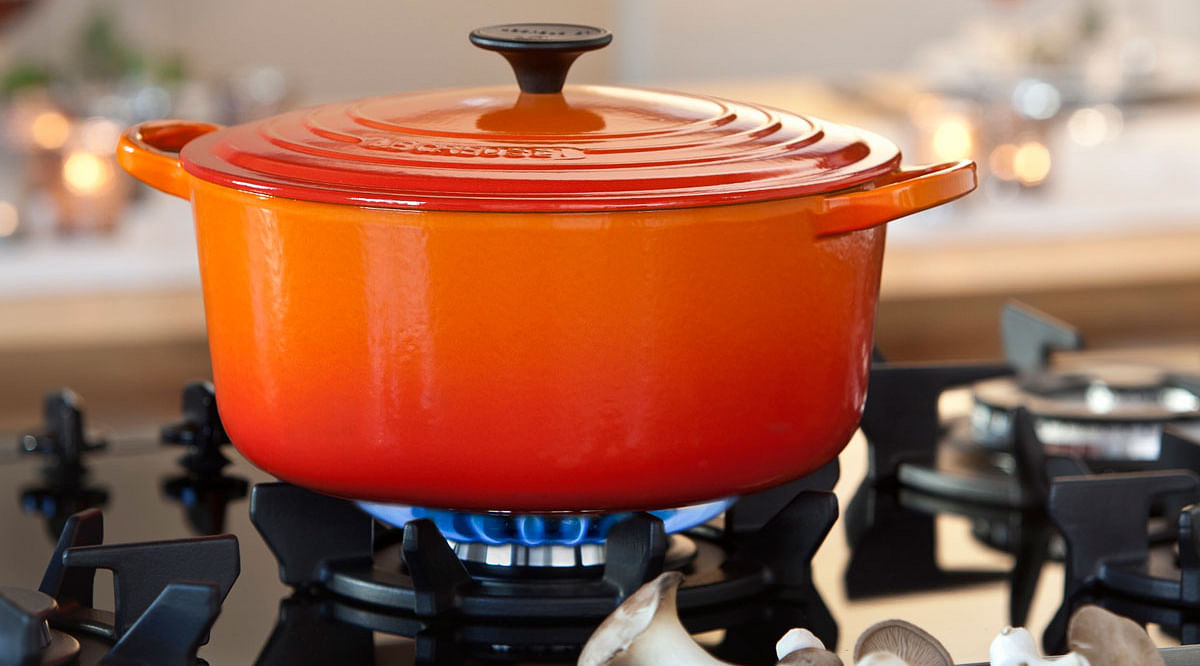
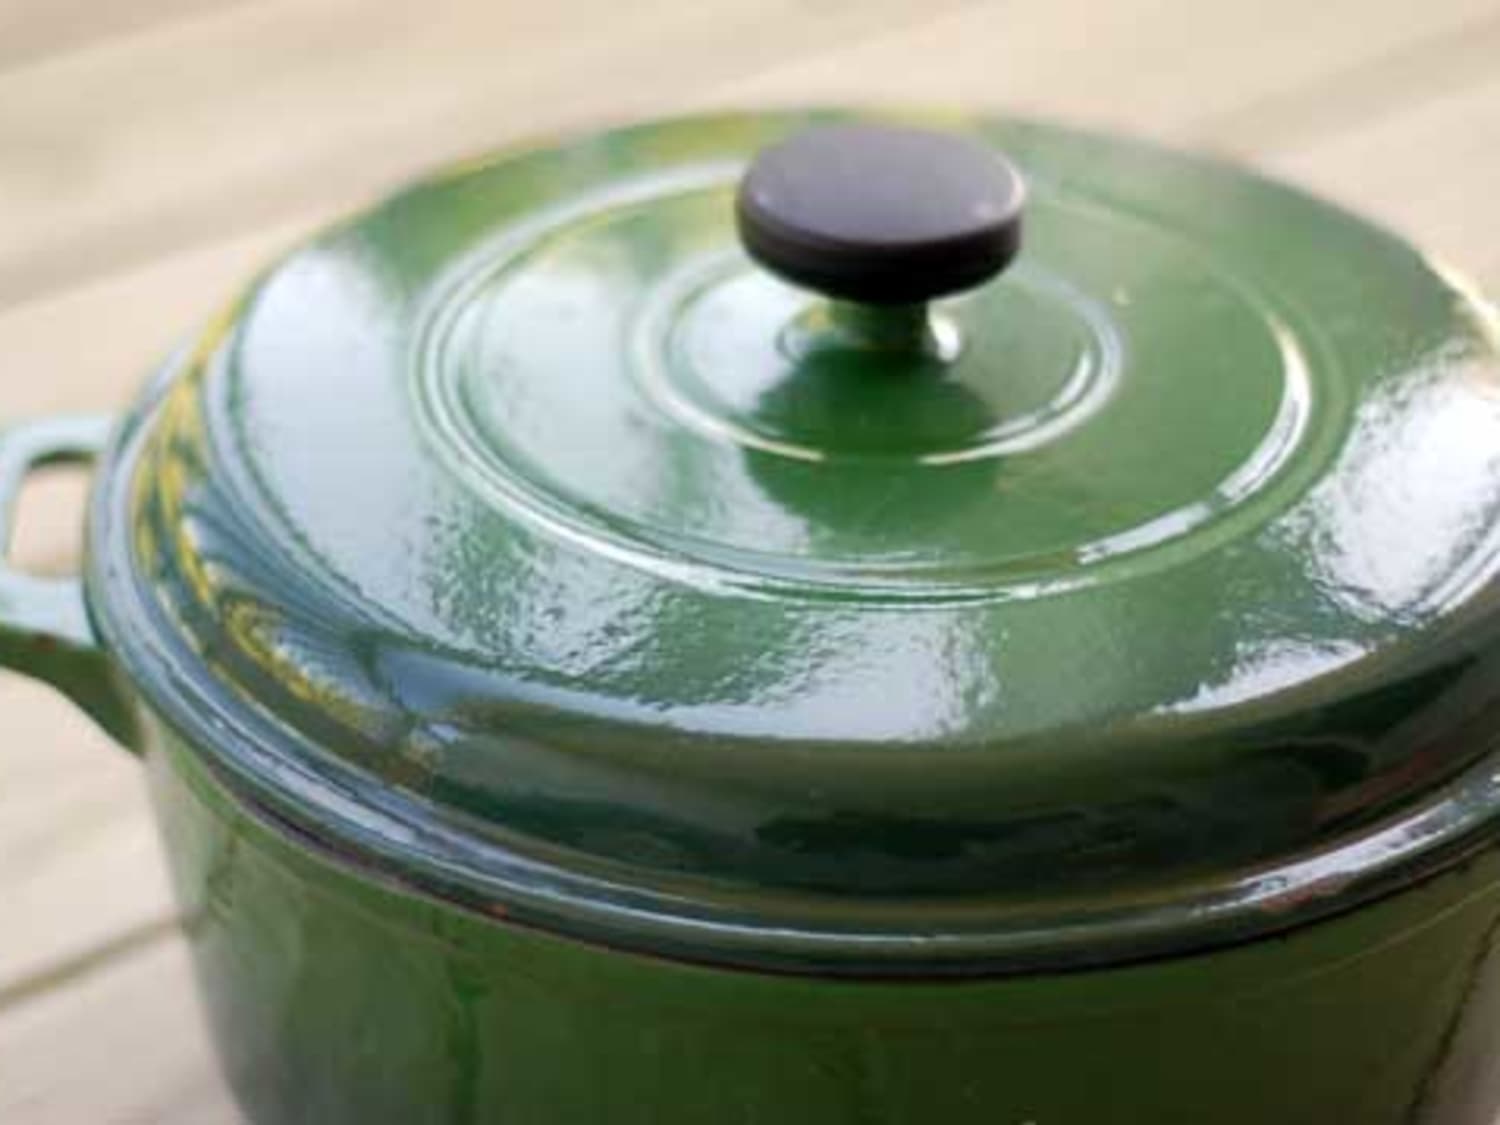
Bread making at home has become a cherished skill that more and more people are eager to master, and nothing quite beats the smell and taste of freshly baked bread straight from a Le Creuset Dutch oven. Whether you are a novice baker or a seasoned kitchen professional, unlocking the secrets to the perfect Le Creuset Dutch oven bread recipe can elevate your baking game to new heights. In this comprehensive guide, we will cover every step meticulously to help you achieve that crusty, golden-brown loaf that youll want to bake repeatedly.

The Magic of Using a Le Creuset Dutch Oven
Why use a Le Creuset Dutch oven? For starters, the heavy-duty cast iron construction provides superior heat retention and even heat distribution. This ensures that your bread bakes evenly, achieving the perfect texture both inside and out. Moreover, the tight-fitting lid creates a steam environment inside the pot, which is crucial for developing a crispy crust on your bread. The Le Creuset Dutch oven isnt just a tool; its an investment in quality and durability that can last a lifetime with the proper care.
As you prepare to embark on this bread-making journey, make sure to understand the proper use and care of your Dutch oven. For an extensive guide on the differences between a Dutch oven and a traditional pot, you can check out this insightful article.

Ideal Ingredients and Tools
To create the perfect Le Creuset Dutch oven bread, youll need to gather specific ingredients and tools. While it may seem like a simple list, each component plays a crucial role in the final texture and flavor of your bread.
Ingredients:
- 3 1/4 cups (430g) all-purpose flour
- 1 1/2 cups (350ml) room temperature water
- 1 1/2 teaspoons (9g) salt
- 1/4 teaspoon (1g) instant yeast
Tools:
- A Dutch Oven (preferably Le Creuset) Explore Le Creuset Dutch Ovens
- A knife Browse Knives
- A cutting board Shop Cutting Boards
Before diving into the recipe, its also essential to season and clean your cast iron correctly to ensure longevity and performance. For in-depth tips on maintaining your cookware, visit this guide on seasoning cast iron pans.
Step-by-Step Recipe Guide
Step 1: Mixing the Ingredients
The first step in any successful bread recipe is mixing your dry and wet ingredients thoroughly. Start by combining the all-purpose flour, salt, and yeast in a large mixing bowl. Make a well in the center and slowly pour in the room temperature water. Mix everything until a rough dough forms. This initial mixture doesn’t need to be smooth; youre just looking to hydrate all the flour.
Remember, patience is key. Allow the dough to rest for about 5 minutes. This resting period, known as autolyse, allows the flour to fully absorb the water, making the dough easier to handle in the following steps. It also enhances the bread’s texture and flavor.
Step 2: The First Rise (Bulk Fermentation)
After the initial mixing, its time for the first rise, also known as bulk fermentation. Cover the bowl with plastic wrap or a damp kitchen towel and let it sit at room temperature for about 12-18 hours. This long fermentation period allows the yeast to work its magic, creating complex flavors and improving the breads structure. The dough is ready when it has doubled in size and appears bubbly on the surface.
Step 3: Shaping the Dough
Once the dough has completed its first rise, its time to shape it. Turn the dough out onto a lightly floured surface. Use a knife or a bench scraper to gently shape it into a round loaf, being careful not to deflate the dough too much. Let it rest for about 10 minutes, then perform a final shaping to create a tight, smooth ball.
Step 4: Proofing the Dough
Transfer the shaped dough to a lightly floured proofing basket or a bowl lined with a kitchen towel. Cover it and let it rise for another 1-2 hours, or until it has doubled in size. This second rise, known as proofing, will further develop the loaf’s structure and flavor.
Baking the Bread
Preheating the Dutch Oven
While the dough is proofing, preheat your oven to 450F (230C) with your Dutch oven inside. Preheating ensures that the bread will bake evenly and achieve that lovely, crispy crust. The intense heat is crucial for the initial oven spring, where the bread rises rapidly in the first few minutes of baking.
Transferring and Baking the Dough
Carefully remove the hot Dutch oven from the oven using oven mitts. Gently transfer the proofed dough into the Dutch oven, taking care not to deflate it. Cover the Dutch oven with its lid and return it to the oven. Bake for 30 minutes with the lid on to trap steam, which helps develop the crust. Then, remove the lid and bake for an additional 15-20 minutes, or until the crust is a deep golden brown and the bread sounds hollow when tapped on the bottom.
Cooling the Bread
Once baked, carefully remove the bread from the Dutch oven and transfer it to a wire rack to cool completely. Cooling allows the bread to set and helps enhance its flavor. Cutting into the bread too soon can result in a gummy texture.
Maintaining Your Le Creuset Dutch Oven
Proper care and maintenance of your Le Creuset Dutch oven will ensure that it remains in optimal condition for years to come. After each use, clean your Dutch oven with warm, soapy water and a non-abrasive scrubber. Avoid using harsh chemicals or metal scouring pads, as these can damage the enamel coating. For stubborn stains, a mixture of baking soda and water can work wonders. Le Creuset also offers specific cleaners for their cookware, which can be found here.
When youre done baking, ensure you store your Dutch oven properly. For tips on storage, check out this comprehensive guide. Additionally, maintaining your cutting board is equally important. Ensure it is conditioned regularly to prevent it from drying out and cracking. Heres a great resource on cutting board conditioners to help you along.
As an Amazon Associate, I earn from qualifying purchases.


