
For those passionate about home baking, there’s nothing quite like the enchanting aroma of fresh-baked bread wafting through your kitchen. When it comes to crafting an Italian bread recipe in a Dutch oven, not only do you capture that delightful scent, but you also achieve the perfect crust and texture characteristic of **authentic Italian bread**. Using a **Dutch oven** can elevate your bread-making skills, ensuring consistent, professional-quality results every time.
:max_bytes(150000):strip_icc()/Testing-StaubCastIron5.5QuartRoundCocotte-3-WillDickey-1342-376-33155a88784443eaa706f540ffb27b0d.jpg)
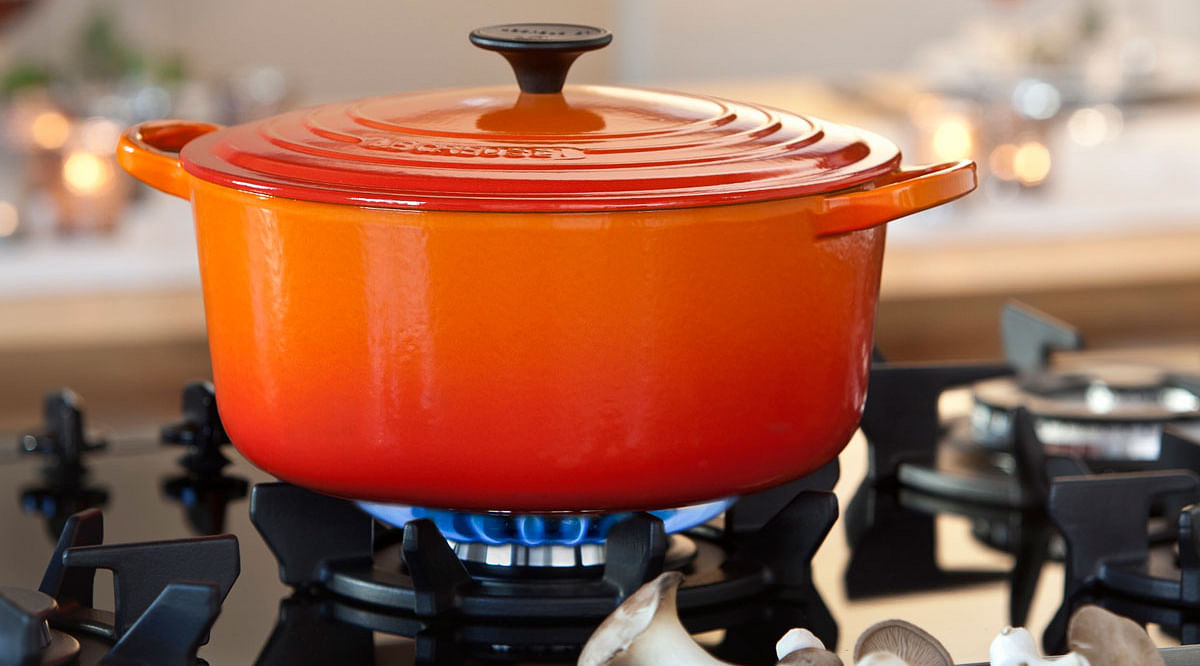
Why Bake Bread in a Dutch Oven?
Baking bread in a **Dutch oven** offers a myriad of benefits. The heavy, thick-walled pot with its tight-fitting lid creates the ideal environment for baking. The steam generated from within gives the bread a beautiful crust, while the even heat distribution ensures a uniform bake. It mimics the conditions of a professional bread oven, making it a perfect tool for aspiring home bakers.
Our guide dives deep into the process of baking Italian bread using a Dutch oven. From detailed steps on dough preparation to baking tips and the benefits of various cookware, we’ve got you covered. We’ll also sprinkle in professional pointers and a few kitchen secrets to ensure your bread turns out perfect every single time.

Ingredients
Ingredients:
- 4 cups (500g) bread flour
- 2 tsp (10g) salt
- 1 tsp (5g) sugar
- 1 packet (2 1/4 tsp) active dry yeast
- 1 1/2 cups (360ml) warm water (110F/45C)
- 2 tbsp (30ml) olive oil
The ingredients listed above are critical to achieving the traditional taste and texture of Italian bread. Each component plays a vital role; for instance, **bread flour** is preferred due to its high protein content, which produces a stronger gluten network, giving the bread its characteristic chewiness.
Step-by-Step Preparation Guide
1. Prepare the Dough
To begin, gather all the **ingredients**. Start by mixing the warm water, sugar, and **active dry yeast** in a small bowl. Let this mixture sit for about 5-10 minutes until it becomes frothy. This step is crucial as it activates the yeast, ensuring that your bread rises properly.
In a large mixing bowl, combine the **bread flour** and salt. Create a small well in the center and pour in the yeast mixture and olive oil. Using a wooden spoon or your hands, mix the ingredients until a shaggy dough forms. Transfer the dough to a lightly floured surface and knead for about 10-15 minutes until it becomes smooth and elastic.
2. First Rise
Coat a large bowl with a thin layer of olive oil and place the dough inside. Cover it with plastic wrap or a damp cloth and let it rise in a warm, draft-free area for about 1-2 hours, or until it has doubled in size. The rising process is essential for developing the bread’s texture and flavor.
3. Shape the Dough
Once the dough has doubled, gently punch it down to release the built-up gases. Transfer it to a lightly floured surface and shape it into a round loaf. Be gentle during this step to avoid deflating the dough too much. Once shaped, permit the dough to rest for another 10-15 minutes.
4. Preheat the Dutch Oven
While the dough is resting, place your **Dutch oven** (with the lid) inside your oven and preheat to 450F (230C). Preheating the Dutch oven is a crucial step as it ensures that the bread receives an immediate burst of heat, which is essential for achieving the perfect rise and crust.
5. Second Rise
While the oven and Dutch oven are preheating, allow the shaped dough to undergo a second rise. This should take about 30 minutes to an hour until the dough has slightly puffed up. This final rise helps in developing a lighter crumb structure.
6. Score the Dough
Just before placing the dough in the heated Dutch oven, use a sharp **knife** or a bread lame to score the top of the dough. This step is crucial as it helps the bread expand during baking and creates a visually appealing crust.
7. Baking
Carefully remove the preheated Dutch oven from the oven using oven mitts. Gently place your dough inside and cover it with the lid. Bake for 30 minutes, then carefully remove the lid and bake for an additional 15-20 minutes, or until the bread has a deep golden-brown crust.
Using a **Dutch oven** ensures that your bread bakes evenly and achieves that beautiful, artisanal crust. If you face challenges such as sticking, dont miss reading Why Does My Dutch Oven Stick? for helpful tips!

Cooling and Serving
Once your bread is done baking, use a spatula to carefully lift it out of the Dutch oven and place it on a cooling **rack**. Allow the bread to cool completely before slicing it. This step ensures that the crumb sets properly and the bread is easier to slice.
Cleaning Your Dutch Oven
Cleaning your Dutch oven is essential for maintaining it in prime condition. Make sure to reference helpful cleaning guides such as How to Clean a Dutch Oven to ensure your cookware lasts for years.
If you use cast iron, its also wise to read about How to Season and Clean Cast Iron for further maintenance tips.
Final Thoughts and Variations
Mastering this Italian bread recipe using a Dutch oven will elevate your baking skills to new heights. Its an excellent way to impress friends and family with homemade, artisanal bread that boasts a delightful crust and soft, airy crumb. For more variations and other exciting recipes using a Dutch oven, visit How to Make Chili in Dutch Oven and How to Store Cast Iron Dutch Oven.
More Information
If you’re curious about the differences between Dutch ovens and regular pots or want to find out why Dutch ovens are a staple in most kitchens, check out our comprehensive guide How is a Dutch Oven Different From a Pot?. It demystifies the multi-purpose capabilities of this essential kitchen tool.
As an Amazon Associate, I earn from qualifying purchases.
For continuous maintenance of your precious **Dutch oven** and other cookware, looking into high-quality cookware cleaners and cutting board conditioners are excellent steps to keep your kitchen tools in the best shape.