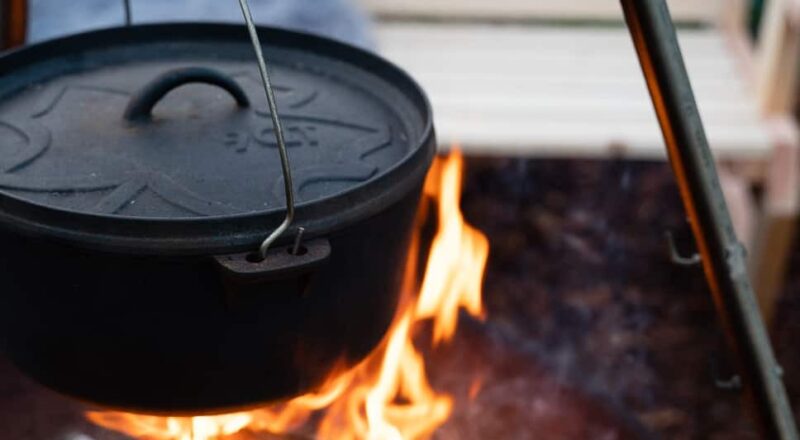
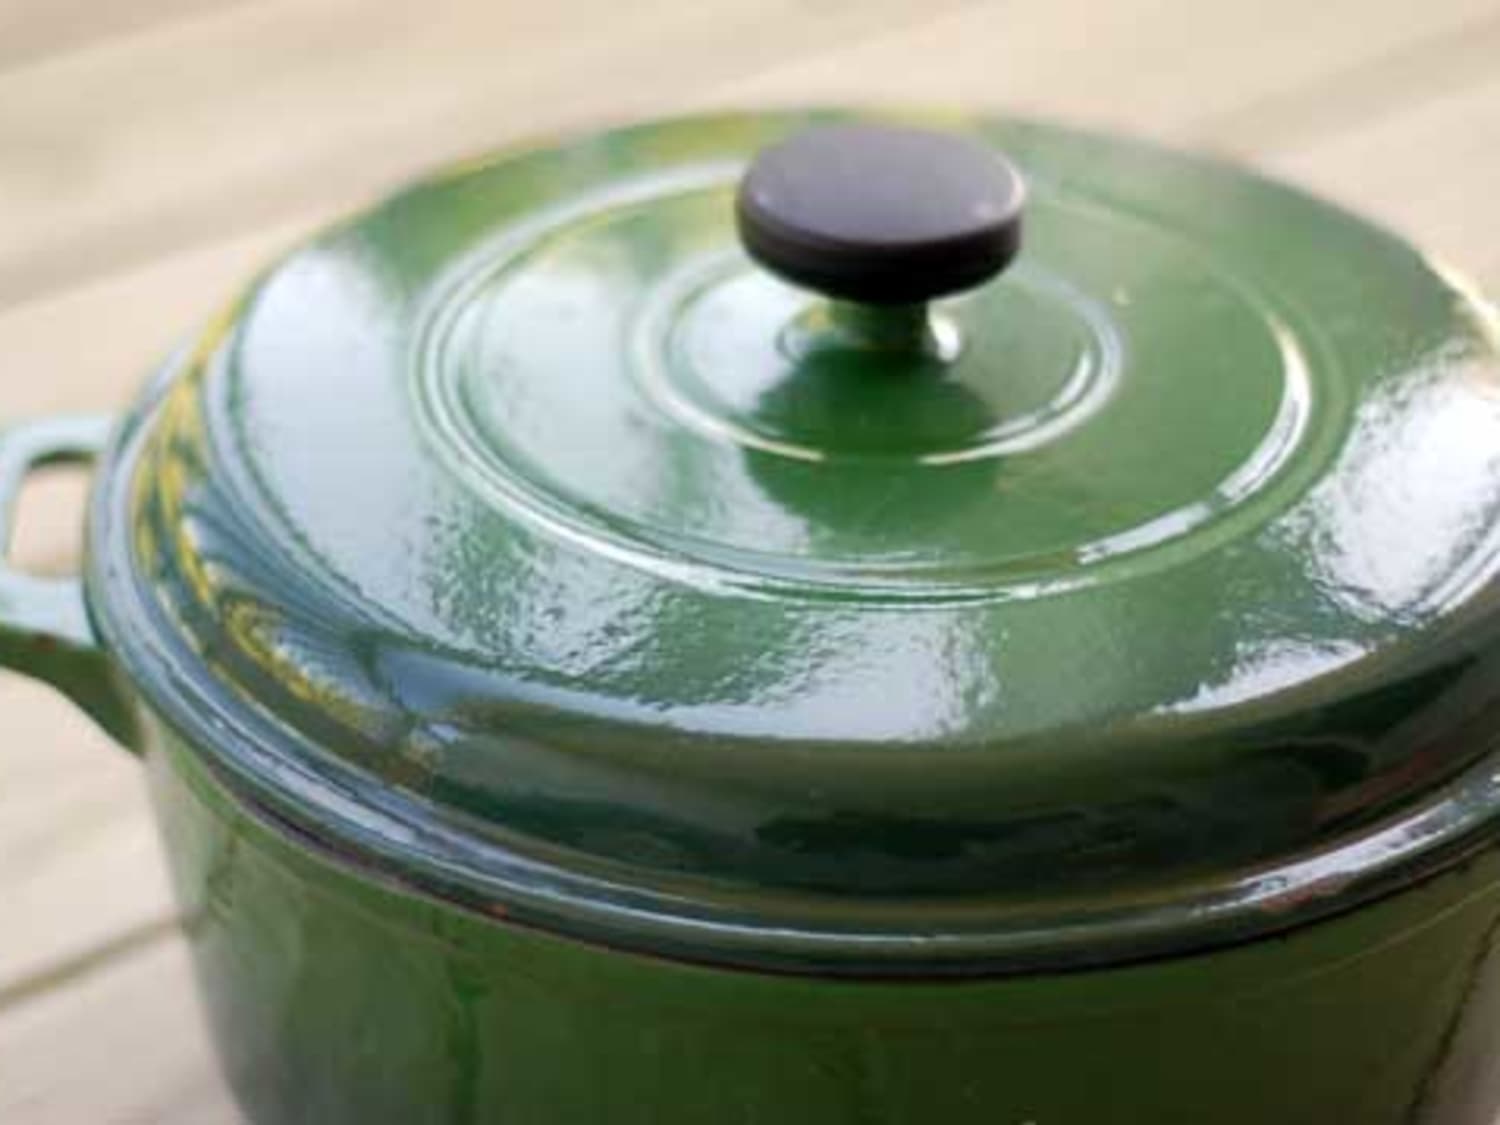
If you are passionate about cooking, especially when it comes to baking, then mastering an instant yeast bread recipe dutch oven can elevate your cooking expertise to a whole new level. **Instant yeast bread recipes** offer a convenient and quick way to create delicious home-baked bread, and using a Dutch Oven ensures that your bread has the perfect crust and texture. In this in-depth guide, we will journey together through the process of making instant yeast bread in a Dutch oven, providing you with comprehensive steps, tips, and tricks to make your bread baking experience utterly delightful.
Why Choose Instant Yeast for Bread Baking?
Instant yeast, often known as rapid-rise or quick-rise yeast, is a baker’s ally when it comes to time efficiency and reliability. Unlike active dry yeast, instant yeast does not require proofing in water. This means you can mix it directly with your dry ingredients, shaving precious minutes off your prep time. Moreover, instant yeast is known for its ability to kickstart the rising process quickly, giving your dough the perfect airy and fluffy texture. This attribute is especially beneficial when using a Dutch oven, as it helps achieve an evenly risen bread with a delightful crust. Choosing an **instant yeast bread recipe dutch oven** allows you to enjoy all these benefits while experimenting with a kitchen classic that never fails to impress.
Ingredients
- 4 cups of all-purpose flour
- 2 teaspoons salt
- 2 teaspoons sugar
- 1 packet instant yeast (about 2 1/4 teaspoons)
- 1 1/2 cups warm water (110F – 115F)
- Olive oil (for greasing)
Essential Cookware and Equipment
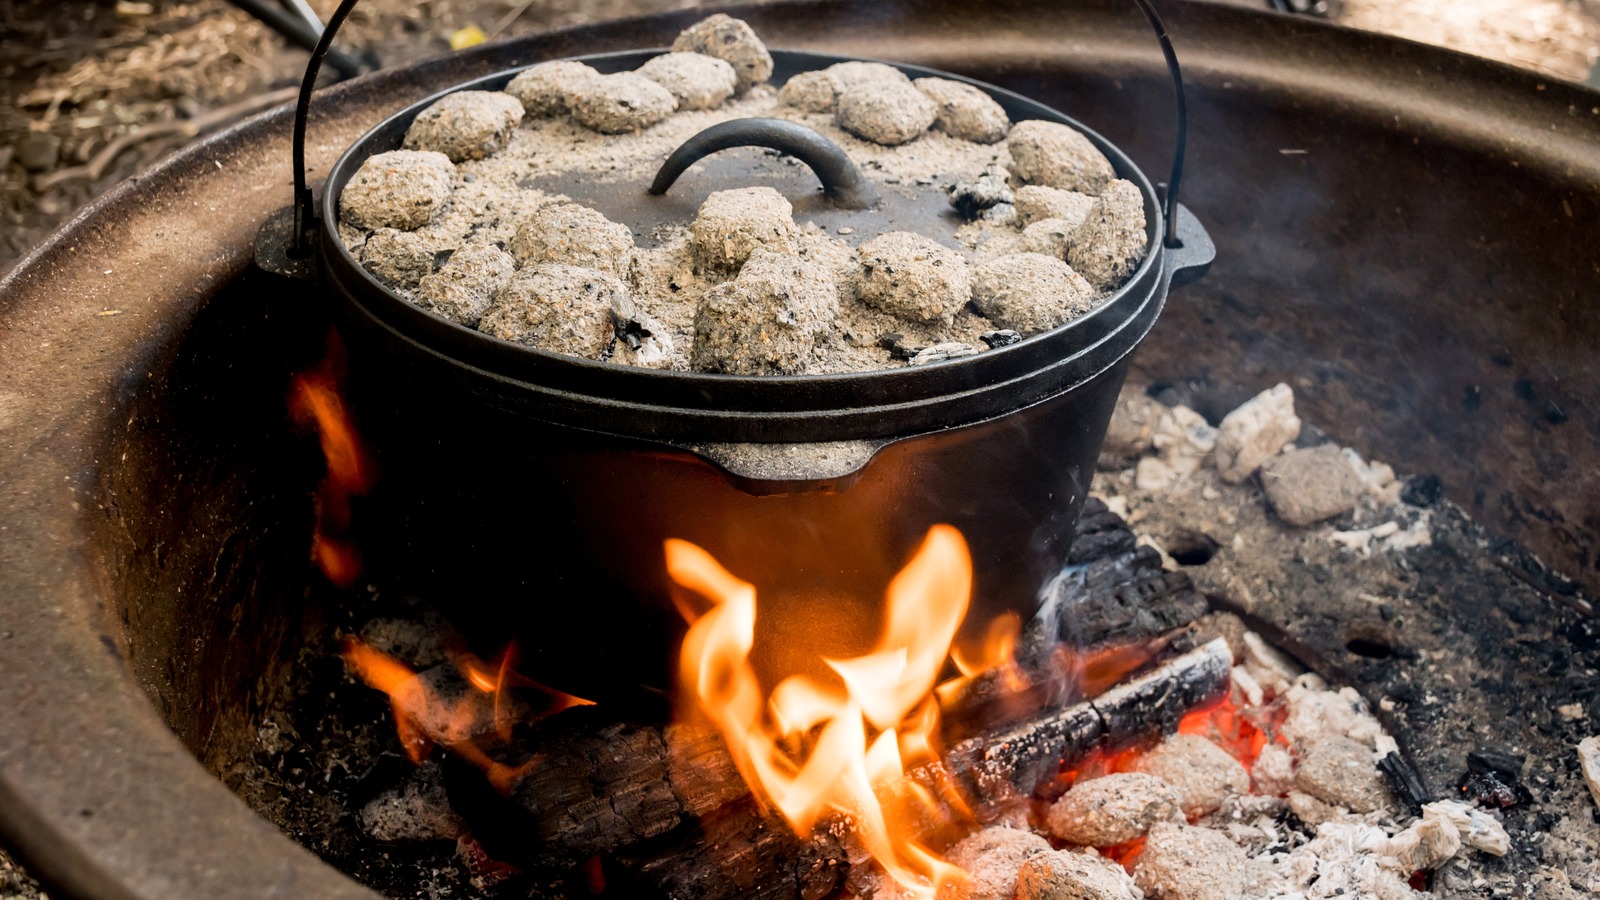
Reliable and quality cookware is imperative for the success of any bread recipe, especially one that involves unique items like a Dutch oven. Here are some vital pieces of equipment you’ll need:
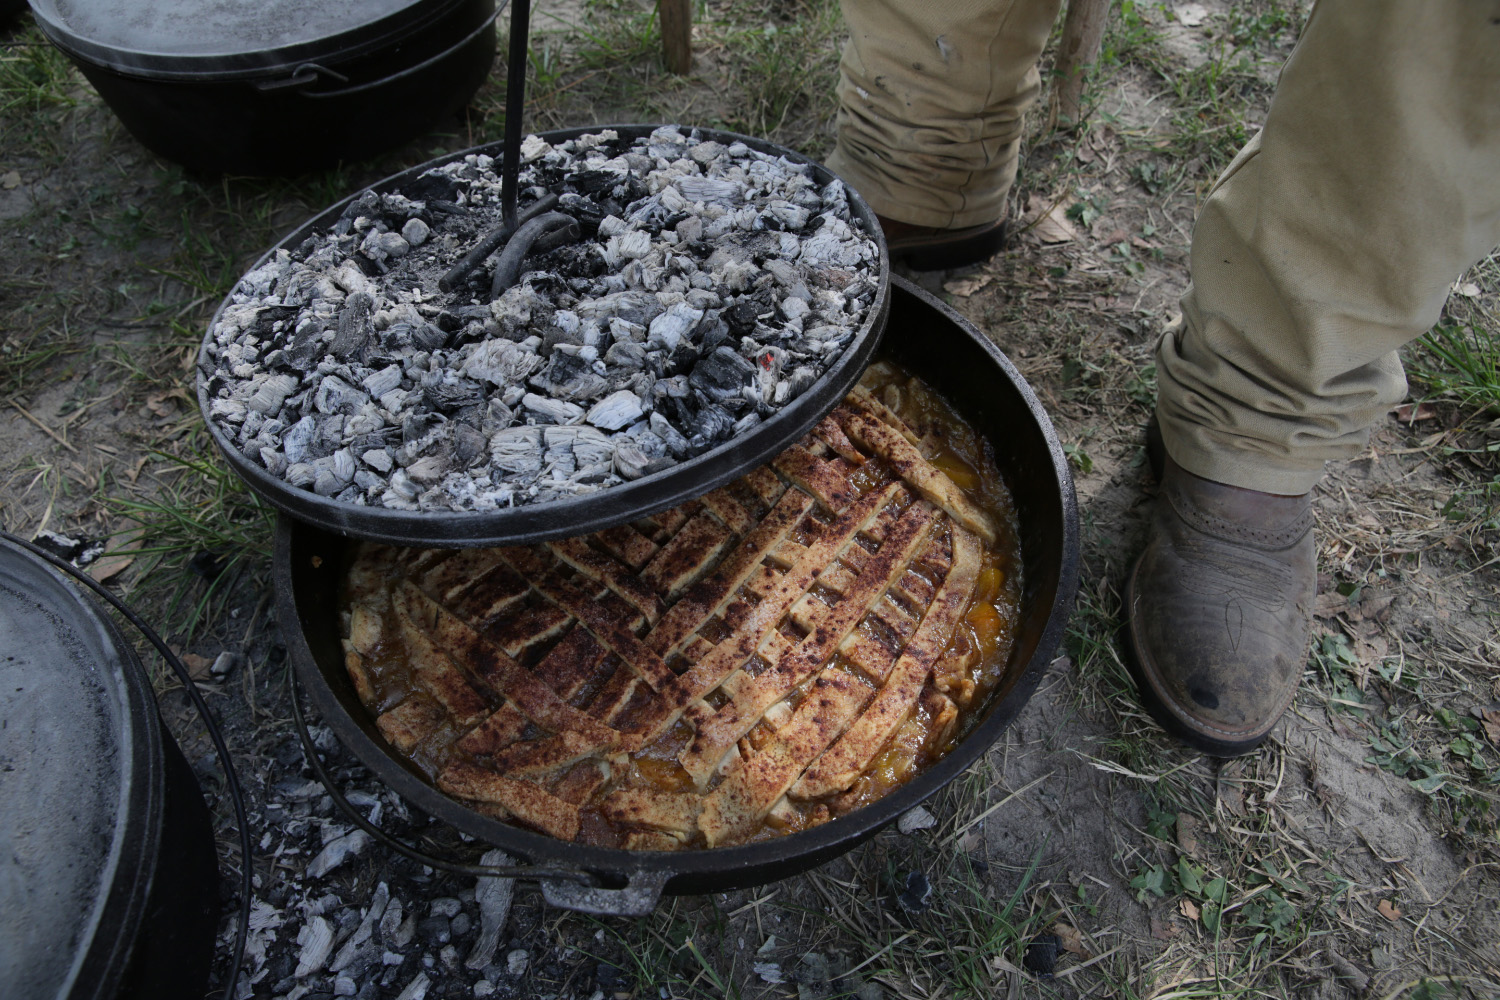
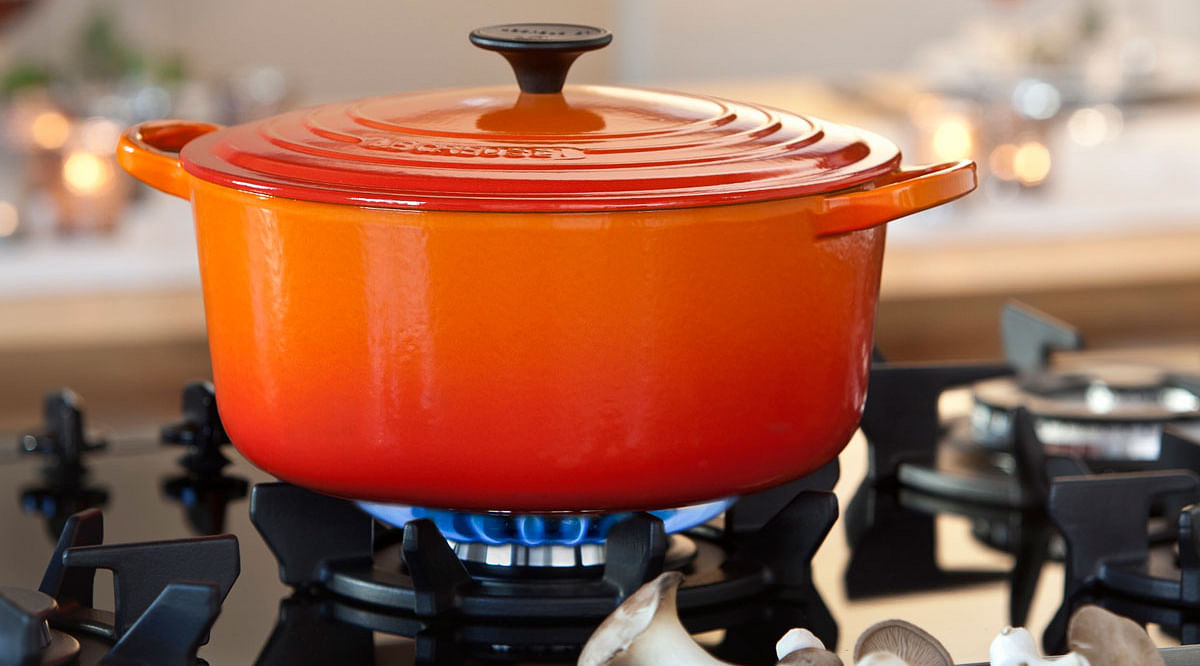
Dutch Oven: The backbone of this recipe is a good-quality Dutch oven. Its high heat retention and steam-trapping lid make it perfect for bread baking.
Knife: A sharp knife is essential for scoring the dough before baking. This helps the dough expand properly while baking.
Cutting Board: A sturdy cutting board will ensure you have a stable surface for kneading and shaping your dough.
Step-by-Step Guide to Making Instant Yeast Bread in a Dutch Oven
Step 1: Mixing Your Ingredients
Start by mixing the dry ingredients. In a large mixing bowl, combine the flour, salt, sugar, and instant yeast. Ensure they are evenly distributed before adding the wet ingredients. Gradually add the warm water and mix until a shaggy dough forms. This initial mixing step is vital because it ensures that the yeast and sugar are evenly spread throughout the dough, giving it a uniform rise.
Step 2: Kneading the Dough
Transfer the shaggy dough to a lightly floured surface, such as your cutting board, and begin to knead. Kneading helps develop the gluten in the flour, which in turn gives the bread its structure and chewiness. Spend about 8-10 minutes on this step, until the dough is smooth and elastic. If the dough feels too sticky, sprinkle a small amount of flour on it as needed.
For a deep dive into the art of bread kneading, check out this detailed guide.
Step 3: First Rise
After kneading, place the dough in a greased bowl, covering it with a damp cloth or plastic wrap. Allow the dough to rise in a warm place until it has doubled in size. This should take approximately 1-2 hours. The first rise is crucial as it allows the yeast to ferment, releasing gases that make the bread light and airy.
For a warm place to let your dough rise, consider placing it in an oven that is off but has the oven light on, or on top of your refrigerator. The gentle warmth from these locations can help speed up the process.
Step 4: Preheating the Dutch Oven
About 30 minutes before your dough is ready, start preheating your Dutch oven at 450F (230C). Preheating is key because it ensures that the Dutch oven is hot enough to create a steamy environment, which is essential for forming the perfect crust. Place your Dutch oven, including the lid, into the oven so it can heat up thoroughly.
Learn more about why preheating your Dutch oven is a crucial step from this insightful article.
Step 5: Shaping the Dough
Once the dough has doubled in size, turn it out onto your lightly floured cutting board and gently shape it into a round loaf. Be careful not to deflate the dough too much during this process. Use your knife to score the top of the loaf with a few slashes. This step allows the dough to expand during baking without tearing.
Step 6: Baking the Bread
Carefully remove the preheated Dutch oven from the oven using oven mitts, and place the shaped dough into the Dutch oven. Cover it with the lid and return it to the oven. Bake for 30 minutes with the lid on, then remove the lid and bake for an additional 15-20 minutes, or until the bread is golden brown and sounds hollow when tapped on the bottom.
Caring for Your Cookware
After baking, it’s essential to clean and maintain your Dutch oven and other cookware properly to ensure their longevity. Proper care will keep your kitchen tools in excellent condition, ready for your next baking adventure.
For Dutch oven cleaning tips, check out this comprehensive guide.
Need more in-depth information about how cast iron cookware can affect your recipes? Visit this useful resource that thoroughly explains the differences between a Dutch oven and a regular pot.
Conclusion
Mastering an instant yeast bread recipe dutch oven is undoubtedly a rewarding experience that turns you into a kitchen wizard in no time. The convenience of using instant yeast coupled with the perfect baking environment provided by a Dutch oven results in bread that is as delightful to make as it is to eat. By following the detailed steps outlined in this guide, you will achieve artisanal quality bread right from your kitchen. Whether you are a seasoned baker or a novice, this guide is designed to make your bread-baking journey enjoyable and successful. Now, it’s your turn to roll up your sleeves, gather your ingredients, and embark on this delightful baking adventure. Happy baking!
For more fantastic recipes and tips, explore other articles on common Dutch oven sizes for the best baking results.
As an Amazon Associate, I earn from qualifying purchases.

