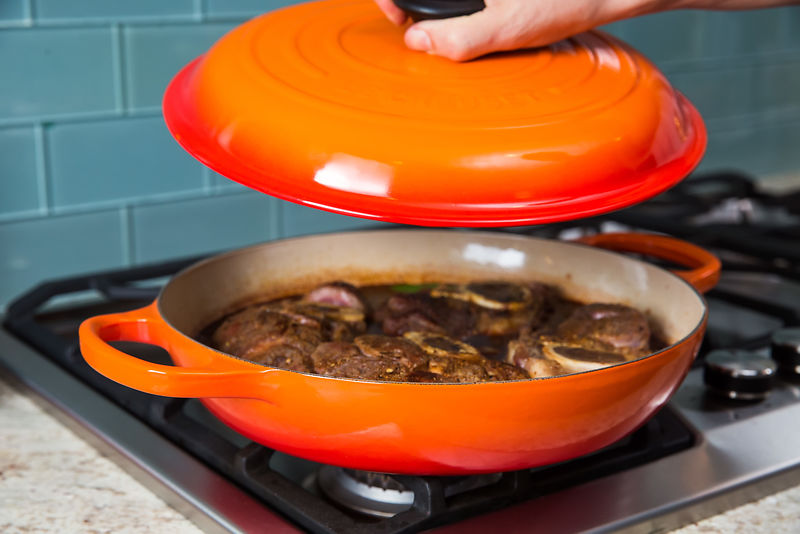
Storing your beloved cast iron braiser correctly is crucial to maintaining its longevity and performance. Whether you’re a seasoned chef or a home cook, knowing how to store a cast iron braiser can significantly affect its durability and usability. Proper storage prevents rust, preserves the seasoning, and ensures your braiser is ready for its next culinary adventure. This article will guide you through the essential steps to store your braiser effectively.
For more insights on the care tips for your cast iron braiser, explore our detailed guide.

The Importance of Proper Storage
Understanding the importance of storing a cast iron braiser properly is the first step towards extending its life. Improper storage can lead to rust, damage to the seasoning, and even impact the taste of your food. By following the right storage methods, you ensure that your braiser remains in good condition for years to come.
Cleaning Before Storage
The Cleaning Process
Before storing your cast iron braiser, it is essential to clean it thoroughly. Use warm water and a soft sponge to remove any food residue. Avoid using harsh detergents as they can strip away the seasoning.
Drying Your Braiser
After washing, dry your braiser completely. Moisture is the enemy of cast iron and can lead to rust. Use a clean towel to wipe it dry, and for added assurance, place it on a low heat burner for a few minutes to evaporate any remaining moisture.
Seasoning Your Braiser
Why Seasoning Matters
Seasoning is a critical step in maintaining your braiser. It creates a natural, non-stick surface and protects against rust. To learn more about how seasoning contributes to the nonstick properties of cast iron, delve into our comprehensive guide.
How to Season
Apply a thin layer of vegetable oil to the inside and outside of the braiser. Place it upside down in an oven preheated to 375F for about an hour. Allow it to cool in the oven to let the seasoning set properly.
Choosing the Right Storage Spot
Avoid Humid Areas
Store your braiser in a dry place. Humidity can cause rust, so ensure the storage area is well-ventilated and not subject to temperature fluctuations.
Easy Accessibility
Choose a spot that allows easy access to your braiser. If you frequently use it, having it within reach will make cooking more convenient.
Storing with Lids Off
When storing your braiser, keep the lid slightly ajar. This allows air circulation and prevents any moisture from being trapped inside, reducing the risk of rust.
Using Protective Layers
Consider using a paper towel or a cloth between the braiser and its lid. This helps absorb any moisture and protects the surface from scratches.
Stacking Considerations
If you need to stack your cookware, ensure there is a protective layer between the braiser and other items. This prevents scratches and damage to the seasoning.
Regular Check-Ups
Periodically check your braiser for any signs of rust or damage. If you notice any, address it immediately to prevent further deterioration.
Additional Tips for Care
Using Your Braiser
For those wondering what exactly a braiser is used for, its perfect for slow cooking and searing. For more insights, visit this article.
Benefits of a Well-Maintained Braiser
A well-maintained braiser enhances cooking efficiency and flavor. For those considering investing in one, understanding its worth is crucial.

FAQ Section
How often should I season my cast iron braiser?
It is recommended to season your braiser after every few uses or when you notice that food starts to stick.
Can I store my braiser in the oven?
Yes, storing your braiser in the oven is a good option as it keeps it dry and out of the way.
What should I do if my braiser gets rusty?
If your braiser gets rusty, scrub the rust off with a steel wool pad, then clean and reseason it.
For more detailed information on the versatility of braisers, visit Made In Cookware’s guide.
This article contains affiliate links. We may earn a commission at no extra cost to you.

