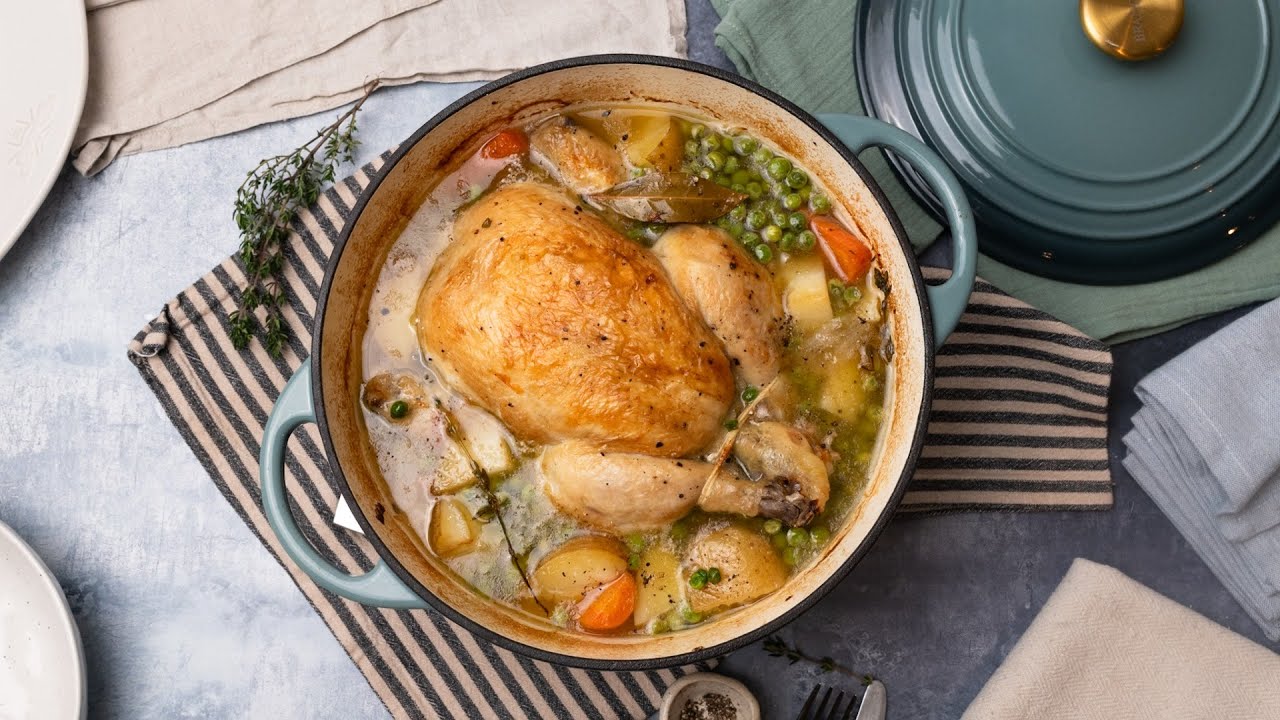
If you’re looking to create perfectly seared meat, understanding how to sear meat in a cast iron braiser is crucial. The technique involves high heat and a few simple steps to achieve a delicious crust while keeping the interior juicy and flavorful. In this guide, we’ll explore the art of searing meat using a cast iron braiser, ensuring that your culinary skills shine with every dish.

What is Searing?
Searing is a cooking technique that involves browning the surface of meat to develop flavor and texture. This process creates a caramelized crust that enhances the overall taste of the dish. Learn more about searing techniques.
Why Use a Cast Iron Braiser?
A cast iron braiser is ideal for searing due to its ability to maintain and evenly distribute heat. This ensures that the meat cooks uniformly, resulting in a perfect sear. Additionally, the braiser’s depth allows for easy handling of larger cuts of meat. Discover if a cast iron braiser is worth it.
Choosing the Right Cut of Meat
For the best results, select cuts of meat that are suitable for searing. Steaks, chops, and filets are excellent choices due to their thickness and marbling. Ensure the meat is at room temperature before searing to promote even cooking.
Preparing Your Cast Iron Braiser
Before starting, make sure your cast iron braiser is clean and well-seasoned. This prevents sticking and enhances the flavor of the meat. Check out these care tips for your braiser.
Steps to Sear Meat in a Cast Iron Braiser
1. Preheat the Braiser
Place the braiser on the stove over medium-high heat. Allow it to heat for several minutes until it reaches the desired temperature. A well-heated braiser is essential for achieving a good sear.
2. Add Oil
Once the braiser is hot, add a small amount of oil with a high smoke point, such as canola or vegetable oil. This helps to create a non-stick surface and enhances the browning process.
3. Season the Meat
While the braiser is heating, season the meat generously with salt and pepper. This step is crucial for enhancing the meat’s natural flavors.
4. Sear the Meat
Carefully place the meat into the braiser, ensuring not to overcrowd the pan. Let it sear undisturbed for a few minutes on each side to develop a golden-brown crust.
5. Check for Doneness
Use a meat thermometer to check the internal temperature of the meat. The desired doneness will vary depending on personal preference and the type of meat being cooked.
6. Rest the Meat
After searing, allow the meat to rest for a few minutes before serving. This helps to retain its juices and enhances the overall texture.
Common Mistakes to Avoid
Avoid common mistakes such as overcrowding the pan, using cold meat, or flipping the meat too often. These can prevent the development of a proper sear and result in uneven cooking.
Maintaining Your Cast Iron Braiser
Proper maintenance of your cast iron braiser is essential for longevity and performance. Regularly cleaning and seasoning the braiser will ensure it remains in excellent condition. Learn more about braiser care.

FAQs
What is the best oil to use for searing?
Choose oils with high smoke points, such as canola or vegetable oil, to prevent smoking and burning during the searing process.
Can I sear meat without oil?
While it is possible to sear meat without oil, it is not recommended as oil helps to create a better crust and prevents the meat from sticking to the braiser.
How do I know when the meat is properly seared?
The meat should have a deep, golden-brown crust on both sides. Use a meat thermometer to check for the desired internal temperature.
For more detailed recipes and tips, visit Serious Eats for expert advice on braising and searing.
This article contains affiliate links. We may earn a commission at no extra cost to you.

