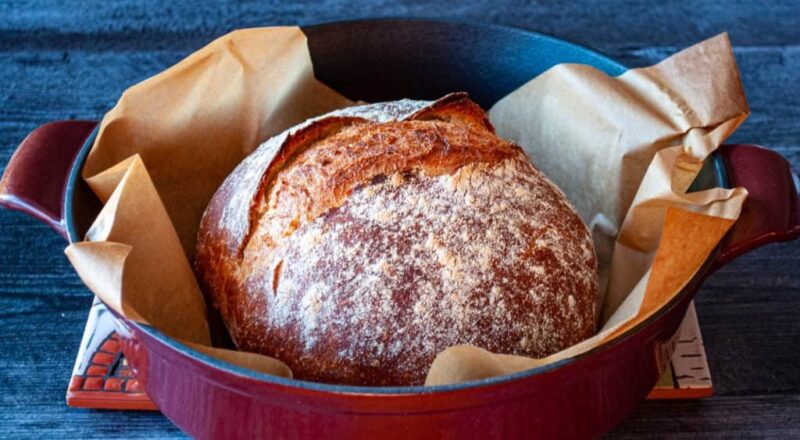
Baking bread in a Dutch oven is a transformative experience for both novice and seasoned bakers. Understanding how to prep Dutch oven for bread is critical to ensuring you achieve that perfect crust and airy interior. In this guide, we delve into the best practices and tips approved by experts that will leave you delighted with every loaf.
The journey to mastering the art of Dutch oven bread begins with proper preparation. Whether you own a new Dutch oven or an heirloom passed down through generations, the prep technique is universal. Let’s embark on this delightful journey to transform your baking experience.
Why Use a Dutch Oven for Bread?
Before diving into the prep steps, understanding why a Dutch oven is ideal for bread is crucial. The combination of its heat retention and steam-trapping capabilities mimics a professional steam oven, allowing for tremendous bread rise and a crisp crust.
Retains and Distributes Heat Evenly
One of the most significant benefits of using a Dutch oven is its ability to retain and evenly distribute heat. This feature ensures that your bread cooks uniformly, avoiding overcooked bottoms or undercooked centers.
Traps Steam for Perfect Crust
The Dutch oven can trap steam inside, which is essential for creating that crisp, artisan-style crust. The steam helps the dough expand before the crust sets, resulting in an optimal rise.
:max_bytes(150000):strip_icc()/Which-Dutch-Oven-Size-Is-Right-for-You-FW-tout-72667962e9d849258bce69ba1e82a7b9.jpg)
Choosing Your Dutch Oven
The first step in prepping a Dutch oven for bread is to choose the right one. Here are some factors to consider:
Material Matters
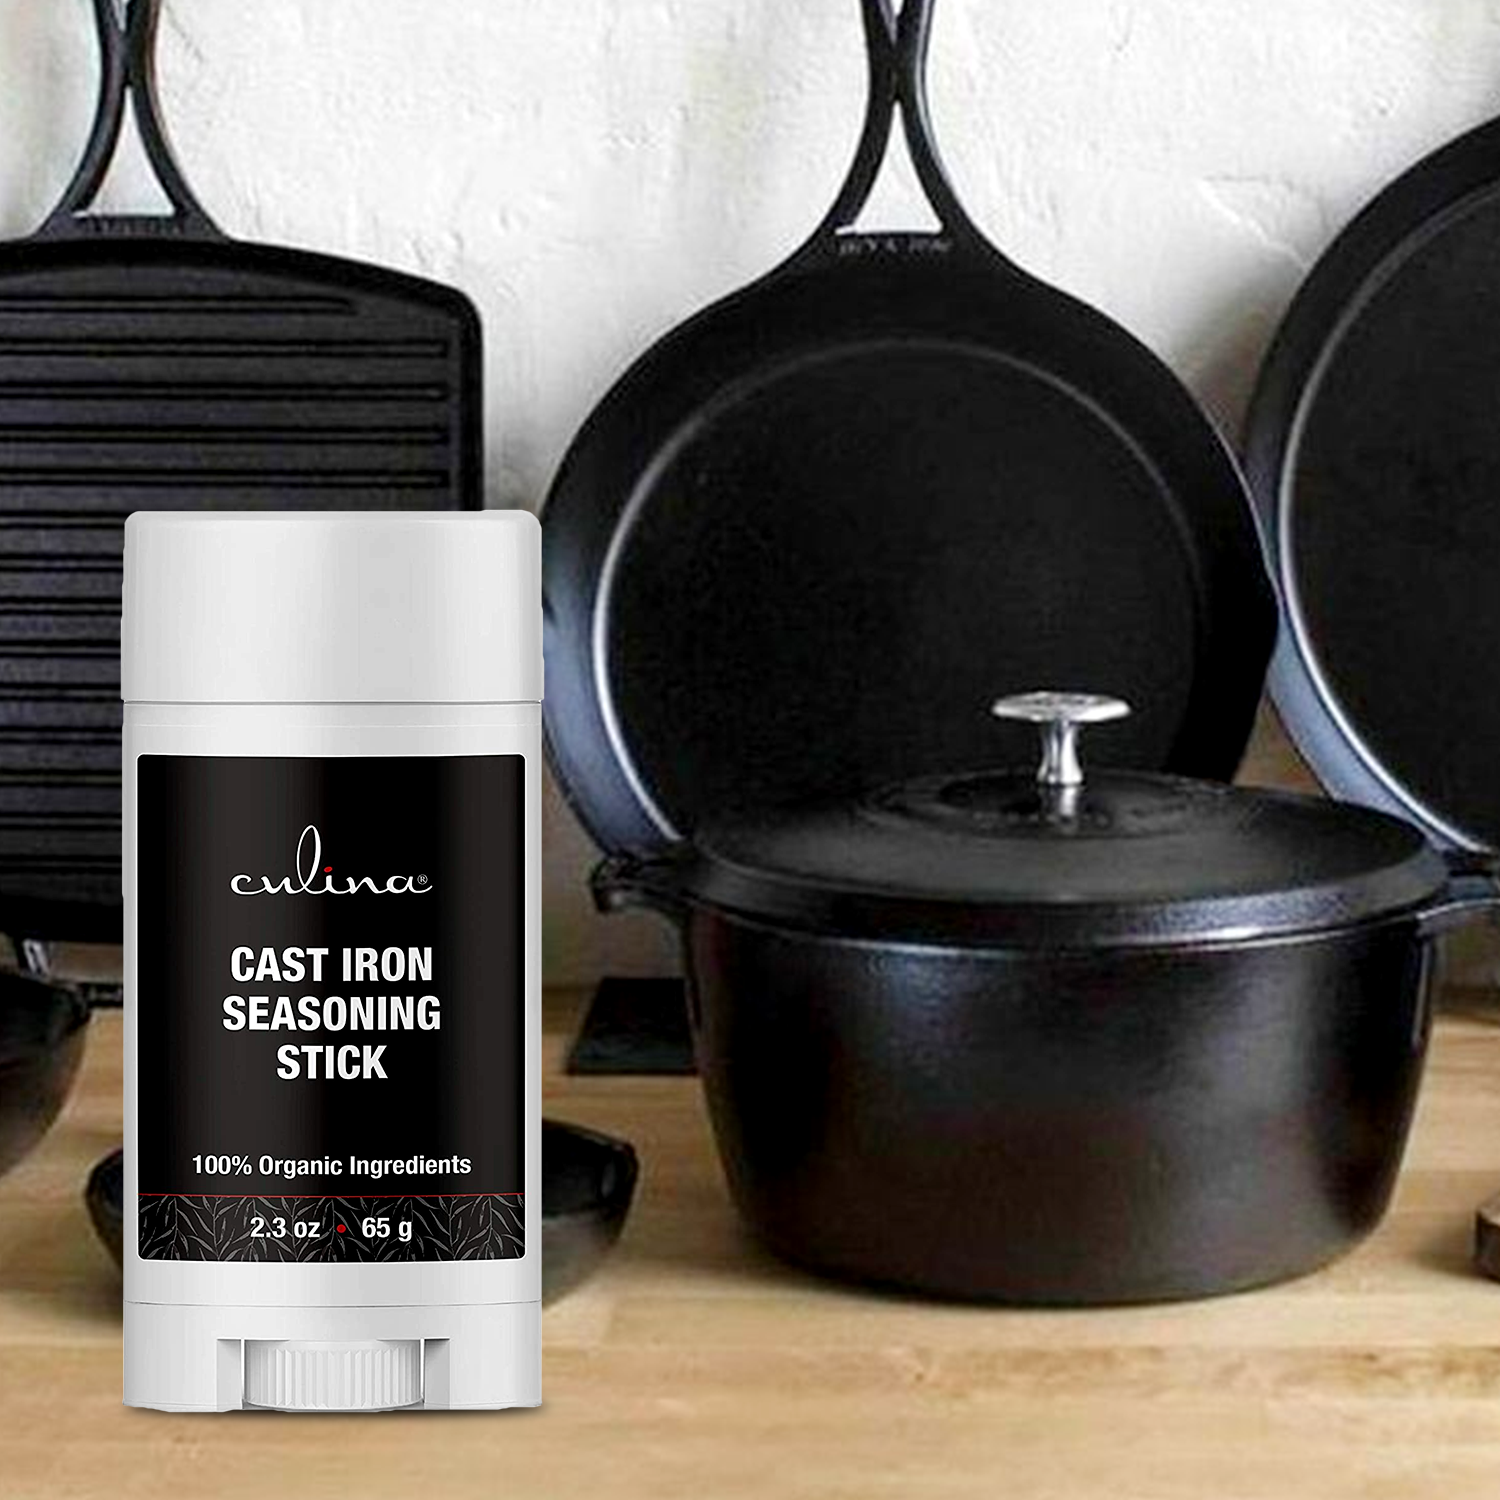
Dutch ovens come in various materials, including cast iron and enameled cast iron. Both are excellent, but seasoned bakers often prefer cast iron for its additional heat retention properties.
Size and Shape
The size of your Dutch oven should correspond to the size of the bread you plan to bake. A 5-7 quart Dutch oven is ideal for most bread recipes.
Lid Considerations
A tight-fitting lid is essential for trapping steam. Make sure the lid can handle high temperatures without warping.
Prepping Your Dutch Oven
Now, let’s get into the nitty-gritty of prepping your Dutch oven for bread:
1. Cleaning Your Dutch Oven
If your Dutch oven is new or hasn’t been used in a while, give it a thorough cleaning. Use warm water and mild soap for enameled cast iron. Avoid harsh detergents as they can damage the seasoning of raw cast iron. For more detailed cleaning advice, check here.
2. Seasoning the Dutch Oven
If you have a cast iron Dutch oven, seasoning it is a must. Seasoning involves coating the pot with a thin layer of oil and heating it. This process creates a non-stick surface that improves with use. For enameled cast iron, this step is not necessary.
3. Preheating
Preheat your Dutch oven in the oven at 450F (232C) for at least 30 minutes before you place the dough inside. Preheating ensures the oven is hot enough to give your bread that initial burst of steam, crucial for a good rise.
Baking Process
With your Dutch oven prepped and ready, it’s time to bake:
1. Transfering the Dough
Carefully transfer your proofed dough onto a piece of parchment paper. Using the parchment paper, gently lift and place the dough into the preheated Dutch oven. The paper makes transferring simpler and helps prevent burns.
2. Baking Covered and Uncovered
Start by baking the bread covered for the first 30 minutes. This step traps the steam, allowing the bread to rise. After 30 minutes, remove the lid and continue baking for another 15-30 minutes. Removing the lid allows the crust to form a golden-brown color and achieve the desired crunchiness.
Post-Baking Care
Once your bread is baked to perfection, its crucial to care for your Dutch oven to keep it in prime condition:
Cleaning
Allow the Dutch oven to cool completely before washing it. For stubborn residue, use a brush or scraper. Avoid soaking cast iron for extended periods to prevent rust. See this detailed guide on cleaning Dutch ovens.
Storing
Store your Dutch oven in a dry place with the lid slightly ajar to prevent moisture buildup, which can lead to rust or mold.
Common Mistakes to Avoid
Even the most experienced bakers can make mistakes. Here are some common ones to watch out for:
1. Skipping the Preheat
Not preheating the Dutch oven can result in dense, unevenly cooked bread.
2. Using Cold Dough
Make sure your dough is at room temperature before baking to allow for even cooking and proper rise.
Innovative Techniques
For those looking to level up their Dutch oven bread baking skills, consider these advanced techniques:
Banneton Proofing
Using a banneton basket for the final proofing stage creates beautiful patterns on the dough and helps maintain its shape.
Adding Steam
If you want extra steam, place a small metal tray with water on the ovens bottom rack.
FAQs
Q: Can I use a regular pot instead of a Dutch oven?
A: While you can use other pots, a Dutch ovens heat retention and steam-trapping capabilities make it superior for bread baking.
Q: Do I need to use parchment paper?
A: Parchment paper makes transferring the dough easier and prevents sticking. However, you can also use a well-floured surface.
Q: How do I know if my Dutch oven is hot enough?
A: Preheat it for a full 30 minutes. Some chefs also use an infrared thermometer to check the temperature.
Mastering how to prep Dutch oven for bread can transform your home baking experience. With these tips and techniques, youll be well on your way to creating delightful, bakery-quality loaves at home.
As an Amazon Associate, I earn from qualifying purchases.
As an Amazon Associate, I earn from qualifying purchases.