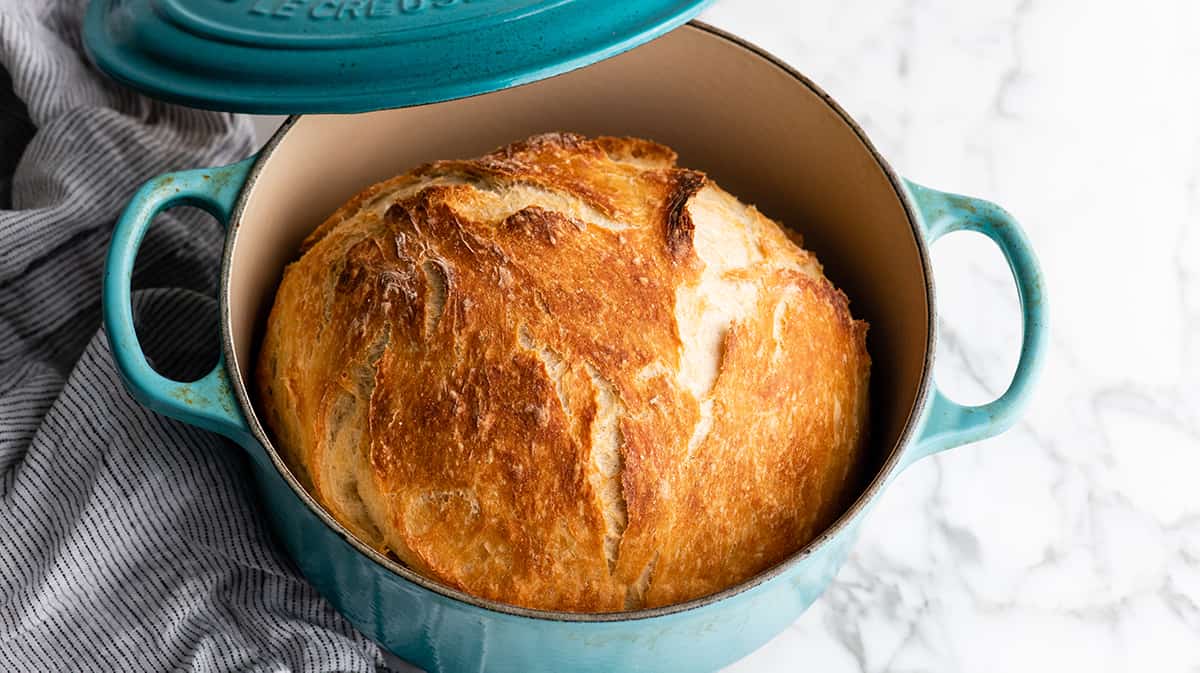
There’s something truly magical about making your own bread. The process is an ancient one, steeped in tradition and rich in aroma and taste. One tool that has become indispensable in this endeavor is the Dutch oven. In this article, we’ll delve into how to make bread in a Dutch oven, ensuring you achieve rustic, artisanal loaves in your kitchen.

The Charm of Dutch Oven Bread
Using a Dutch oven for bread making offers several benefits. Its unique ability to mimic the steam ovens in professional bakeries is unparalleled. But before we dive into the process, let’s explore the charm behind using a Dutch oven.
A Dutch oven ensures even heat distribution, which is crucial for a good rise and crust. Moreover, its moisture-retaining properties allow the bread to bake in a steam-rich environment, leading to a delightful, crusty exterior.

Step-by-Step Guide on How to Make Bread in a Dutch Oven
Ingredients You Will Need
- All-purpose flour: 4 cups
- Warm water: 1 cups
- Active dry yeast: 1 packet (2 teaspoons)
- Salt: 2 teaspoons
Preparing the Dough
Start by combining the warm water and yeast in a bowl. Allow it to sit for about 5-10 minutes until it becomes frothy. This is a sign that the yeast is active.
In a large mixing bowl, combine the flour and salt. Slowly pour the yeast mixture into the flour mixture, stirring with a wooden spoon until a dough forms. The dough may seem a bit shaggy, but that is perfectly fine. Kneading comes later to bring it all together.
Kneading the Dough
Transfer the dough to a lightly floured surface. Knead for about 10 minutes until it becomes smooth and elastic. This process helps develop gluten, which gives the bread its structure.
First Rise (Bulk Fermentation)
Place the dough in a lightly oiled bowl, turning it to coat all sides. Cover it with a clean kitchen towel and let it rise in a warm, draft-free place for 1-2 hours, or until it has doubled in size.
Shaping the Dough
Once the dough has risen, gently punch it down to release the gases. Transfer it to a floured surface and shape it into a tight ball. Place the shaped dough onto a piece of parchment paper for easy handling later.
Second Rise
Cover the dough again and let it rise for another 30-60 minutes. During this time, preheat your oven to 450F (230C) with the Dutch oven inside. This ensures the Dutch oven is hot and ready for baking.

Baking the Bread
Preheating the Dutch Oven
Carefully remove the hot Dutch oven from the oven. Using the parchment paper, transfer the dough into the Dutch oven. Be cautious during this step to avoid burns.
Scoring the Bread
Before baking, score the top of the dough with a sharp knife. This allows the bread to expand properly in the oven and prevents it from cracking haphazardly.
Baking with the Lid On
Cover the Dutch oven with its lid and place it back into the preheated oven. Bake the bread for 30 minutes, allowing the steam to build up inside.
Baking with the Lid Off
After 30 minutes, remove the lid to let the bread develop a beautiful golden brown crust. Continue baking for another 15-20 minutes.
Cooling the Bread
Once the bread is done, carefully remove it from the Dutch oven and let it cool on a wire rack. Cooling is essential to achieve the right texture, so resist the temptation to slice into it immediately.
Maintaining Your Dutch Oven
Cleaning Your Dutch Oven
Proper maintenance of your Dutch oven ensures longevity and optimal performance. For tips on how to clean a Dutch oven, refer to this guide
Seasoning Your Dutch Oven
Just like cast iron skillets, Dutch ovens need seasoning. This adds a protective layer and enhances its non-stick properties. Learn more about seasoning cast iron.
Storage Tips
Ensure that your Dutch oven is completely dry before storing to prevent rusting. It’s best to store it with the lid off to allow air circulation.
FAQs
How hot should the water be for activating yeast?
The water should be warm, around 110-115F (43-46C). Hot water can kill the yeast, while cold water won’t activate it properly.
Can I make no-knead bread in a Dutch oven?
Absolutely! A Dutch oven is perfect for no-knead bread recipes, providing the steam needed for a good rise and crust.
Why does my bread stick to the Dutch oven?
If your bread sticks, ensure you use enough flour during the final shaping and place the dough on parchment paper before transferring it into the Dutch oven.
As an Amazon Associate, I earn from qualifying purchases.

