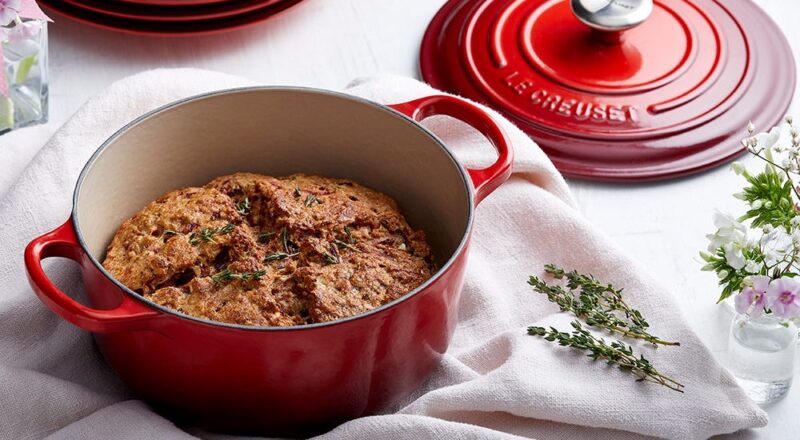
When it comes to maintaining your beloved kitchen tools, knowing how to dry a cast iron braiser properly is essential. Proper drying techniques can prevent rust and extend the life of your cookware. Whether you’re a seasoned chef or a home cook, this guide will walk you through the process step by step.

Why Proper Drying is Important
Ensuring your cast iron braiser is thoroughly dried is crucial for preserving its integrity and performance. Cast iron is susceptible to rust if exposed to moisture for extended periods. Therefore, understanding why proper drying is important will help you maintain your cookware’s quality and longevity.
Understanding Cast Iron
Before diving into the drying process, it’s important to understand what makes cast iron unique. Unlike other materials, cast iron is porous and can retain moisture. This characteristic makes it necessary to treat it with care, especially after washing.
The Risks of Improper Drying
Improperly dried cast iron can lead to several issues. The most common problem is rust, which can develop quickly if moisture is left on the surface. Additionally, failing to dry your braiser can affect its non-stick properties and overall cooking performance.
Step-by-Step Guide: Drying Your Cast Iron Braiser
Now that you understand the importance of proper drying, let’s explore the steps involved in how to dry a cast iron braiser properly.
Step 1: Cleaning Your Braiser
Begin by cleaning your cast iron braiser with warm water and a mild detergent. Use a soft sponge or cloth to gently scrub away any food residues. Avoid using harsh abrasives or metal scouring pads, as these can damage the surface.
Step 2: Rinse Thoroughly
After cleaning, rinse your braiser thoroughly to remove any soap residues. Soap left on the cast iron can affect the seasoning and may alter the taste of your food.
Step 3: Pat Dry with a Towel
Use a clean, dry towel to pat your braiser dry immediately after rinsing. Pay special attention to the handles and any crevices where water can accumulate. This step is vital in preventing rust formation.
Step 4: Heat on the Stove
Place your braiser on the stove over low heat for a few minutes. This will help evaporate any remaining moisture. Be sure not to overheat, as excessive heat can damage the seasoning.
Step 5: Apply a Thin Layer of Oil
Once your braiser is dry, apply a thin layer of oil to the surface. Use a paper towel to spread the oil evenly. This step helps maintain the seasoning and provides an additional layer of protection against rust.
Maintaining Your Cast Iron Braiser
Beyond drying, maintaining your cast iron braiser involves regular seasoning and proper storage. By following these additional steps, you can ensure your cookware remains in excellent condition.
Regular Seasoning
Seasoning your braiser regularly will enhance its non-stick properties and protect the surface. To season, apply a thin layer of oil, and bake it in the oven at 350F for an hour.
Proper Storage
Store your braiser in a dry place with the lid off. This allows air circulation and prevents moisture buildup. Consider placing a paper towel inside to absorb any residual moisture.

FAQs
Can I use soap on my cast iron braiser?
Yes, it’s safe to use a mild detergent, but ensure you rinse thoroughly to remove all soap residues.
What type of oil is best for seasoning?
Vegetable oil or canola oil works well for seasoning due to their high smoke points.
How often should I season my braiser?
Season your braiser every few months or any time you notice the surface looking dull.
For more tips on using cast iron cookware, visit Lodge Cast Iron Recipes or learn about the differences between braiser and saute pan.
This article contains affiliate links. We may earn a commission at no extra cost to you.

