There’s nothing quite like the rich, hearty flavor of a well-cooked chuck roast. If you’re wondering how to cook a chuck roast in a Dutch oven, you’re in the right place. This comprehensive guide will walk you through every step, ensuring you serve up a delicious meal that will delight your family and friends.

What is a Chuck Roast?
A chuck roast comes from the shoulder section of the cow. It’s known for its rich and beefy flavor and tenderness when slow-cooked. The marbling of fat within the meat adds flavor and moisture, making it an ideal candidate for slow cooking methods like using a Dutch oven.

Why Use a Dutch Oven?
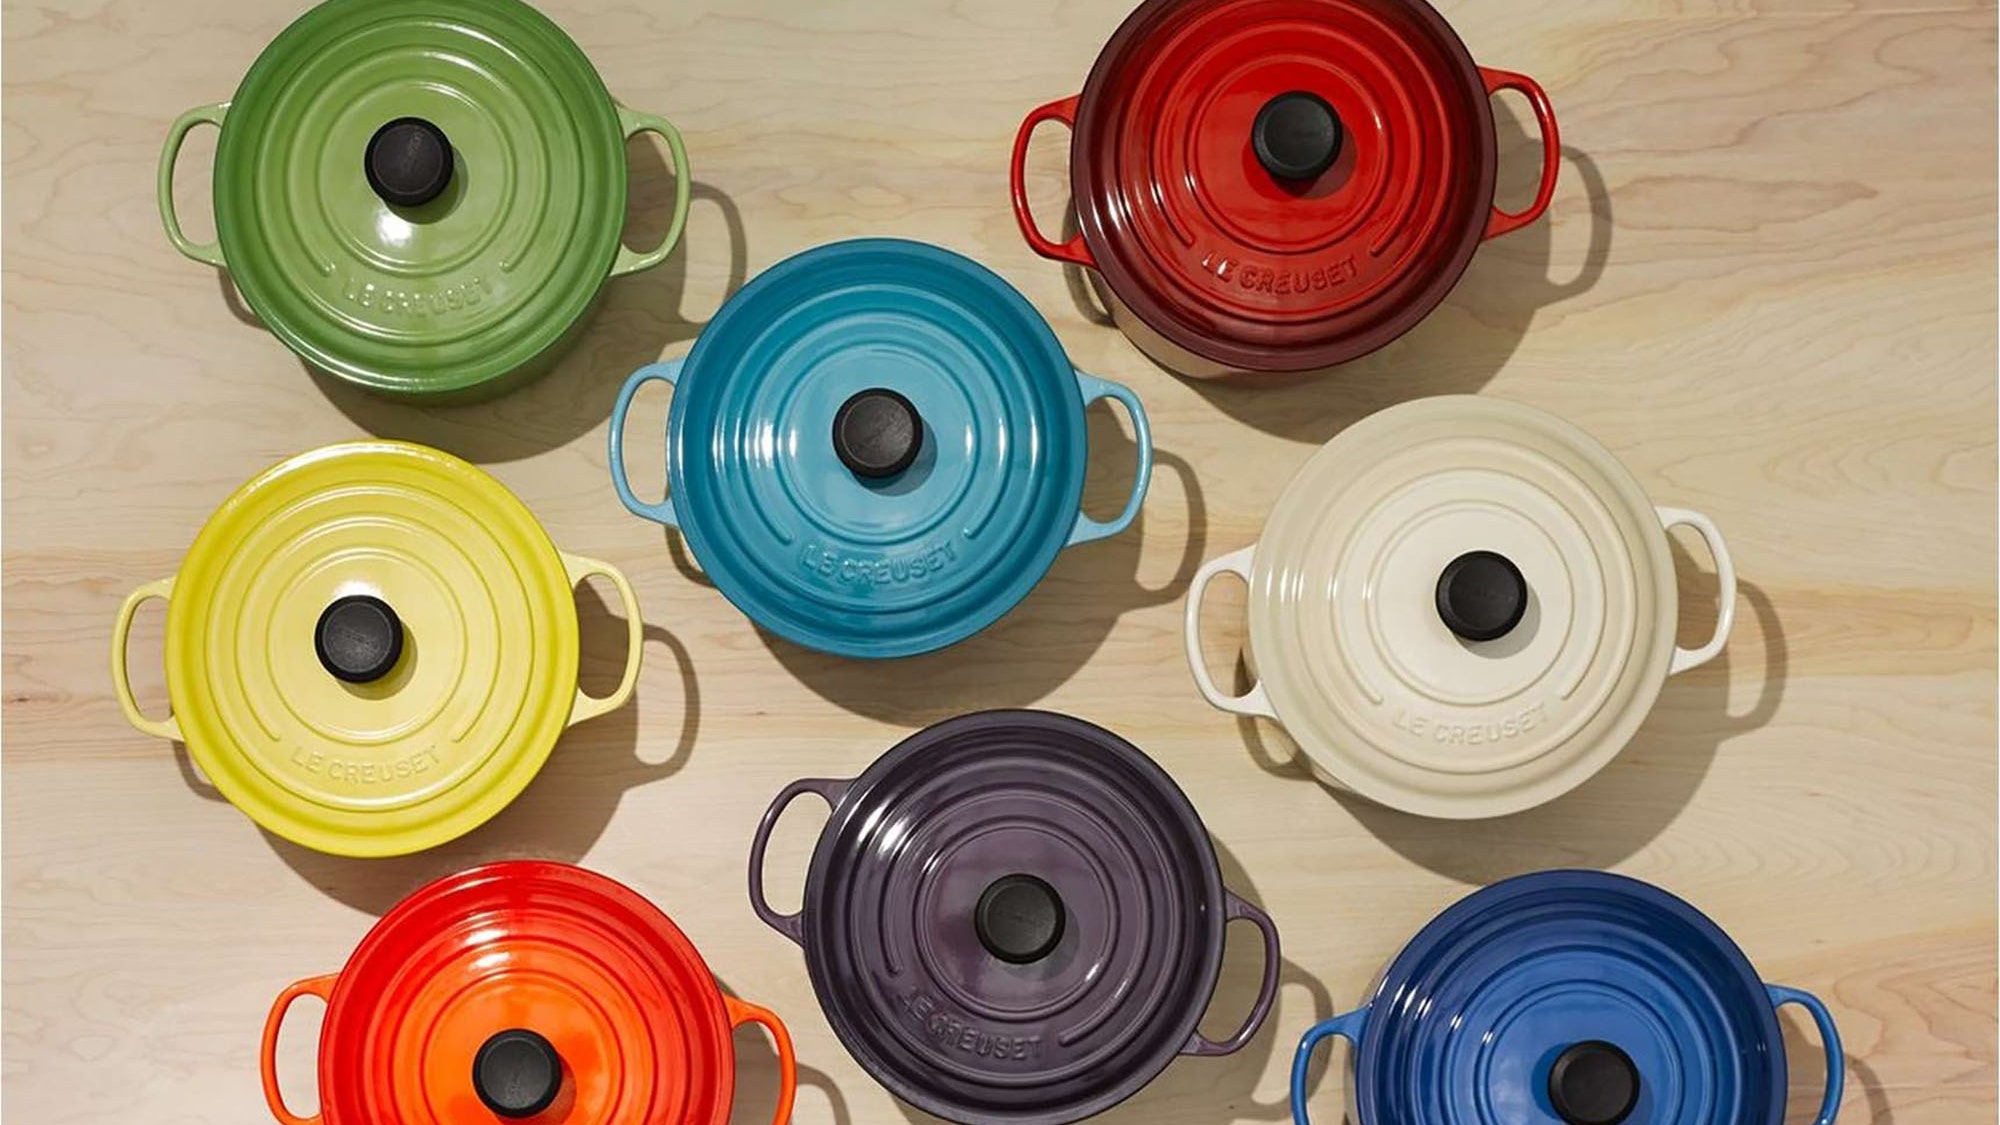
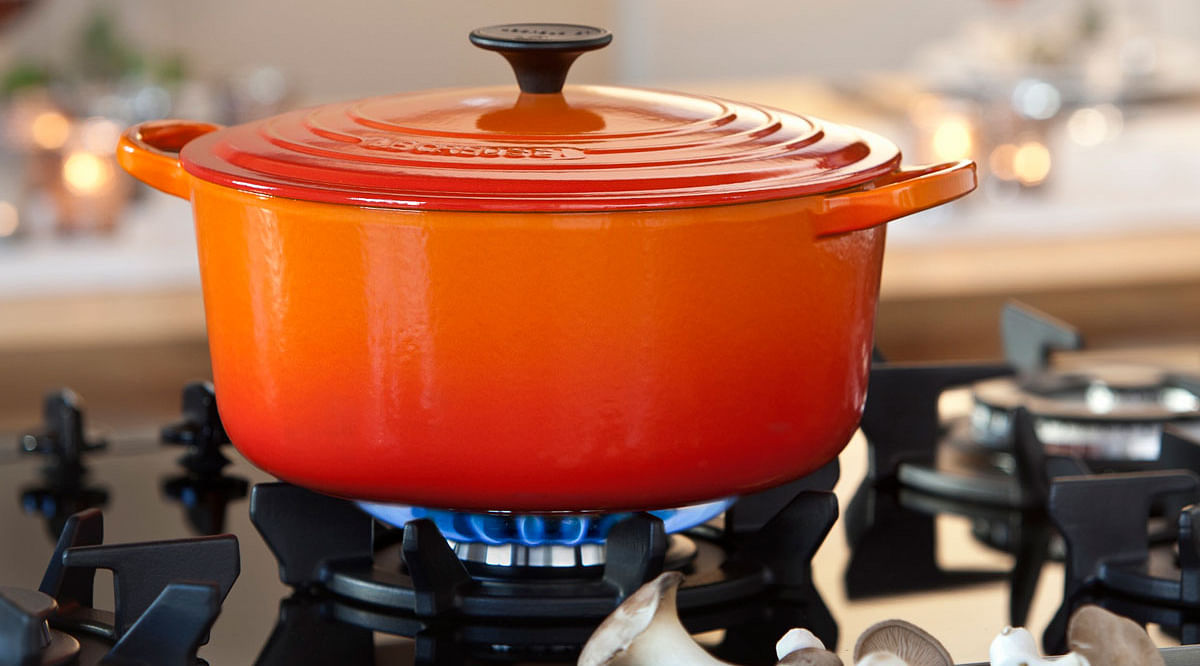
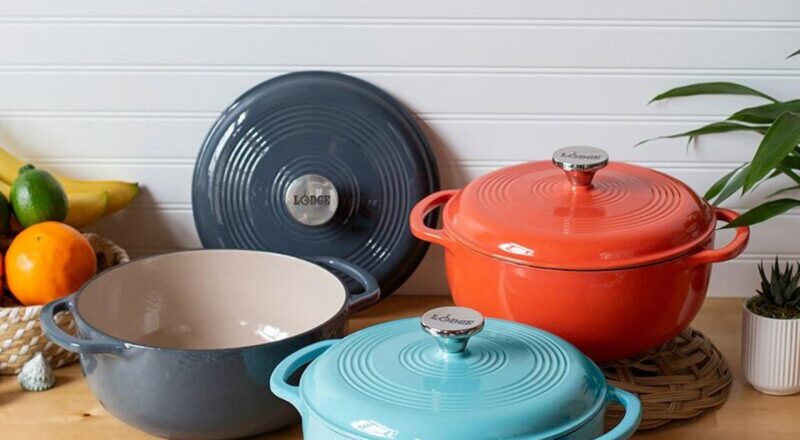
The Dutch oven is a versatile and robust piece of cookware. Its thick walls and heavy lid retain and distribute heat evenly, perfect for the slow-cooking process needed for a chuck roast. A Dutch oven can be used on the stovetop or in the oven, making it highly versatile.
Benefits of Cooking with a Dutch Oven
Some of the advantages include:
- Even Heat Distribution: Ensures your roast cooks evenly.
- Retention of Moisture and Flavor: The tight-fitting lid keeps moisture and flavors locked in.
- Versatility: Can be used for both stovetop and oven cooking.

Ingredients You’ll Need
Gathering the right ingredients is crucial. Here’s what you’ll need:
- 1 34 pound chuck roast
- Salt and pepper
- 2 tablespoons of olive oil
- 1 large onion, chopped
- 3 cloves of garlic, minced
- 2 cups of beef broth
- 2 carrots, chopped
- 2 potatoes, chopped
- 1 tablespoon of rosemary
- 1 tablespoon of thyme

Step-By-Step Guide
1. Seasoning the Meat
Start by seasoning your chuck roast generously with salt and pepper. Let it sit at room temperature for about 30 minutes. This allows the meat to absorb the seasoning thoroughly.
2. Searing the Roast
Heat the olive oil in your Dutch oven over medium-high heat. Once hot, sear the roast on all sides until it is golden brown. This process locks in the flavors and creates a flavorful crust.
Sauting the Vegetables
Remove the roast from the Dutch oven and set aside. In the same pot, add onions and garlic. Saut until they become fragrant and golden brown.
Adding the Liquids
Pour in the beef broth, scraping the bottom of the pot to deglaze it. This process lifts all the delicious browned bits from the pot, adding extra flavor to your dish.
Combining Ingredients
Place the chuck roast back into the Dutch oven. Add the carrots, potatoes, rosemary, and thyme. Ensure the vegetables are submerged in the broth to cook evenly.
Braising the Roast
Cover the Dutch oven with its lid and place it in a preheated oven at 275F. Allow the roast to cook slowly for 2.5 to 3 hours. The low and slow cooking method ensures the meat becomes tender and flavorful.
Checking for Doneness
After 2.5 hours, check the roast for tenderness. The meat should pull apart easily with a fork. If its not ready, let it cook for another 30 minutes.
Resting the Meat
Once your chuck roast is done, remove it from the oven and let it rest in the Dutch oven for 15-20 minutes before serving. This allows the juices to redistribute, ensuring every bite is moist and flavorful.
Serving Suggestions
Your chuck roast is now ready to serve. You can pair it with mashed potatoes, steamed vegetables, or a simple green salad for a complete meal.
Cleaning and Maintaining Your Dutch Oven
After enjoying your meal, it’s essential to clean and maintain your Dutch oven properly. Here’s a guide on how to clear cast iron effectively:
Cooking Roast
FAQs
Can I cook a chuck roast on the stovetop instead?
Yes, you can. However, cooking it in the oven provides more even heat distribution, resulting in a tenderer roast.
What other vegetables can I add?
You can add vegetables like mushrooms, celery, and parsnips to enhance the flavor of your chuck roast.
Do I need to brown the roast before cooking?
Browning the roast is essential for developing a rich, flavorful crust. It adds depth and character to your dish.
Conclusion
Cooking a chuck roast in a Dutch oven is a delightful way to prepare a meal thats both savory and succulent. By following these steps, you’ll create a dish that’s sure to impress. For more delicious recipes and cooking tips, visit Perfect Fried Egg.
As an Amazon Associate, I earn from qualifying purchases.

