Baking bread at home is a rewarding and therapeutic experience, especially when you achieve that perfect crusty exterior and soft, airy interior. For those who are gluten-intolerant or simply prefer to avoid gluten, creating a delicious loaf of bread might seem daunting. However, with the right recipe, this is not only achievable, but also easy and enjoyable! This article will provide you with an extensive and engaging guide on how to make an irresistible gluten-free artisan bread recipe in a Dutch oven.
Ingredients You’ll Need
- 3 cups of gluten-free flour blend
- 2 teaspoons of xanthan gum
- 1 1/2 teaspoons of salt
- 1 tablespoon of sugar
- 2 1/4 teaspoons of instant yeast
- 1 1/2 cups of warm water
- 1/4 cup of olive oil
- 1 teaspoon of apple cider vinegar
Gathering all the necessary ingredients is the first step to making your gluten-free artisan bread. The choice of gluten-free flour blend is paramount since itll affect the texture and flavor of your bread. Ensure your blend contains a mix of rice flour, potato starch, and tapioca flour for the best results. Adding xanthan gum is crucial as it mimics the elasticity gluten provides, giving structure to your bread.
:max_bytes(150000):strip_icc()/Testing-StaubCastIron5.5QuartRoundCocotte-3-WillDickey-1342-376-33155a88784443eaa706f540ffb27b0d.jpg)
Step-by-Step Instructions
Step 1: Preparing the Dough
Start by mixing all dry ingredients, including the gluten-free flour blend, xanthan gum, salt, sugar, and instant yeast, in a large bowl. In a separate bowl, combine the wet ingredients: warm water, olive oil, and apple cider vinegar. Gradually pour the wet mixture into the dry mixture, stirring continuously until you form a tacky dough. This step is critical as it ensures that all ingredients are well combined, providing a consistent texture throughout your dough.
Step 2: Letting the Dough Rise
Once your dough is formed, cover the bowl with a damp cloth or plastic wrap and let it rise in a warm, draft-free area. The rising time can greatly affect the bread’s final texture and flavor. Typically, allow the dough to rise for 1-2 hours or until it has doubled in size. This waiting period might require some patience, but it is essential for the yeast to work its magic, developing those delightful air pockets that make artisan bread so special.
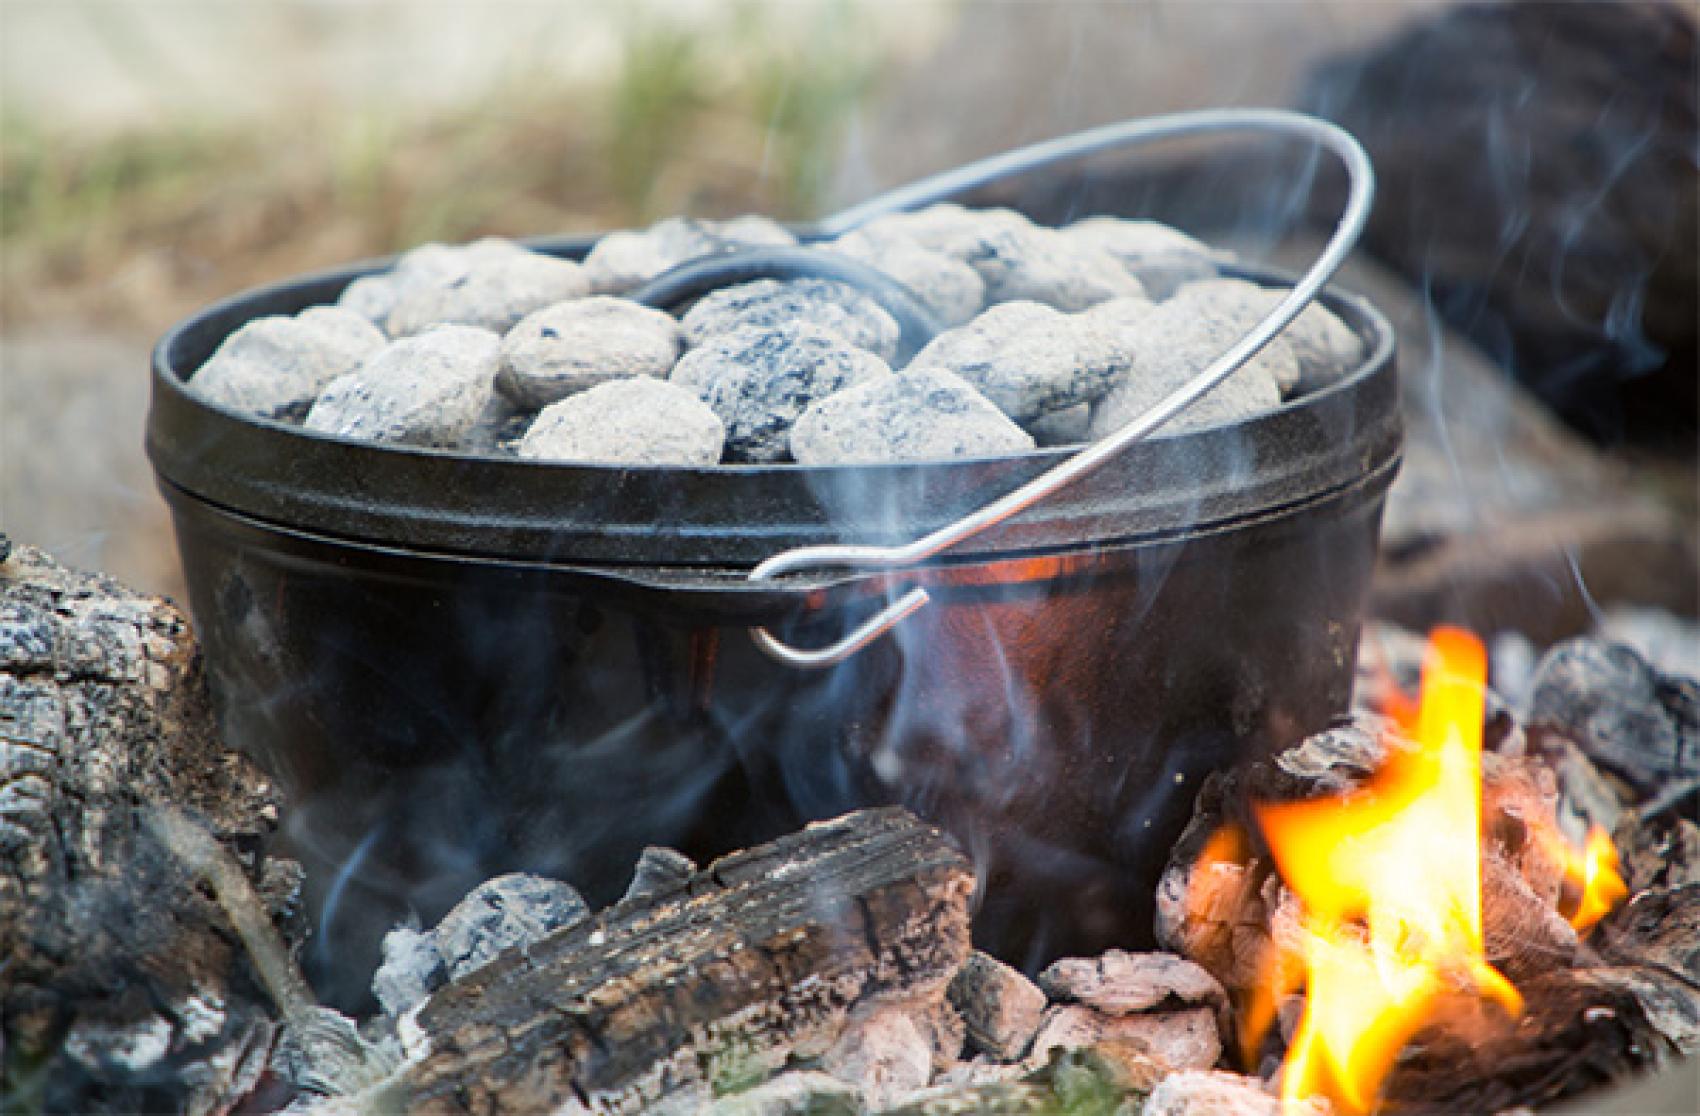
Step 3: Preparing the Dutch Oven
While the dough is rising, it’s time to prepare your Dutch oven. Preheat your oven to 450F (230C) and place your Dutch Oven inside to heat up as well. The high temperature and preheated Dutch oven are key to creating that perfect crusty exterior. If you are curious about the different kinds of Dutch ovens and their uses, you can find more information here.
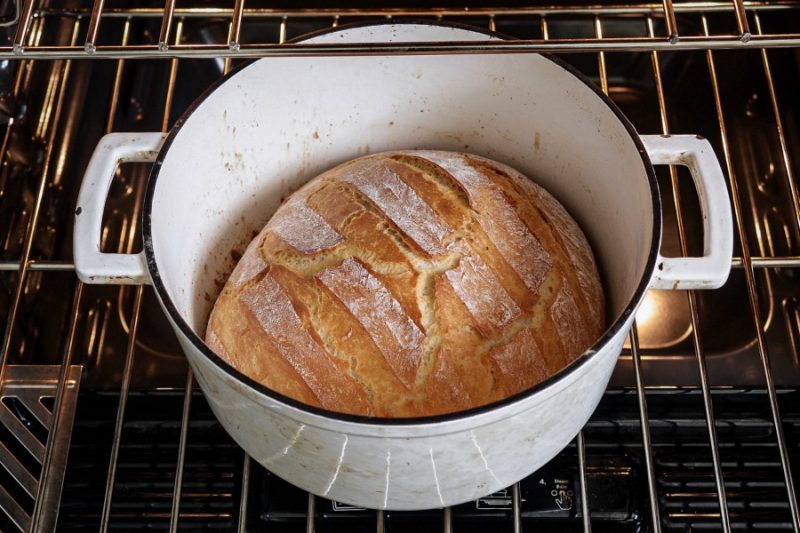
Step 4: Baking the Bread
After the dough has risen and the Dutch oven is thoroughly heated, carefully transfer the dough into the hot Dutch oven. Score the top of the dough with a sharp knife to allow it to expand properly while baking. Cover with the lid and bake for 30 minutes. Then, remove the lid and bake for an additional 15-20 minutes or until the bread has developed a golden-brown crust. Knowing how to properly care for and store your Dutch oven can also enhance your cooking experience. Learn more about it here.
Tips for Perfect Gluten-Free Artisan Bread
Making gluten-free artisan bread can have its challenges, but with some helpful tips, you can ensure excellent results every time. First, don’t rush the rising process. Giving the dough enough time to rise is crucial for texture and flavor development. Secondly, always use a sharp knife or a bread lame to score the dough before baking. This will ensure the bread expands correctly, preventing it from bursting unevenly. And finally, experiment with mixing in different herbs, seeds, or even cheeses to add your unique twist to the bread.
Serving Suggestions
Your freshly baked gluten-free artisan bread is a versatile addition to many meals. Serve it warm with a pat of butter or olive oil dipping sauce. It pairs excellently with soups, stews, and salads. Consider it a delightful companion to a charcuterie board. For a simple yet fulfilling meal, slice it and make gourmet sandwiches or toast it for breakfast with your favorite toppings. The bread’s crusty exterior and soft interior make it a favorite for all occasions.
Maintaining Your Cookware
Properly maintaining your Dutch oven and other cookware is essential to ensure they last a lifetime. After each use, clean your Dutch oven with warm water and a soft brush. Avoid using harsh detergents as they can strip the seasoning. For more detailed care instructions, you can visit this link on how to store your Dutch oven. Additionally, condition your cutting board regularly to prevent it from drying out. A high-quality cutting board conditioner can keep your board in top shape, ensuring a smooth and clean surface for all your culinary adventures.
As an Amazon Associate, I earn from qualifying purchases.
For more information on cooking with Dutch ovens and other recipes, visit this link.
In conclusion, baking a gluten-free artisan bread in a Dutch oven is a fulfilling culinary project that welcomes experimentation and personalization. By following this comprehensive guide, you’ll achieve excellent results that will impress both gluten-free and gluten-tolerant friends alike. Happy baking!