Are you ready to discover the magic of creating artisanal bread right in your own kitchen? With this French bread recipe in a Dutch oven, you’ll unveil the secrets of achieving a perfect crust and a light, airy crumb. A Dutch oven brings a unique cooking method that raises your bread-baking game, making this process as foolproof as it is rewarding. Whether you’re a seasoned baker or a beginner, this recipe will guide you step-by-step, ensuring perfect results every time.
:max_bytes(150000):strip_icc()/Testing-StaubCastIron5.5QuartRoundCocotte-3-WillDickey-1342-376-33155a88784443eaa706f540ffb27b0d.jpg)
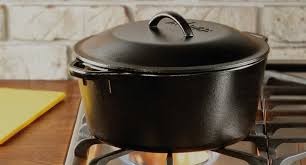
Why Use a Dutch Oven for Baking Bread?
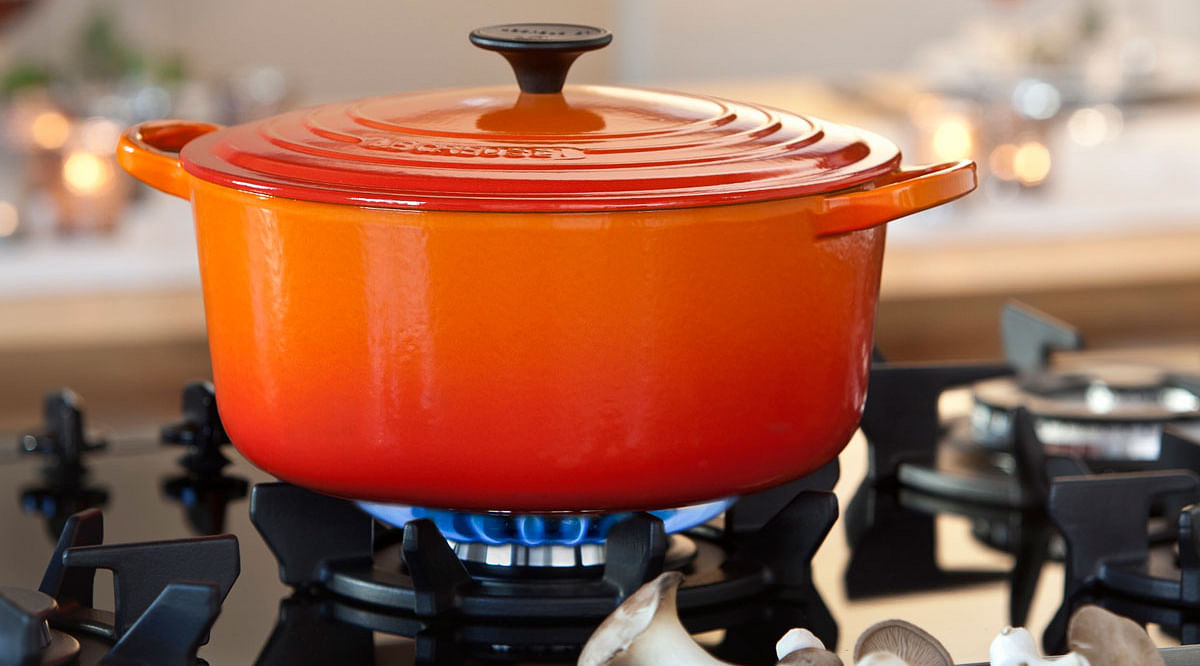
The Dutch oven is a versatile piece of cookware that provides even heat distribution and retention, crucial for perfect baking. But why specifically use it for a French bread recipe? The answer lies in its ability to trap steam, which is essential for creating that coveted crusty exterior while keeping the inside soft and chewy. The results mimic the baking conditions of a professional steam-injected oven, but in the comfort of your home. Moreover, you can keep your Dutch oven in top shape with proper care, as detailed here.
Ingredients: Amplifying Your Baking with Quality Components
- 4 cups all-purpose flour
- 2 teaspoons salt
- 1 tablespoon sugar
- 2 1/4 teaspoons active dry yeast
- 1 1/2 cups warm water (110F)
Recommended Tools (With Links):
This recipe shines when using high-quality tools. For more on the differences between a Dutch oven and a regular pot, see this article.
Step-by-Step: Crafting the Perfect French Bread
Step 1: Preparing the Dough
Start by combining warm water and sugar in a large bowl. Sprinkle the yeast over the surface and let it sit for about 5 minutes until it becomes frothy. This activates the yeast, ensuring your bread will rise beautifully. Add the flour and salt to the mixture, stirring until a shaggy dough forms. Turn the dough out onto a lightly floured surface and knead it for 10 minutes until it’s smooth and elastic. Proper kneading is crucial for developing the gluten structure, which gives bread its classic texture.
While kneading, you can ponder about why Dutch ovens sometimes stick and how to avoid it.
Step 2: The First Rise
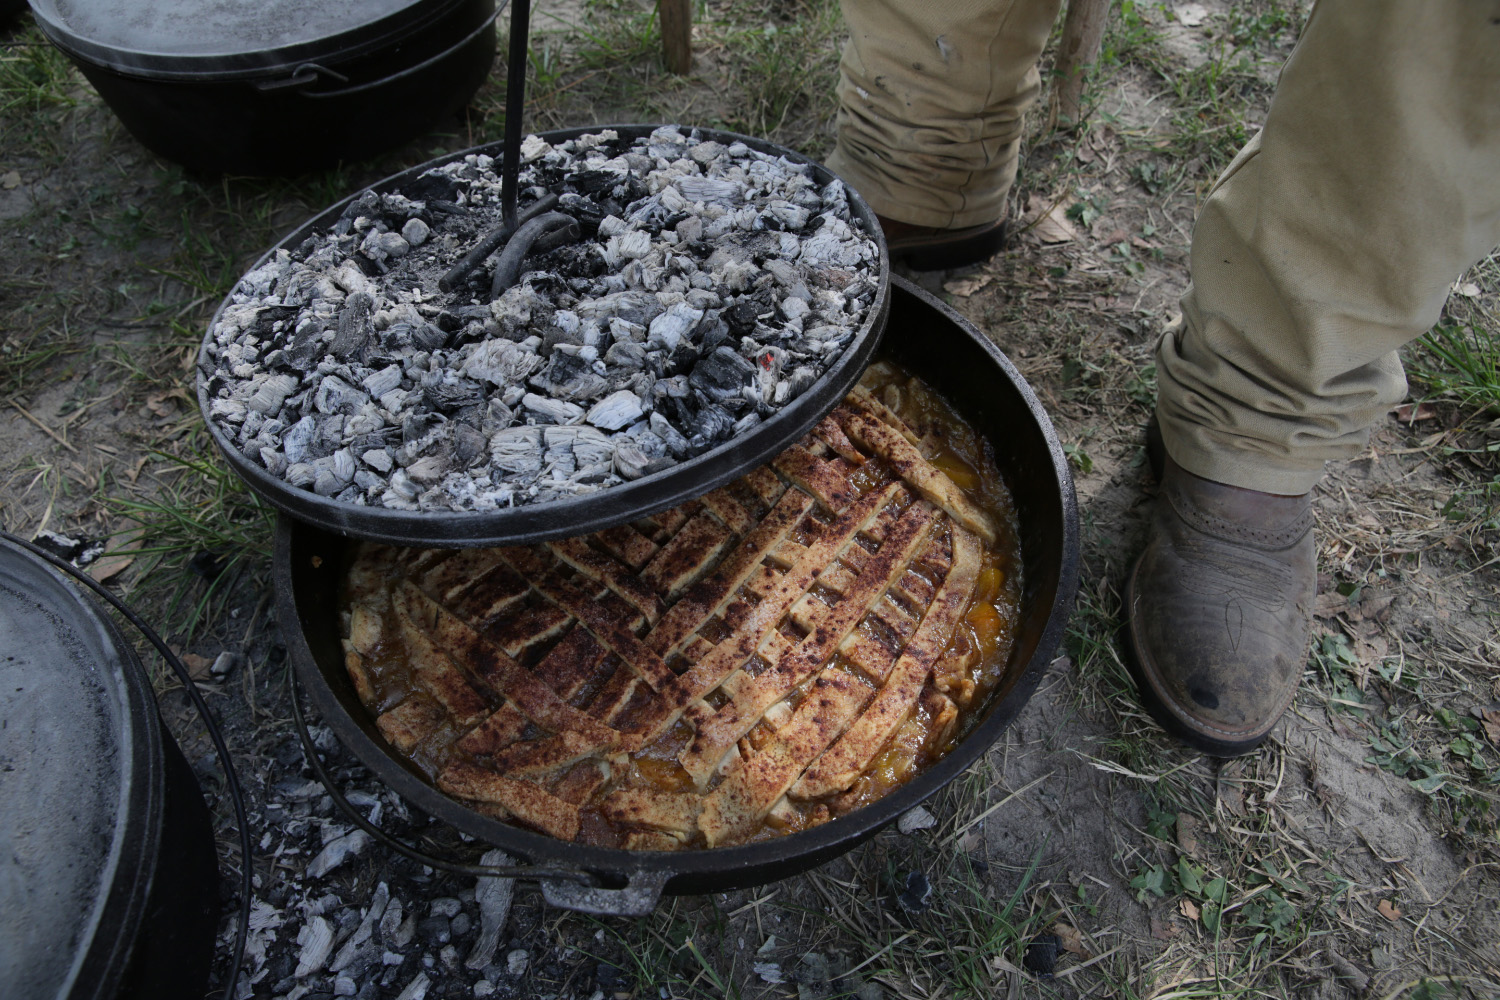
After kneading, place the dough in a lightly oiled bowl, turning to coat the top. Cover it with a damp cloth or plastic wrap and let it rise in a warm, draft-free location for 1 to 1.5 hours, or until it has doubled in size. The rising time can vary based on the ambient temperature. A longer rise develops deeper flavors, so patience is key. During this waiting time, explore more culinary uses of the Dutch oven like making chili.
Step 3: Shaping the Dough
Once the dough has doubled, turn it out onto a lightly floured surface again. Gently punch it down to release excess gas, then shape it into a tight ball or an elongated loaf. Shaping the dough properly will influence the final appearance and texture of your bread. A well-shaped dough maintains its structure during baking, leading to a more professional-looking loaf.
Step 4: The Second Rise
After shaping, place the dough on a piece of parchment paper. Cover it again and let it rise for another 30-45 minutes, or until it has puffed up. During this second rise, preheat your Dutch oven in an oven set to 450F. Preheating the Dutch oven is critical as it ensures the bread receives an immediate blast of heat, which is essential for oven spring the rapid rise of bread in the first few minutes of baking.
Step 5: Baking Magic
Carefully remove the hot Dutch oven from the oven. Using the parchment paper, lift your risen dough and place it directly into the Dutch oven. Cover it with the lid and return it to the oven. Bake covered for 30 minutes. Then, remove the lid and bake for an additional 15-20 minutes, or until the crust is deeply golden brown and the loaf sounds hollow when tapped.
Pro Tips for Perfect French Bread
Achieving bakery-level results at home is not rocket science but attending to small details can take your bread to the next level:
- Hydration: The consistency of your dough depends on the flour-to-water ratio. Stick to the measurements, but be ready to adjust based on the humidity and flour variety.
- Steam: The steam inside the Dutch oven is crucial. Keep the lid tightly closed during the first half of baking.
- Temperature Control: Ensure your oven temperature is accurate. An oven thermometer can be incredibly helpful for consistency.
Maintaining Your Dutch Oven and Other Tools
A Dutch oven is not just a baking tool but an investment. Proper maintenance will ensure it lasts for generations:
- Seasoning your Dutch oven can keep it non-stick and protect it from rust.
- Regular cleaning and conditioning using cookware cleaner and cutting board conditioner can extend the longevity of your tools.
Don’t forget to read more on storing your Dutch oven properly to keep it in pristine condition.
As an Amazon Associate, I earn from qualifying purchases.
The journey to baking perfect French bread using a Dutch oven is not only about the ingredients and steps. It’s an experience, a pursuit of culinary excellence, and a labor of love that results in delicious, heartwarming bread. So, roll up your sleeves, gather your ingredients, and let your kitchen transform into a French bakery. Bon apptit!