Baking bread at home can be an incredibly rewarding experience, and using a dutch oven can elevate your homemade breads to a professional level. In this comprehensive guide, we’ll explore a dutch oven rye bread recipe that is sure to impress your family and friends.
Why Use a Dutch Oven?
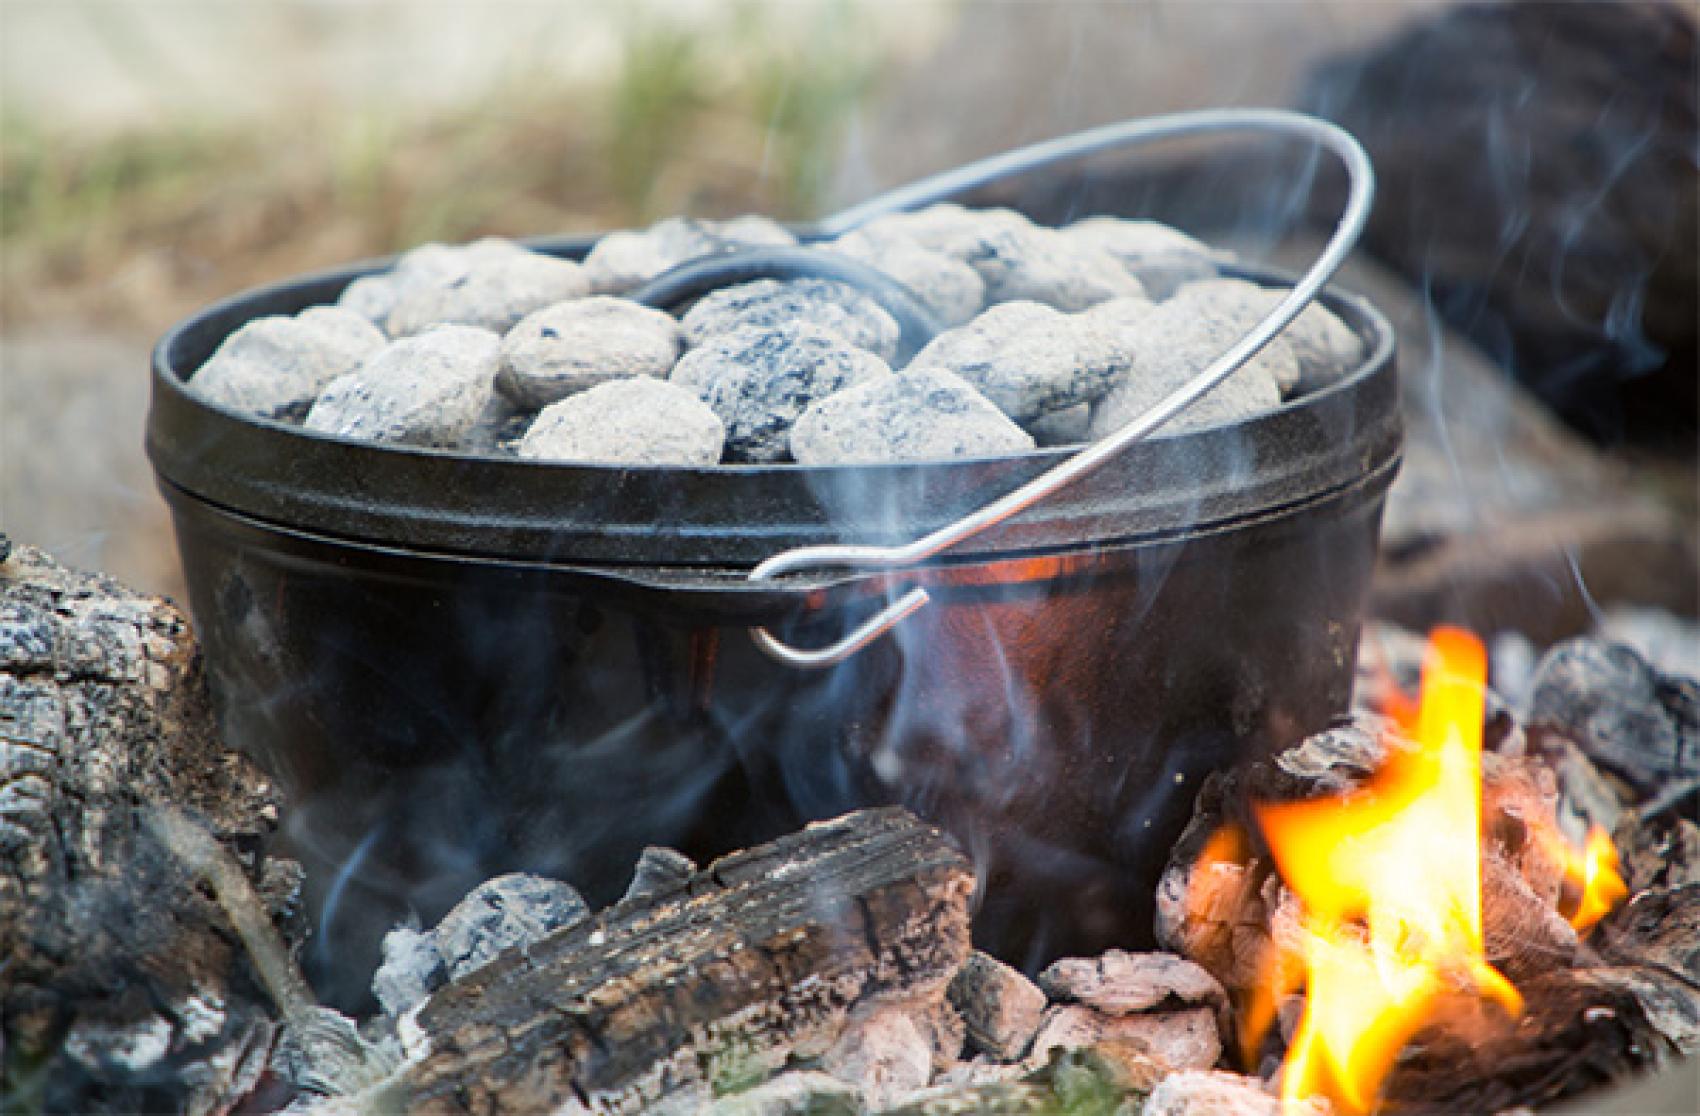
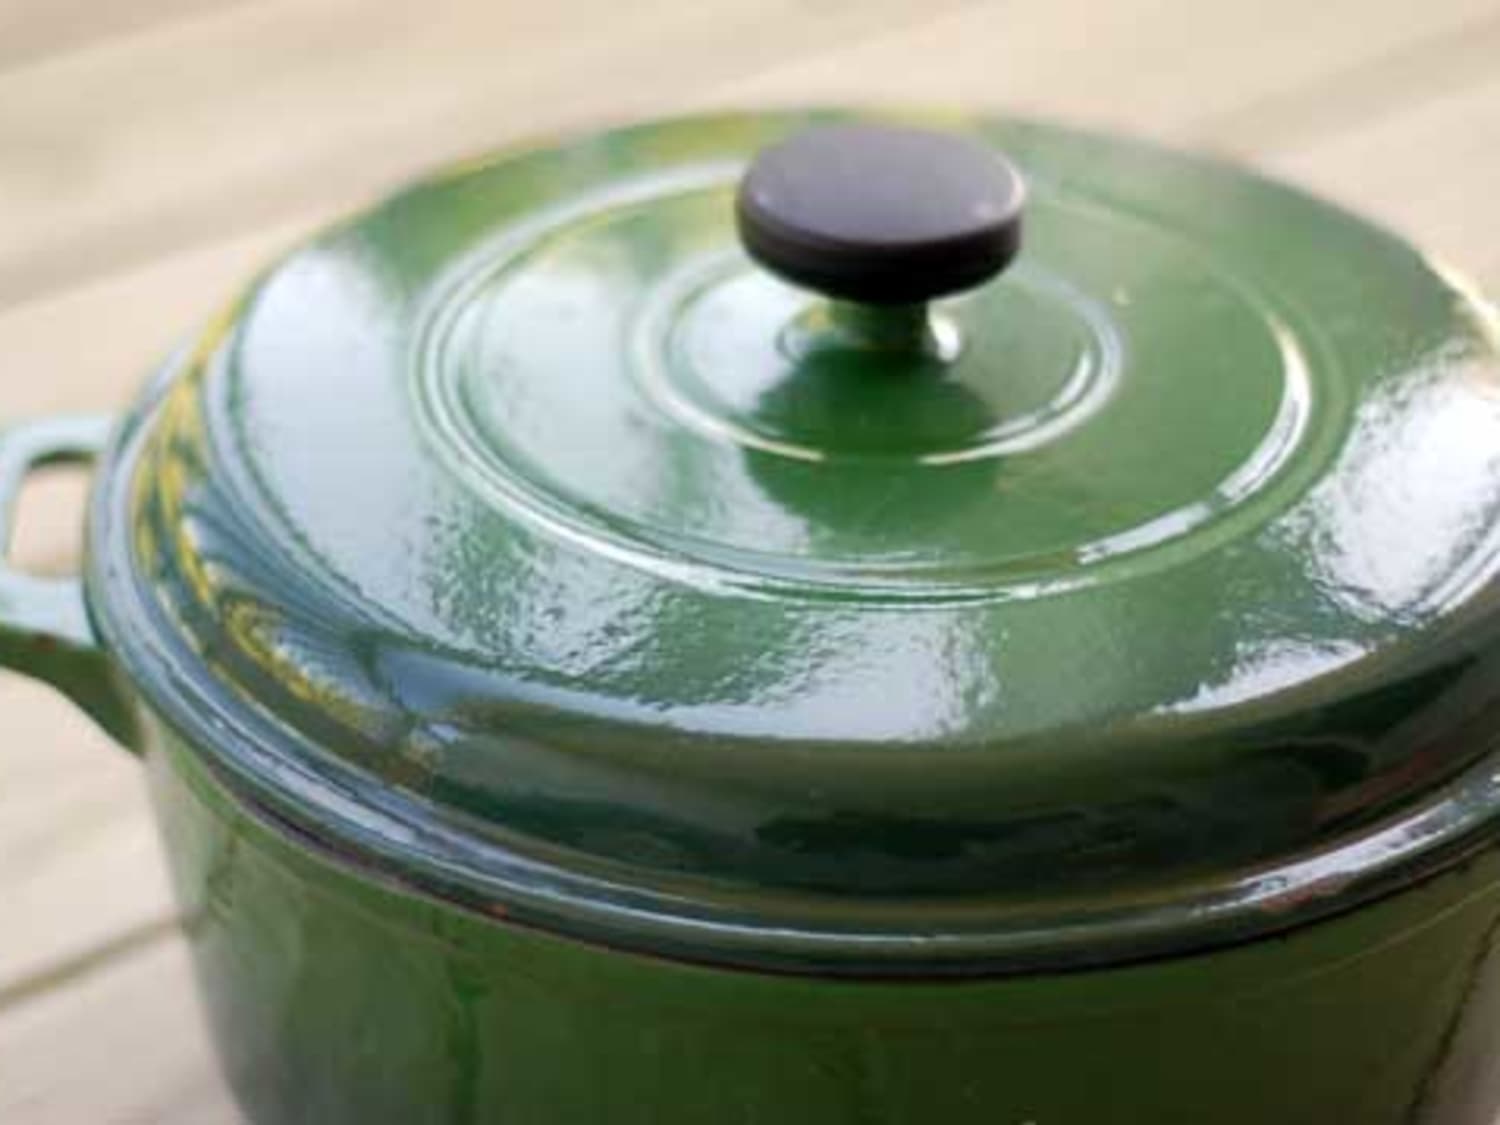
A dutch oven is a versatile and essential piece of cookware in any kitchen. Its thick walls and tight-fitting lid create a perfect environment for bread baking, mimicking a bakery’s steam injection system and allowing for a beautifully crusty exterior and soft, chewy interior. If you have ever wondered how a dutch oven is different from a pot, look no further. This guide will walk you through every step of using this versatile tool for outstanding bread baking results.

Ingredients
- 2 cups (240g) rye flour
- 1 cup (240ml) lukewarm water
- 1 tsp (5g) active dry yeast
For the Dough:
- 3 cups (360g) bread flour
- 1 1/2 cups (360ml) lukewarm water
- 1 1/2 tsp (9g) salt
- 1/4 cup (60ml) molasses
To make the perfect rye bread, you will need a well-seasoned common size dutch oven. Properly preparing your dutch oven is crucial to achieve the best results.
Step-by-Step Instructions
Step 1: Prepare the Sponge
Combine the rye flour, lukewarm water, and active dry yeast in a large mixing bowl. Stir until well combined, cover with a towel, and let it sit at room temperature for about 4-6 hours, or overnight. This process allows the natural fermentation to enhance the flavor and texture of your bread.
Step 2: Mix the Dough
In a separate bowl, combine the bread flour, lukewarm water, salt, and molasses. Mix until the ingredients are well incorporated. Gradually add this mixture to the sponge, stirring continuously to form a dough. Knead the dough on a floured cutting board for about 10 minutes until smooth and elastic.
Step 3: First Rise
Place the dough in a lightly oiled bowl, cover it with a damp cloth, and let it rise in a warm place for about 1-2 hours or until it has doubled in size. This period is crucial for developing the dough’s structure and flavors.
Step 4: Shape the Dough
After the first rise, gently punch down the dough to release the gas. Transfer it to your floured cutting board and shape it into a boule (round loaf). Place the shaped dough on a parchment paper-lined baking sheet and let it rise again for about 45-60 minutes.
Step 5: Preheat the Dutch Oven
While the dough is undergoing its second rise, place your dutch oven with its lid in your oven and preheat to 475F (245C) for at least 30 minutes. This step ensures the dutch oven is piping hot, which is essential for creating a steamy environment that helps the bread rise properly.
Step 6: Bake the Bread
Remove the hot dutch oven from the ovenbe sure to use oven mitts or a heat-resistant knife to lift the hot lid. Carefully place the risen dough inside the hot dutch oven using the parchment paper as a sling. Place the lid back on and bake for 30 minutes at 475F (245C).
Step 7: Finish Baking
After 30 minutes, remove the lid and continue baking for another 15-20 minutes or until the crust is a deep, rich brown, and the internal temperature of the bread reaches 200-210F (93-99C). This final step helps to achieve a crusty exterior while ensuring the bread is fully baked inside.
Step 8: Cool the Bread
Carefully remove the bread from the dutch oven and place it on a wire rack to cool completely before slicing. Allowing the bread to cool fully will help it set and develop its final texture.

Storage and Serving Suggestions
Store your homemade rye bread in a paper bag at room temperature for up to 3 days. For longer storage, wrap it tightly in plastic wrap or aluminum foil and freeze for up to 3 months. Use a sharp knife to slice your bread, pairing it with your favorite spreads, soups, or stews for a delicious meal. Wondering how to store your dutch oven? Here are some excellent tips on storing dutch ovens.
Cookware Care Tips
After enjoying your delicious rye bread, it’s essential to clean and maintain your cookware properly. For cleaning your dutch oven, a reliable cookware cleaner will remove residue and keep it in top shape. Similarly, conditioning your cutting board ensures it remains in good condition for future use. Here are some tips to prevent your dutch oven from sticking.
Enjoy baking and savoring your homemade dutch oven rye bread! Don’t forget to share your baking experiences and any tips you’ve found helpful in the comments below.
As an Amazon Associate, I earn from qualifying purchases.


