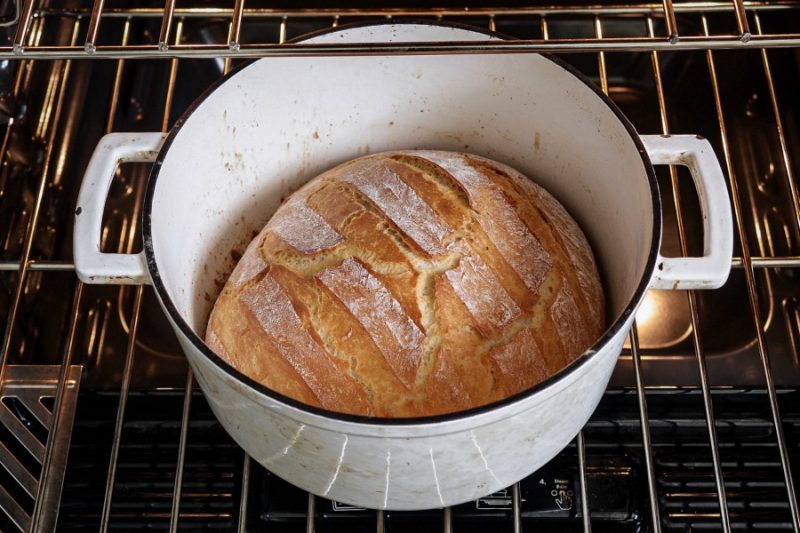
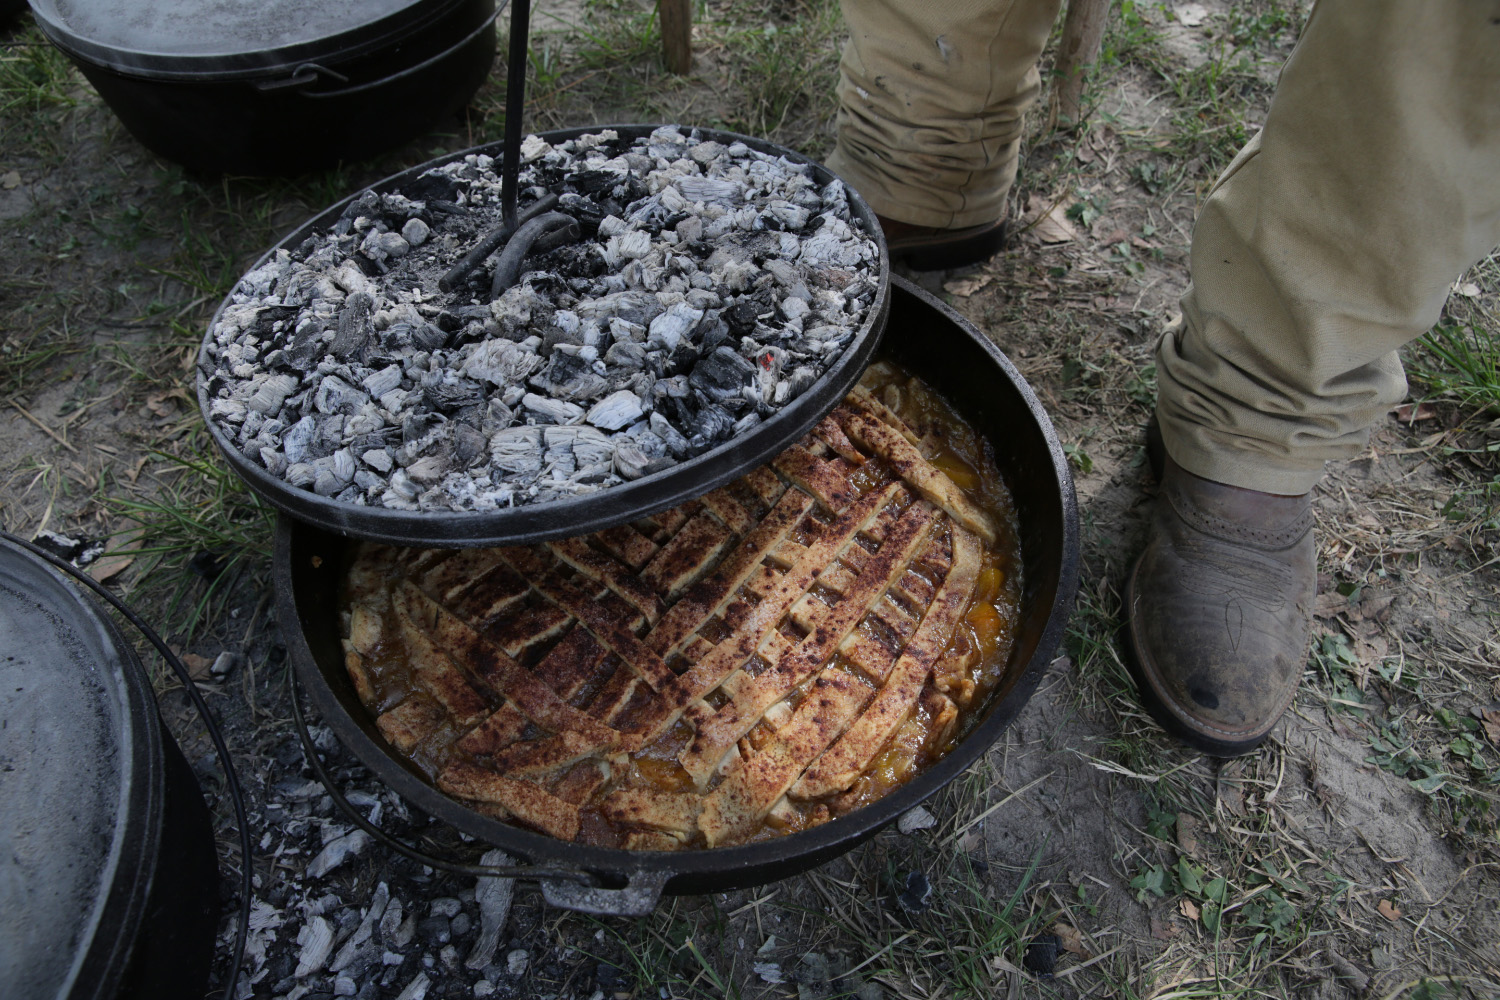
Brownies are a dessert beloved by all, but have you ever tried making them in a Dutch oven? The dutch oven brownies recipe is a game-changer. Using a Dutch oven ensures a perfectly even bake, resulting in gooey, delicious brownies that will leave you craving more. In this detailed guide, we’ll explore everything you need to know to master this unique brownie recipe, from choosing the right ingredients to the specific steps for cooking in a Dutch oven.

Gather Your Ingredients and Equipment
Ingredients:
- 1 cup unsalted butter
- 1 1/2 cups granulated sugar
- 1 cup packed brown sugar
- 4 large eggs
- 1 teaspoon vanilla extract
- 1 cup all-purpose flour
- 1 cup cocoa powder
- 1/2 teaspoon baking powder
- 1/4 teaspoon salt
- 1 cup chocolate chips
- 1/2 cup chopped nuts (optional)
For the best results in executing this dutch oven brownies recipe, it’s essential to use the correct equipment. Here are some essential items:

Preparation Steps
Step 1: Preheat Your Dutch Oven
Before you begin mixing your ingredients, it’s imperative to preheat your Dutch oven. This will ensure that your brownies cook evenly. Preheat your oven to 350F (175C) and place your empty Dutch oven inside. The retained heat will help to achieve that desirable gooey center.
Step 2: Prepare the Batter
Start by melting the butter in a large saucepan over medium heat. Once melted, add the granulated sugar and brown sugar, stirring until fully combined and smooth. Remove the pan from heat and let the mixture cool slightly before adding the eggs, one at a time. Stir in the vanilla extract.
In a separate bowl, whisk together the flour, cocoa powder, baking powder, and salt. Gradually add the dry ingredients to the wet mixture, stirring until just combined. Fold in the chocolate chips and nuts (if using).
Step 3: Bake the Brownies
Carefully remove the preheated Dutch oven from the oven using oven mitts. Line the interior of the Dutch oven with parchment paper or lightly grease it with butter or non-stick spray. Pour the brownie batter into the prepared Dutch oven, spreading it evenly.
Cover the Dutch oven with its lid and place it back in the oven. Bake for 25-30 minutes, checking for doneness by inserting a toothpick into the center. The toothpick should come out with a few moist crumbs but not be overly wet.

Serving and Storing Your Brownies
Letting Them Cool
Once your brownies are finished baking, remove the Dutch oven from the oven and allow them to cool in the pot for about 15-20 minutes. This cooling period helps the brownies set, making them easier to cut and serve.
Cutting and Serving
Use a knife to cut the brownies into squares directly within the Dutch oven or transfer them to a cutting board for slicing. Serve them warm for an extra gooey treat or let them cool completely for a more traditional brownie texture. These brownies are perfect on their own, but you can also serve them with a scoop of vanilla ice cream or a dollop of whipped cream for an indulgent dessert.
Storing Leftover Brownies
If you happen to have any leftover brownies, store them in an airtight container at room temperature for up to five days. You can also freeze them for longer storage by wrapping each brownie individually in plastic wrap and placing them in a freezer-safe bag or container.
:max_bytes(150000):strip_icc()/Testing-StaubCastIron5.5QuartRoundCocotte-3-WillDickey-1342-376-33155a88784443eaa706f540ffb27b0d.jpg)
Cleaning Your Dutch Oven
After enjoying your delicious brownies, it’s crucial to properly clean your Dutch oven. This ensures its longevity and optimal performance for future baking adventures. You can find a comprehensive guide on how to clean your Dutch oven and other helpful tips.
Cleaners:
The Science Behind Baking Brownies in a Dutch Oven
When it comes to baking, understanding the science behind the process can significantly impact your results. A Dutch oven provides consistent heat distribution, which is essential for creating the perfect texture in your brownies. The thick walls and heavy lid of the Dutch oven trap heat inside, ensuring even baking and preventing the edges from overcooking while the center remains gooey.
The dutch oven brownies recipe takes advantage of this unique cooking method, resulting in a rich, decadent dessert with a perfectly balanced texture. The use of a Dutch oven also allows for easy transport, making it a fantastic option for picnics, potlucks, and family gatherings.
Tips and Tricks for Perfect Dutch Oven Brownies
Choose Quality Ingredients
The quality of your ingredients plays a crucial role in the final outcome of your brownies. Opt for high-quality cocoa powder and chocolate chips for a richer, more intense chocolate flavor. Additionally, using fresh, wholesome ingredients such as real butter and high-grade vanilla extract can elevate the taste of your brownies.
Don’t Overmix the Batter
Overmixing the brownie batter can result in a denser, less tender texture. To avoid this, mix the wet and dry ingredients until just combined. It’s okay if there are a few small lumps in the batter. Overmixing can also lead to the development of gluten, which can make the brownies tough and chewy.
Monitor the Baking Time
Everyone’s oven can vary slightly in temperature, so it’s essential to keep an eye on your brownies as they bake. Start checking for doneness around the 25-minute mark, and use a toothpick or cake tester to assess the brownie texture. Remember, it’s better to underbake the brownies slightly for a gooey center than to overbake them and end up with a dry, crumbly dessert.
Frequently Asked Questions (FAQs)
Can I use a different type of flour?
While all-purpose flour is the standard choice for this dutch oven brownies recipe, you can experiment with other types of flour, such as whole wheat or gluten-free alternatives. However, keep in mind that different flours may affect the texture and taste of your brownies. If you’re using a gluten-free flour blend, you might need to add a binding agent like xanthan gum to achieve the desired consistency.
Can I add other mix-ins?
Absolutely! One of the great things about brownies is their versatility. Feel free to get creative with your add-ins, such as white chocolate chips, caramel pieces, or dried fruit. You can also swirl in peanut butter or cream cheese for an extra layer of flavor.
Conclusion
By following this comprehensive dutch oven brownies recipe, you’ll be well on your way to creating a delicious dessert that’s sure to impress. Whether you’re a seasoned baker or a novice in the kitchen, using a Dutch oven to bake your brownies offers a unique twist on a classic treat. Don’t forget to check out our guide on how to store your Dutch oven properly to keep it in excellent condition for future baking endeavors.
As an Amazon Associate, I earn from qualifying purchases.

