There’s something magical about baking your own bread at home. The aroma that fills the house, the satisfaction of slicing through a perfectly baked loaf, and the irresistible taste of fresh, homemade bread is unparalleled. This article will take you from start to finish on how to create the perfect crusty bread recipe dutch oven. Whether you’re a seasoned baker or a novice, this comprehensive guide will provide you with everything you need to bake an incredible loaf of bread.
:max_bytes(150000):strip_icc()/Testing-StaubCastIron5.5QuartRoundCocotte-3-WillDickey-1342-376-33155a88784443eaa706f540ffb27b0d.jpg)
Why Use a Dutch Oven for Baking Bread?
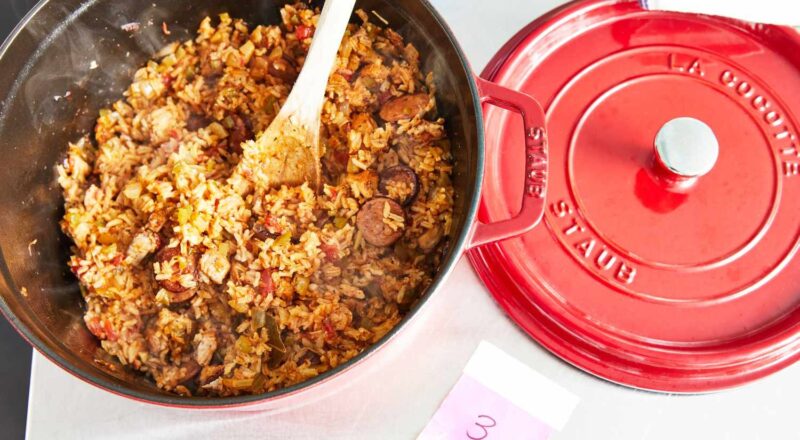
A Dutch oven is an essential tool for achieving that beautifully crusty texture that is characteristic of artisanal bread. The heavy cast iron construction of the Dutch oven retains and distributes heat evenly, creating the ideal environment for baking. The lid traps in steam, which is crucial for forming a crispy, golden crust while keeping the interior soft and moist.
Not sure if a Dutch oven is the right tool for you? Check out this guide on how a Dutch oven is different from a pot to understand its unique benefits.
Ingredients
- 500 grams (4 cups) of all-purpose flour
- 1 teaspoons of salt
- 1 teaspoon of active dry yeast
- 350 milliliters (1 cups) of water at room temperature

Preparation Steps
Step 1: Mixing the Dough
The first step is to mix your dough. In a large mixing bowl, combine 500 grams of all-purpose flour, 1 teaspoons of salt, and 1 teaspoon of active dry yeast. Slowly add the 350 milliliters of room temperature water while stirring with a wooden spoon or your hands. The dough should be slightly sticky, but not overly wet.
Step 2: Letting the Dough Rise
Once the dough is combined, cover the bowl with plastic wrap or a clean kitchen towel and let it sit at room temperature for 12-18 hours. This long, slow rise allows the yeast to develop more complex flavors, resulting in a more delicious loaf of bread.
Step 3: Shaping the Dough
After the dough has risen, it’s time to shape it. Dust your cutting board with flour and gently turn the dough out onto the board. Fold the dough over on itself a few times, then shape it into a ball. Place the dough back into the mixing bowl, cover it, and let it rise for another 1-2 hours until it has doubled in size.
Step 4: Preheating the Dutch Oven
About 30 minutes before your dough is ready, preheat your oven to 450F (230C) and place your Dutch oven (with the lid on) inside to preheat as well. This step is crucial for ensuring that your Dutch oven is hot enough to create that crispy crust.
Step 5: Baking the Bread
Once your Dutch oven is preheated, carefully remove it from the oven and place a piece of parchment paper inside. Transfer your dough onto the parchment paper, cover the Dutch oven with the lid, and place it back into the oven. Bake for 30 minutes with the lid on, then remove the lid and bake for an additional 15-20 minutes until the bread is golden brown and crusty.
Step 6: Cooling and Enjoying
Remove your bread from the Dutch oven and let it cool on a wire rack for at least 30 minutes before slicing. This allows the interior to set and makes it easier to cut. Once cooled, enjoy your beautifully baked crusty bread recipe dutch oven with butter, jam, or your favorite toppings.
Cleaning and Maintaining Your Dutch Oven and Cookware
After baking your delicious bread, it’s important to clean and maintain your Dutch oven to ensure it lasts for years. To clean your Dutch oven, wash it with warm water and a soft sponge. Avoid using harsh detergents or abrasive cleaners, as they can damage the enamel coating.
For more tips on caring for your Dutch oven, check out this article on how to store a cast iron Dutch oven.
Don’t forget to also clean your cutting board and knife. Use a cutting board conditioner to keep your cutting board in top shape and a cookware cleaner for your knife.
As an Amazon Associate, I earn from qualifying purchases.