The allure of baking **rye bread** at home captivates many, but when done in a **Dutch oven**, it reaches an elevated level of perfection. Whether you’re an amateur baker or a seasoned professional, our comprehensive guide on the rye bread recipe dutch oven promises to equip you with all the knowledge you need. By the end of this article, you will have a full understanding of the intricacies involved in creating the perfect rye bread using a **Dutch oven**, and the satisfaction that comes with it.
What Makes Rye Bread Unique?
Rye bread has been a staple in many cultures, valued for its distinct taste and dense texture. Unlike other breads, rye flour contains far less gluten than wheat flour, which gives the bread its characteristic denseness and slightly sour flavor. The use of a **Dutch oven** enhances these qualities by providing a consistent, enclosed baking environment that traps steam and allows the bread to develop a beautiful crust. This method ensures your bread is moist on the inside yet perfectly crusty on the outside.
The Benefits of Using a Dutch Oven for Baking
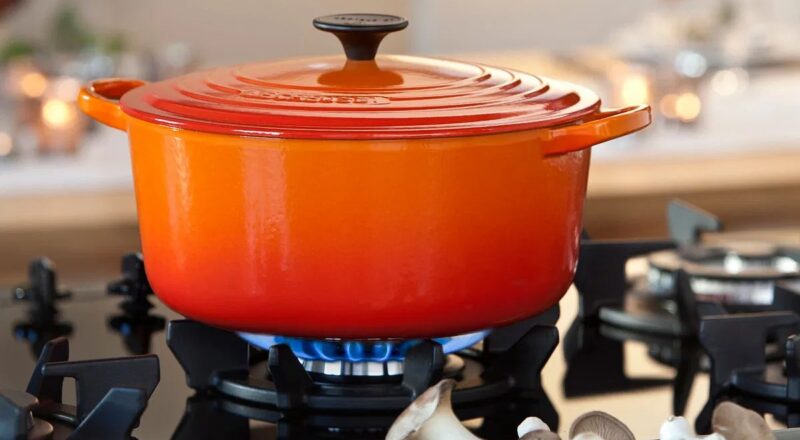
Before diving into the rye bread recipe dutch oven, its essential to understand why a **Dutch oven** is the preferred tool for this type of baking. First and foremost, a **Dutch oven** creates an optimal microenvironment for bread baking. The thick walls guarantee even heat distribution, crucial for the bread to rise properly and bake uniformly. Additionally, the heavy lid traps steam, which helps to develop a crunchy crust that is hard to achieve with regular ovens. Professionals and home bakers alike cherish this method for its efficiency and remarkable results.
Ingredients You’ll Need
Below is a comprehensive list of ingredients to prepare your quintessential rye bread:
- 3 1/2 cups of rye flour
- 1 1/2 cups of bread flour
- 1 tablespoon of salt
- 2 tablespoons of caraway seeds
- 1 1/2 cups of warm water
- 2 tablespoons of honey
- 1 packet of active dry yeast
Step-by-Step Instructions
Achieving the perfect rye bread using a **Dutch oven** requires patience and attention to detail. Here are your steps:
Step 1: Prepare the Ingredients
First and foremost, gather all the ingredients mentioned above and have them ready on your **cutting board**. Having everything in placealso known as mise en placewill ensure a smooth baking process. You might want to use a good quality **knife** to measure out and handle ingredients more efficiently.
Step 2: Activate the Yeast
In a small bowl, combine warm water, honey, and active dry yeast. Let it sit for around 5-10 minutes until it becomes frothy. This step is crucial as it activates the yeast, which enables your bread to rise.
Step 3: Mix the Dough
In a large mixing bowl, combine the rye flour, bread flour, salt, and caraway seeds. Create a well in the center and pour in the activated yeast mixture. Use a wooden spoon or hands to mix until a dough begins to form. Once it pulls away from the sides of the bowl, transfer it onto a floured surface and knead for about 10 minutes until the dough is smooth and elastic.
Step 4: First Rise
Place the kneaded dough into a greased bowl, cover it with a damp cloth, and let it rise for about 1 to 1.5 hours. The goal is for the dough to double in size. Dont rush this step, as proper rising is critical for the dough’s texture and flavor.
Step 5: Prepare the Dutch Oven
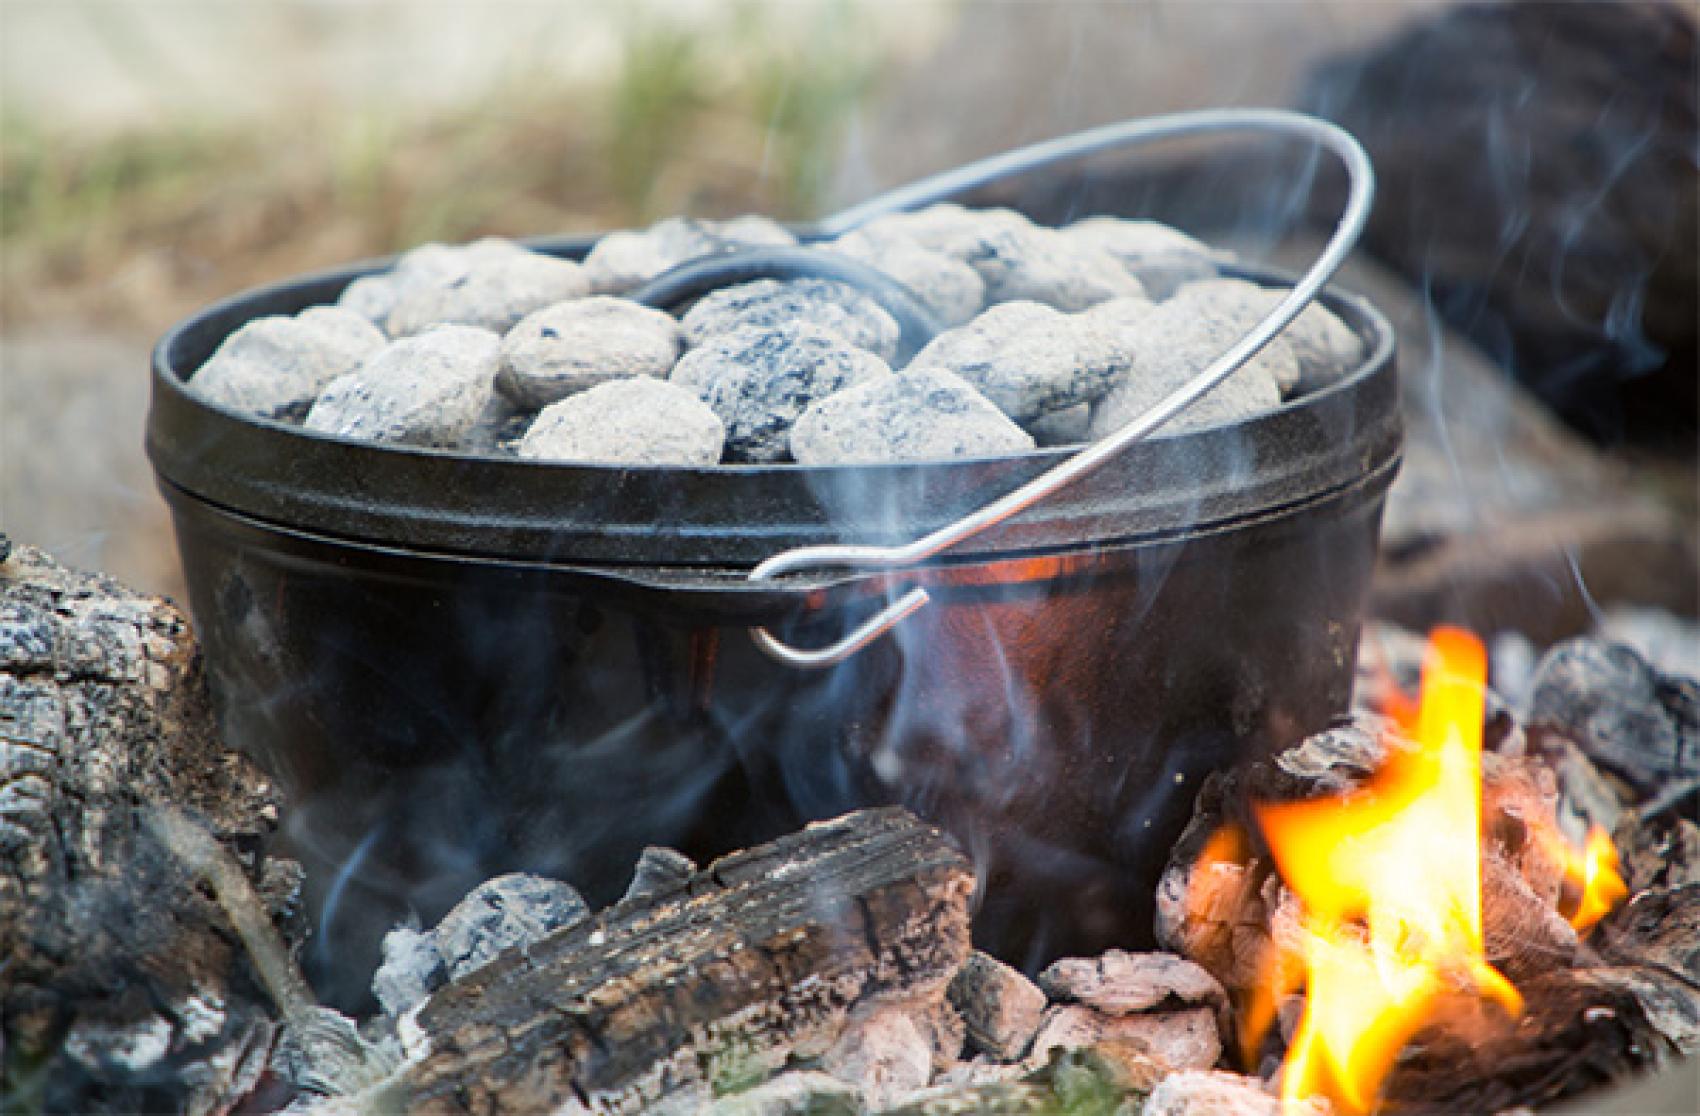
Preheat your oven to 450F (230C) along with your **Dutch oven** inside. The hot **Dutch oven** will mimic a professional bread oven by creating the perfect environment for your rye bread to blossom. Click here to learn how to store your dutch oven properly for longer durability.
Step 6: Second Rise
Once the dough has doubled, punch it down to deflate it slightly. Shape it into a loaf and let it rise again for 30 minutes. During this time, you can also use your cutting board and knife to prepare any toppings, such as seeds or an egg wash.
Step 7: Bake the Bread
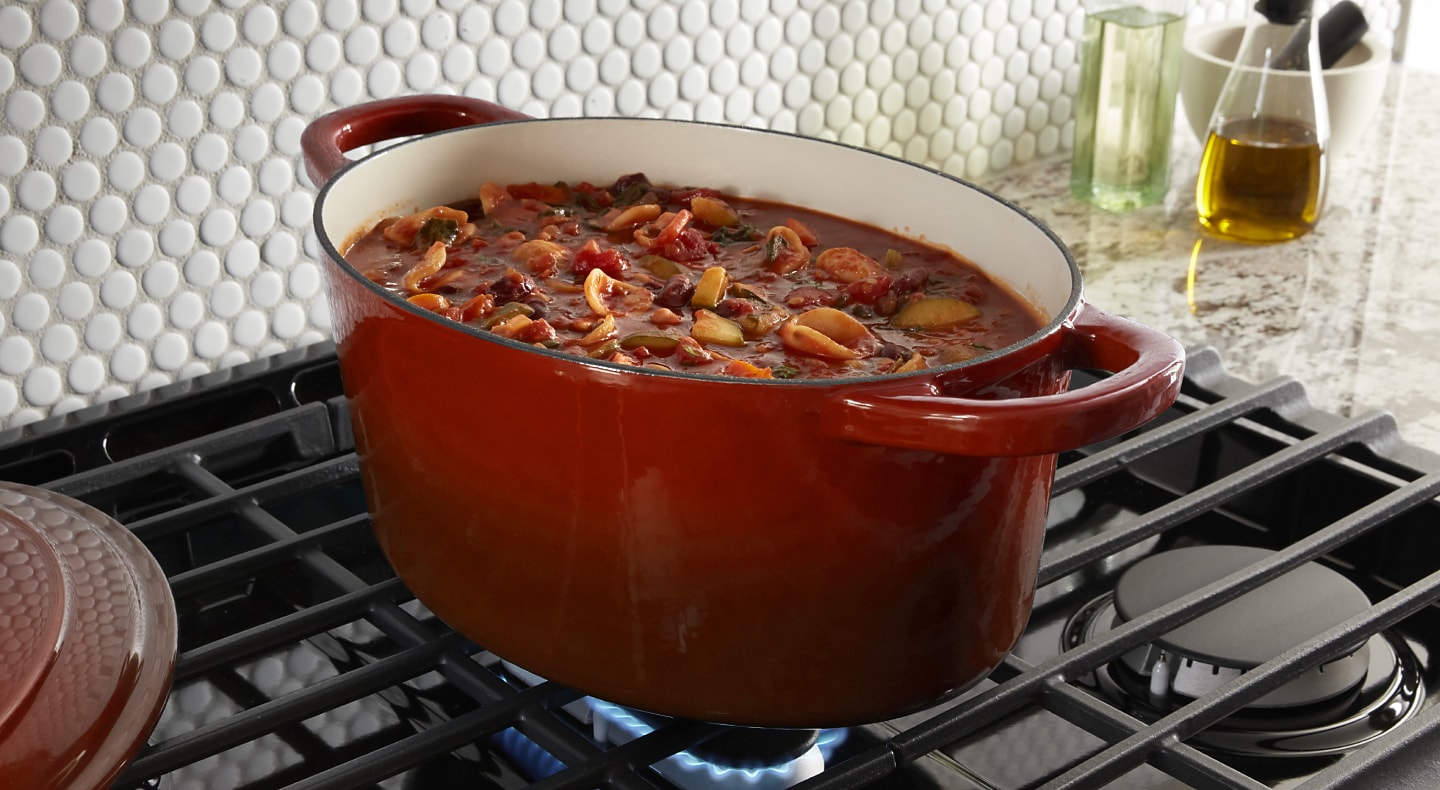
Carefully transfer the risen dough into the preheated **Dutch oven**. Cover with the lid and bake for about 30 minutes. Then, remove the lid and bake for an additional 15 minutes, or until the bread has a deep, golden brown crust. The internal temperature should reach around 200F (93C) for an adequately baked loaf.
Step 8: Cool and Serve
Once removed from the oven, transfer the bread to a **cutting board** to cool. Allow it to cool completely before slicing with a sharp **knife** to ensure you get clean, even slices. This rest period allows the bread to finish cooking internally and helps to set the crust.
Common Pitfalls and How to Avoid Them
Baking rye bread can be a rewarding yet finicky process. Here are some common pitfalls and tips to avoid them:
Inadequate Rise
If your bread doesn’t rise properly, the yeast might not have been adequately activated, or the environment might have been too cold. Ensure the water is warm (but not hot) to activate the yeast and that the dough is kept in a warm, draft-free area.
Dense Texture
Rye bread is naturally denser than other types, but if it’s overly dense, you might need to knead the dough longer to develop the gluten structure. Moreover, make sure the dough has enough hydration; slightly sticky dough is a sign of good hydration.
Burnt Crust
If your crust tends to burn, you might need to lower your ovens temperature or reduce the uncovered baking time. Additionally, you can cover the top of the bread with aluminum foil if it starts to brown too quickly.

Tools You Will Need
Quality tools make all the difference in baking. Here are some essentials:
Maintaining Your Cookware
Proper maintenance of your **Dutch oven** and other baking tools is crucial for longevity and performance. A dutch oven cleaner and a good cutting board conditioner can keep your tools in superb condition for years to come. Check out this guide on Why Does My Dutch Oven Stick? for more maintenance tips.
Consider looking into these excellent options for keeping your tools spotless: Cookware Cleaner and Cutting Board Conditioner.
Happy baking!
As an Amazon Associate, I earn from qualifying purchases.