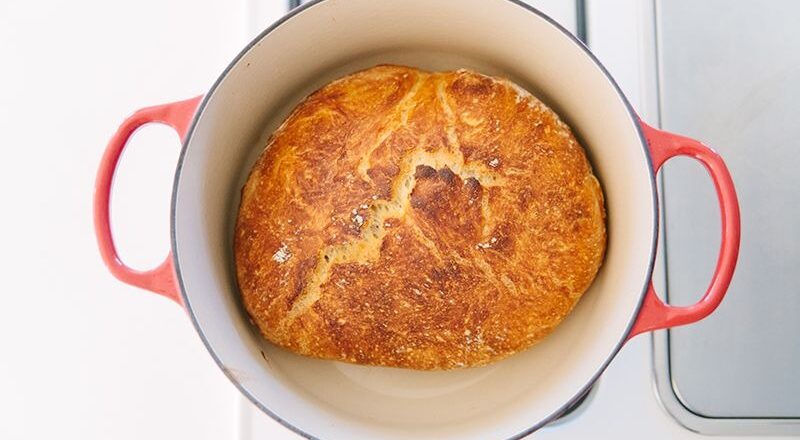
Restoring an enameled Dutch oven can seem like a daunting task. But worry not! With the right techniques and a bit of patience, you can bring your cherished kitchenware back to its former glory. Enameled Dutch ovens are known for their durability and aesthetic appeal, making them a beloved choice for home cooks and professionals alike.
In this guide, we will walk you through the step-by-step process of restoring an enameled Dutch oven, ensuring that it remains a staple in your kitchen for years to come. Whether your Dutch oven has minor stains or severe chipping, we have you covered with expert advice and practical solutions.

Understanding Your Enameled Dutch Oven
-
What Makes Enameled Dutch Ovens Special?
Enameled Dutch ovens are made of cast iron coated with a layer of enamel. This combination provides excellent heat retention and distribution, making it perfect for slow-cooking, braising, and baking.
-
Common Problems with Enameled Dutch Ovens
Despite their durability, enameled Dutch ovens can encounter several issues over time. These can include staining, chipping, and discoloration.

Initial Inspection and Cleaning
-
Examining for Damage
Before you begin the restoration process, thoroughly inspect your Dutch oven for any visible damage. Look for cracks, chips, and stubborn stains that may need special attention.
-
Basic Cleaning Techniques
Start by giving your enameled Dutch oven a good cleaning. Use mild dish soap and a non-abrasive sponge to remove any dirt, grease, and food residue. This will provide a clean slate for the restoration process.

Addressing Stubborn Stains
-
Using Baking Soda and Water Paste
For stubborn stains, create a paste using baking soda and water. Apply the paste to the stained areas and let it sit for about 15 minutes. Gently scrub with a non-abrasive sponge or brush to lift the stains.
-
Vinegar and Baking Soda Solution
Another effective method is using a mixture of vinegar and baking soda. Sprinkle baking soda inside the Dutch oven, then pour vinegar over it. Let it fizz and work its magic. Scrub gently to remove the stains.
Dealing with Discoloration
-
Boiling Water and Baking Soda
Fill your Dutch oven with water and add a few tablespoons of baking soda. Bring the mixture to a boil and let it simmer for about 15 minutes. This can help remove discoloration and brighten the enamel.
-
Lemon Juice and Salt Mixture
For a natural solution, mix lemon juice and salt to create a paste. Apply it to discolored areas and let it sit for 10-15 minutes before scrubbing. The acidic properties of lemon juice can help lift stains.
Handling Chips and Cracks
-
Small Chips and Scratches
Minor chips and scratches can often be repaired with enamel repair kits. Follow the instructions provided with the kit to apply the enamel correctly. It’s essential to ensure the surface is clean and dry before application.
-
Severe Cracks
Unfortunately, severe cracks in the enamel may require professional repair or replacement of the Dutch oven. It’s crucial to evaluate the extent of the damage before deciding on a course of action.
Preserving Your Enameled Dutch Oven
-
Avoiding Future Damage
To prolong the life of your enameled Dutch oven, avoid drastic temperature changes and use wooden or silicone utensils to prevent scratching the enamel surface.
-
Proper Storage
Store your Dutch oven with care. Avoid stacking heavy items on top of it to prevent unnecessary pressure that could lead to chipping or cracking.
As an Amazon Associate, I earn from qualifying purchases.

