For homeowners and renters alike, understanding how to cure a cast iron skillet is an essential skill. This versatile piece of cookware not only enhances the flavor of your meals but also provides long-term durability when properly maintained.
In this comprehensive guide, we will explore the step-by-step process of curing your cast iron skillet, ensuring it remains a staple in your kitchen for years to come. Whether youre new to cast iron cooking or looking to refine your technique, this article has got you covered.

Why Curing Your Cast Iron Skillet Is Important
Curing, also known as seasoning, is the process of treating the surface of the cast iron with oil and heating it to create a natural, non-stick coating. This protective layer helps prevent rust, enhances the pan’s cooking performance, and extends its lifespan.
The Benefits of a Cured Cast Iron Skillet
A well-cured cast iron skillet offers numerous benefits:
- Non-stick Surface: Curing creates a smooth, non-stick surface, making cooking and cleaning easier.
- Rust Protection: The oil coating acts as a barrier against moisture, preventing rust formation.
- Enhanced Flavor: Cast iron skillets develop a unique seasoning that can add depth and flavor to your food.
- Longevity: Properly maintained cast iron skillets can last for generations.
Materials Needed for Curing
Before you begin the curing process, it’s important to gather the necessary materials:
- Cast iron skillet
- Cooking oil (such as vegetable oil, flaxseed oil, or grapeseed oil)
- Paper towels or a clean cloth
- Aluminum foil
- Oven mitts
- Baking sheet
Step-by-Step Guide to Curing Your Cast Iron Skillet
Step 1: Preheat Your Oven
Start by preheating your oven to 375F (190C). This temperature is ideal for allowing the oil to bond with the skillet’s surface, creating a durable seasoning.
Step 2: Clean the Skillet
Thoroughly clean your cast iron skillet with hot, soapy water and a scrub brush to remove any factory residue or food particles. Rinse and dry the skillet completely.
Step 3: Apply the Oil
Using a paper towel or a clean cloth, apply a thin layer of cooking oil to the entire surface of the skillet, including the bottom and handle. Be sure to use just enough oil to coat the skillet without leaving any pools.
Step 4: Remove Excess Oil
Wipe away any excess oil with a clean paper towel. A thin, even coating of oil is essential to achieve the best results.
Step 5: Prepare for Baking
Line a baking sheet with aluminum foil and place it on the lower rack of your preheated oven to catch any drips. Place the oiled skillet upside down on the middle rack of the oven.
Step 6: Bake the Skillet
Bake the skillet for one hour to allow the oil to form a durable, non-stick coating. After the baking time is complete, turn off the oven and let the skillet cool inside the oven to room temperature.

Maintaining Your Cured Cast Iron Skillet
Regular Cleaning Practices
After each use, clean your cast iron skillet with warm water and a sponge or brush. Avoid using soap, as it can strip away the seasoning. For stubborn residue, use a small amount of salt as a gentle abrasive.
Re-Curing When Necessary
Periodically, you may need to re-cure your skillet to maintain its non-stick surface. If you notice food sticking or the skillet becoming dull, simply repeat the curing process outlined above.
Storing Your Cast Iron Skillet
Store your skillet in a dry place to prevent rust. You can place a paper towel between stacked pans to absorb any moisture.
Common Mistakes to Avoid When Curing
While curing a cast iron skillet is a straightforward process, there are a few common mistakes to avoid:
- Using Too Much Oil: Applying too much oil can result in a sticky, uneven coating.
- Not Preheating the Oven: Preheating the oven ensures the oil bonds properly with the skillet.
- Skipping the Cleaning Step: Proper cleaning is essential to remove residues that can interfere with the curing process.
- Inconsistent Oil Distribution: Ensure the oil is evenly distributed across the entire surface of the skillet.
Expert Tips for Perfect Curing
Here are some expert tips to help you achieve the perfect cure for your cast iron skillet:
- Choose the Right Oil: Use oils with a high smoke point, such as flaxseed oil or grapeseed oil, to create a durable seasoning.
- Use Thin Layers: Applying thin, even layers of oil ensures a smooth and non-stick surface.
- Allow Proper Cooling: Letting the skillet cool gradually in the oven helps the seasoning set properly.
FAQs About Curing a Cast Iron Skillet
How often should I cure my cast iron skillet?
It depends on how frequently you use it. Generally, re-cure your skillet every few months or as needed when the non-stick surface diminishes.
Can I use any type of oil for curing?
Not all oils are suitable for curing. It’s best to use oils with a high smoke point, such as flaxseed oil, vegetable oil, or grapeseed oil.
Is it necessary to preheat the oven?
Yes, preheating the oven ensures that the oil bonds effectively with the skillet’s surface, creating a durable and non-stick seasoning.
Conclusion
Curing a cast iron skillet is a rewarding process that extends the life of your cookware and enhances your culinary experience. By following the step-by-step guide and expert tips provided, you can achieve a perfectly seasoned skillet that will become a cherished tool in your kitchen. Happy cooking!
For more tips and information on cast iron cookware care, visit Best Cookware, Skillet Accessories, and Cleaning After Use.
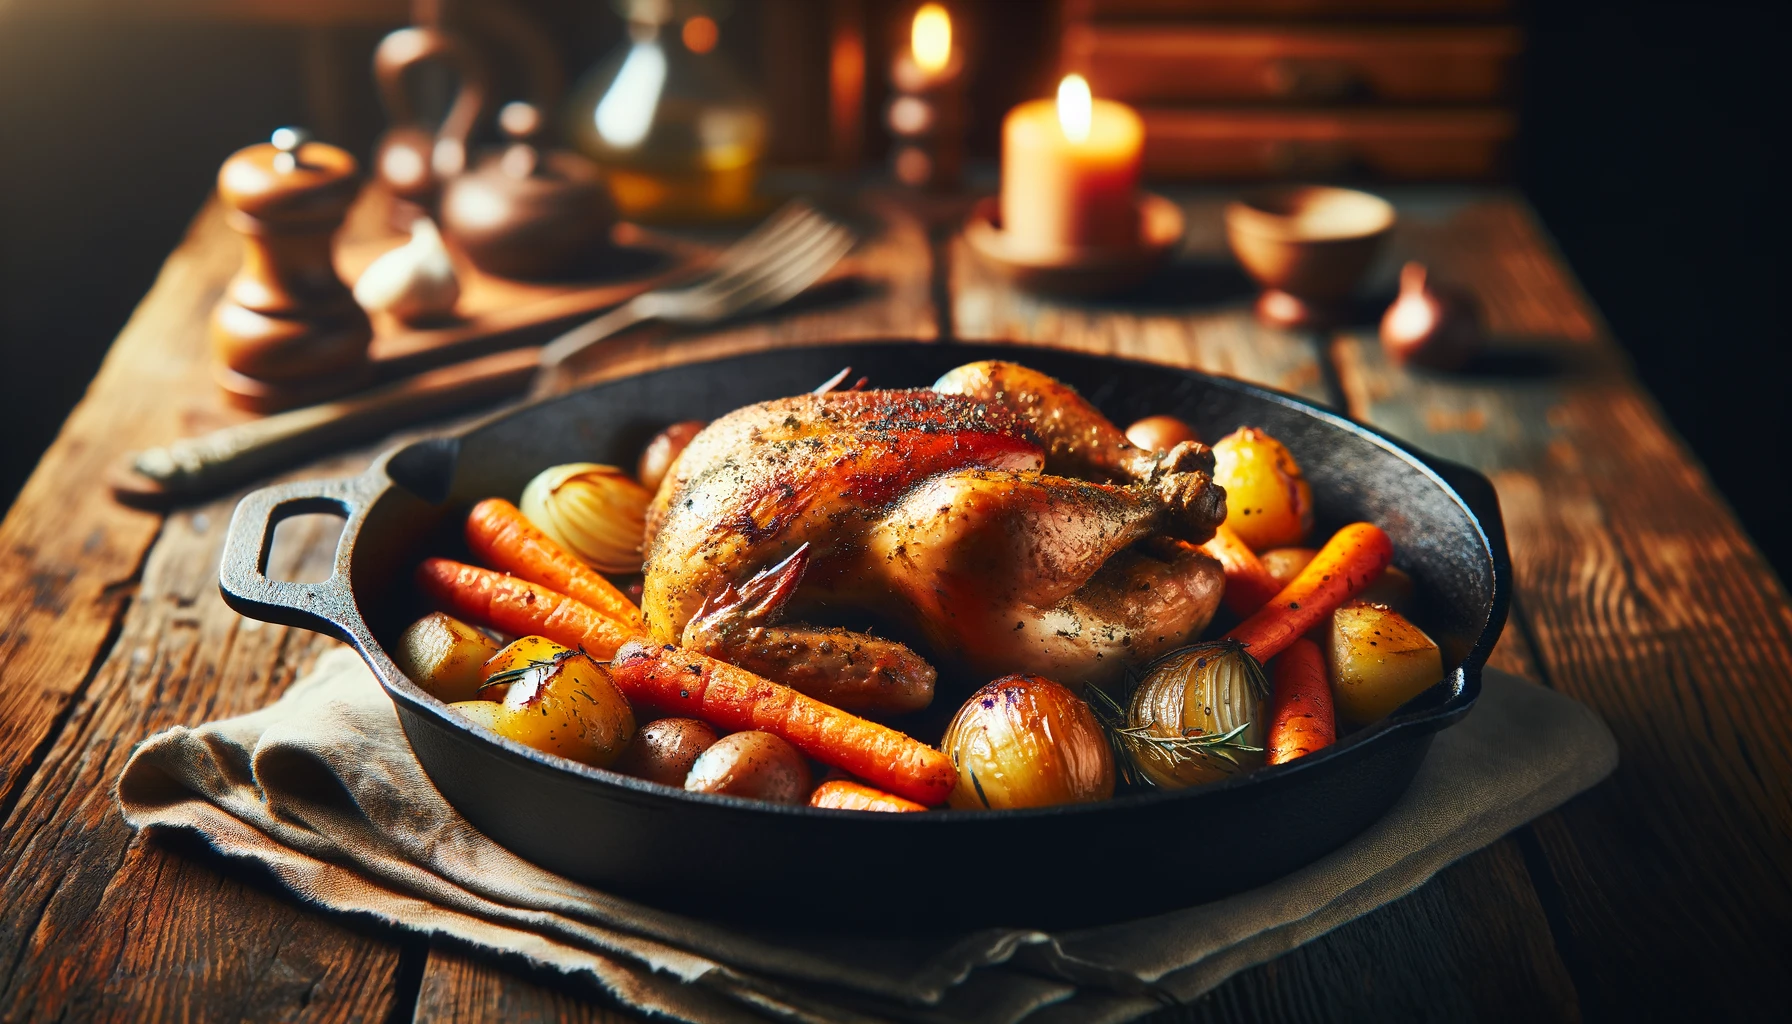
For further inspiration on what to cook with your cured cast iron skillet, check out these delicious recipes.
As an Amazon Associate, I earn from qualifying purchases.