For all the baking enthusiasts and kitchen pros out there, this Olive Bread Recipe in Dutch Oven is going to be a culinary revelation. Baking bread at home has become a delightful trend, and making olive bread in a Dutch oven just elevates that experience to a whole new level of flavor and aroma. Imagine slicing into a crusty loaf, filled with juicy olives and infused with herbsa masterpiece, right from your kitchen!
Why Choose a Dutch Oven?
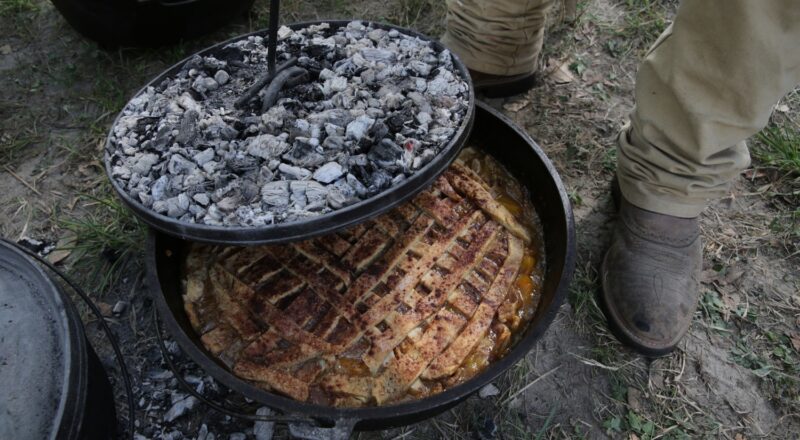
When it comes to baking bread, the Dutch oven is a game-changer. With its thick walls and heavy lid, a Dutch oven traps steam, providing the perfect environment for your bread to rise brilliantly and develop a beautiful crust. The consistent, even heat provided by a Dutch oven ensures that your olive bread bakes to perfection. If you haven’t tried making bread in a Dutch oven yet, you’re in for a treat!

Lets Talk Ingredients: Quality Matters
High-quality ingredients make all the difference, especially in baking. Our Olive Bread Recipe in Dutch Oven relies on a handful of fresh, simple ingredients that come together to create an extraordinary loaf:
- 3 cups all-purpose flour
- 1 cups lukewarm water
- 1 packet active dry yeast
- 1 teaspoon sea salt
- 1 cup chopped olives (Kalamata or your favorite type)
- 1 tablespoon olive oil (plus extra for greasing)
- 1 teaspoon sugar (to activate yeast)
- Optional: rosemary, thyme, or your favorite herbs for additional flavor

Step-by-Step Instructions
Ready to embark on our baking journey? Lets dive in:
Step 1: Prepare the Dough
First, let’s create our dough. In a large mixing bowl or on a cutting board, combine the flour, sea salt, and dried herbs if youre using any. In a separate cup, dissolve the sugar in lukewarm water and sprinkle the yeast on top. Let it sit for about 10 minutes until it’s frothy.
Step 2: Mix and Knead
Pour the yeast mixture into the flour blend. Add the olive oil and chopped olives. Mix everything until it forms a ball and then knead the dough on a well-floured surface for about 10 minutes. The kneading process develops gluten, making your bread soft and chewy.
Step 3: First Rise
Place your dough in a lightly greased bowl, cover it with a damp cloth, and let it rise for 1-2 hours in a warm place. The dough should double in size during this period.
Step 4: Shape and Second Rise
After the first rise, punch down the dough to release air bubbles. Shape it into a round boule and let it rise again on a parchment paper-lined cutting board for another 30 minutes to an hour.
Step 5: Preheat Your Dutch Oven
Meanwhile, place your Dutch oven in the oven and preheat it to 450F (232C). A hot Dutch oven helps get that crispy crust you crave, turning your home-kitchen bread into a professional bakery-style loaf.
Learn more about the unique abilities of a dutch oven here and how to care for it correctly.
Step 6: Bake
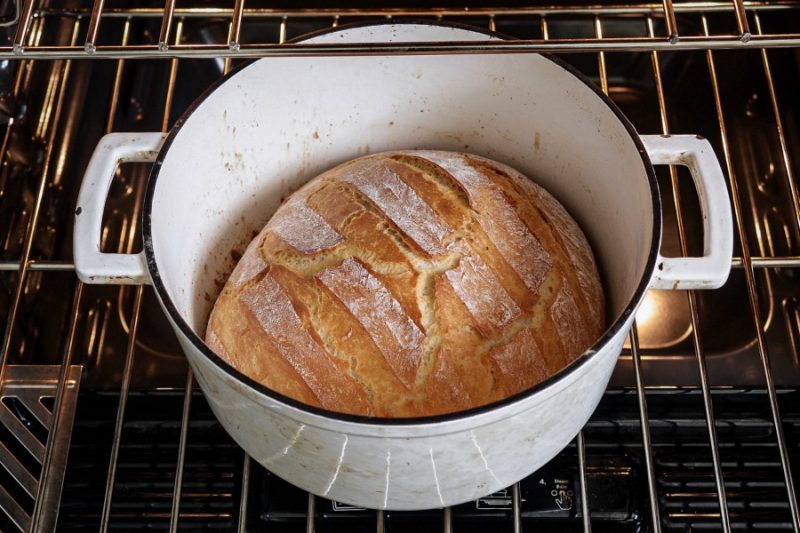
Carefully take the preheated Dutch oven out of the oven. Lift the parchment paper with the shaped dough and place it into the Dutch oven. Cover with the lid and bake for 30 minutes. Then, remove the lid and bake for an additional 10-15 minutes to get that golden, crusty top.
Step 7: Cool and Enjoy
Once the baking is done, remove your olive bread from the Dutch oven and let it cool on a wire rack. Slice it up and enjoy the rewarding aroma and flavor of homemade olive bread. Double as food for the body and the soul, every bite brings you closer to the joys of baking.

Tools of the Trade
Having the right tools can significantly improve your baking experience. Here are some recommended kitchen essentials for this recipe:
Cleaning and Maintenance
Once you’re done baking, cleaning and maintaining your cookware is essential to keep it in pristine condition. Discover more tips on how to avoid sticking
For cleaning your Dutch oven, follow these tips on how to season, clean, and maintain your cast iron here for longer-lasting performance.
Wrap Up
There you have ityour comprehensive guide to the perfect Olive Bread Recipe in Dutch Oven. With high-quality ingredients, the right tools, and step-by-step instructions, you are well on your way to creating a delightful loaf of bread that is both delicious and satisfying to make. Happy baking!
If you enjoyed this recipe, don’t miss out on other amazing baking adventures. Check out our easy-to-follow Dutch Oven Insights for more inspiration.
As an Amazon Associate, I earn from qualifying purchases.