There’s something magical about a **crusty Italian bread recipe dutch oven** – the perfect blend of an irresistibly golden crust and a soft, flavorful interior. Whether you’re a seasoned kitchen professional or a home baker on the rise, this comprehensive guide will turn you into a master of the art of baking a crusty Italian bread using a Dutch oven. In this article, you’ll learn to craft a loaf of bread that is both delicious and beautiful, ensuring every bite is a piece of heaven.

The Allure of Homemade Bread
Baking bread at home isn’t just about the **end product**, though a fresh, warm loaf of **crusty Italian bread** is undoubtedly rewarding. It’s an age-old tradition that connects us to our roots, and the process helps us appreciate the fundamental art of baking. This whole experience is made even better when you use a Dutch oven for your bread baking. The **Dutch oven** traps steam inside, resulting in the perfect environment for developing that crispy crust we all love while keeping the inside deliciously soft and chewy.
The aroma of freshly baked bread filling your kitchen, the anticipation as the dough rises, and the joy of sharing your creation with loved ones makes every step rewarding. Here’s all you need to know to get started on your journey to mastering the **crusty Italian bread recipe dutch oven** method.
Essential Equipment
Before diving into the detailed steps, lets gather the equipment.
- Dutch Oven – The game-changer in this bread-making process. It creates a steam environment that ensures your bread develops an amazing crust.
- Knife – For scoring your dough.
- Cutting Board – A convenient surface for kneading your dough.
Ingredients Border
- 4 cups of Bread Flour
- 1 teaspoon Salt
- 1 teaspoon instant Yeast
- 1 cups Water

The Simple Steps to Crusty Italian perfection
With your equipment and ingredients gathered, let’s dive into the step-by-step process.
Step 1: Mixing the Dough
In a large bowl, combine bread flour, salt, and instant yeast. Gradually add water, mixing until a shaggy dough forms. It doesn’t need to be smooth at this point, but all the flour should be incorporated. Cover the bowl with a lid or plastic wrap, and let it sit at room temperature for 12 to 18 hours. This long fermentation helps to develop the bread’s flavor and texture.
Step 2: Preparing for Baking
After fermenting, the dough should be doubled in size, bubbly, and ready for the next step. Turn the dough out onto a floured surface and shape it into a ball. Use your knife to make a few superficial slashes on the dough’s surface. Let it rest for another 30 minutes while you preheat your Dutch oven in a 450F oven.
Step 3: Baking the Bread
Carefully place the dough into the hot Dutch oven (you can use parchment paper underneath to make this step easier). Cover with the lid and bake for 30 minutes. This initial phase traps steam inside the pot, crucial for achieving the desired crust. After 30 minutes, remove the lid and bake for an additional 15-20 minutes until the crust is deeply golden.
The Final Result
Let the bread cool on a cooling rack for at least an hour. This cooling time allows the crust to set and the interior to finish baking. When you slice into the bread, you’ll discover a perfectly crunchy crust with a tender, airy crumb. The smell and taste will remind you of an artisan bakery right in your kitchen!
Maintaining the Magic
To ensure your Dutch oven and other tools remain in top shape for future bread baking, proper care is essential. After baking, make sure to clean your Dutch oven according to these cleaning guidelines. For maintaining your cutting board, regular conditioning is important. Here’s a guide to storing and maintaining your Dutch oven and other tools.
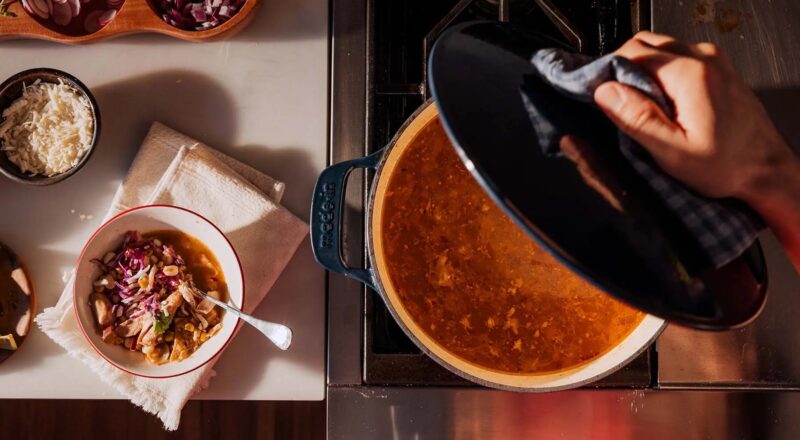
For more tips and recipes involving your Dutch oven, you might want to check out [this guide on making chili in a Dutch oven](https://howtocleancastiron.com/how-to-make-chili-in-dutch-oven-2/) and learn more about the unique benefits of this versatile cookware.
As you embark on this culinary journey, remember that the key to perfect crusty Italian bread lies in the details – the right equipment, the ideal ingredients, and a bit of patience. Happy baking!
As an Amazon Associate, I earn from qualifying purchases.