Is there anything more satisfying than the aroma of fresh bread wafting through your home? Today, were diving into the art of baking with our “dutch oven bread recipe“a staple for any bread lover looking to conquer the complexities of homemade bread. Let’s embark on this culinary adventure together and master the craft of creating scrumptious, golden-crusted bread right in your kitchen.
Why Choose a Dutch Oven?
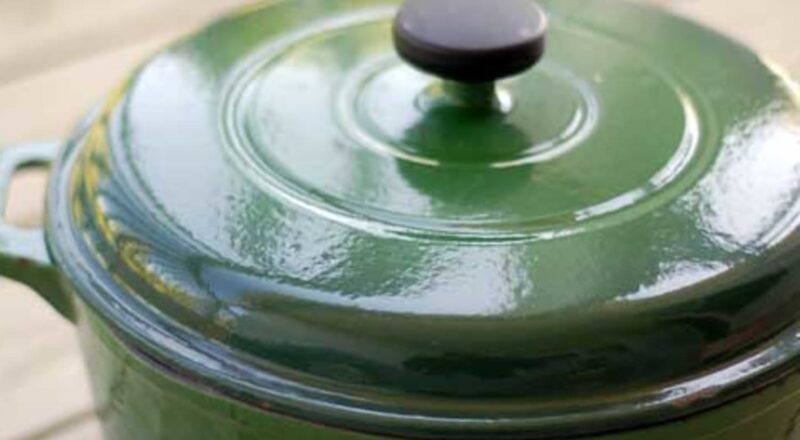
Before we delve into the ingredients and steps, let’s understand why a “Dutch oven“ is the ideal choice for baking bread. Dutch ovens offer excellent heat retention and even distribution, which are crucial for achieving that perfect crust. The heavy lid creates a steam environment inside the pot, helping your bread rise beautifully while forming a golden, crusty exterior. Want to learn more about this versatile kitchen tool? Check out how a Dutch oven differs from a regular pot.
Gathering Ingredients
For a successful “dutch oven bread recipe“, it’s essential to gather all the necessary ingredients and cookware upfront. Here is what you will need:
- 3 1/4 cups of all-purpose or bread flour
- 2 teaspoons of salt
- 3/4 teaspoon of active dry yeast
- 1 1/2 cups of warm water (not hot)
Want to make sure your Dutch oven is up to the task? Here’s a link to find the best size Dutch oven for your needs.

Step-by-Step Instructions
Step 1: Mix the Dough
Start by mixing the flour, salt, and yeast in a large bowl. Slowly add the warm water into the dry ingredients and stir until you have a shaggy dough. The dough should be sticky, so don’t be tempted to add more flour. Once mixed, cover the bowl with a clean towel and let it sit at room temperature for at least 12-18 hours. This lengthy fermentation process is crucial for developing the flavors in your “dutch oven bread“.
Step 2: Prepare for Baking
After your dough has risen, turn it out onto a well-floured “cutting board“. With floured hands, gently shape the dough into a ball. Place it onto a piece of parchment paper. Let it rest again for about 30 minutes while you preheat your “Dutch oven“ in the oven at 450F (230C).
Step 3: Baking
Carefully remove the hot Dutch oven from the oven and place the parchment paper with the dough into the pot. Cover with the lid and bake for 30 minutes. After that, remove the lid and bake for an additional 10-15 minutes to achieve a nice golden crust. Congratulations! You’ve just baked a loaf of delicious “dutch oven bread“. Allow it to cool on a wire rack before cutting into it.
Step 4: Cleaning Your Dutch Oven
Once you’ve enjoyed your freshly baked bread, it’s essential to clean your Dutch oven to maintain its quality. For detailed cleaning instructions, refer to this helpful guide on how to clean your Dutch oven.
:max_bytes(150000):strip_icc()/Testing-StaubCastIron5.5QuartRoundCocotte-3-WillDickey-1342-376-33155a88784443eaa706f540ffb27b0d.jpg)
Taking It to the Next Level
Now that you’ve mastered the basics of our “dutch oven bread recipe“, it’s time to get creative. Add some culinary flair to your bread by incorporating ingredients like fresh herbs, garlic, olives, or cheese. You’re not just making bread; you’re crafting a culinary masterpiece. Don’t forget to check out our tips on storing your Dutch oven to keep it in pristine condition for your next baking endeavor.
Conclusion
Baking your own bread with a “Dutch oven“ is a rewarding and enjoyable experience that brings the comforting essence of freshly baked bread into your home. From the crackling crust to the soft, airy interior, mastering the art of the “dutch oven bread recipe“ is an achievement that will elevate your baking game. Whether you’re a seasoned baker or a kitchen novice, this recipe is sure to become a staple in your culinary repertoire. Remember to keep your tools in top shape with the right products for cleaning and conditioning. Check out the best cookware cleaner and cutting board conditioner to maintain your equipment. Happy baking!
As an Amazon Associate, I earn from qualifying purchases.