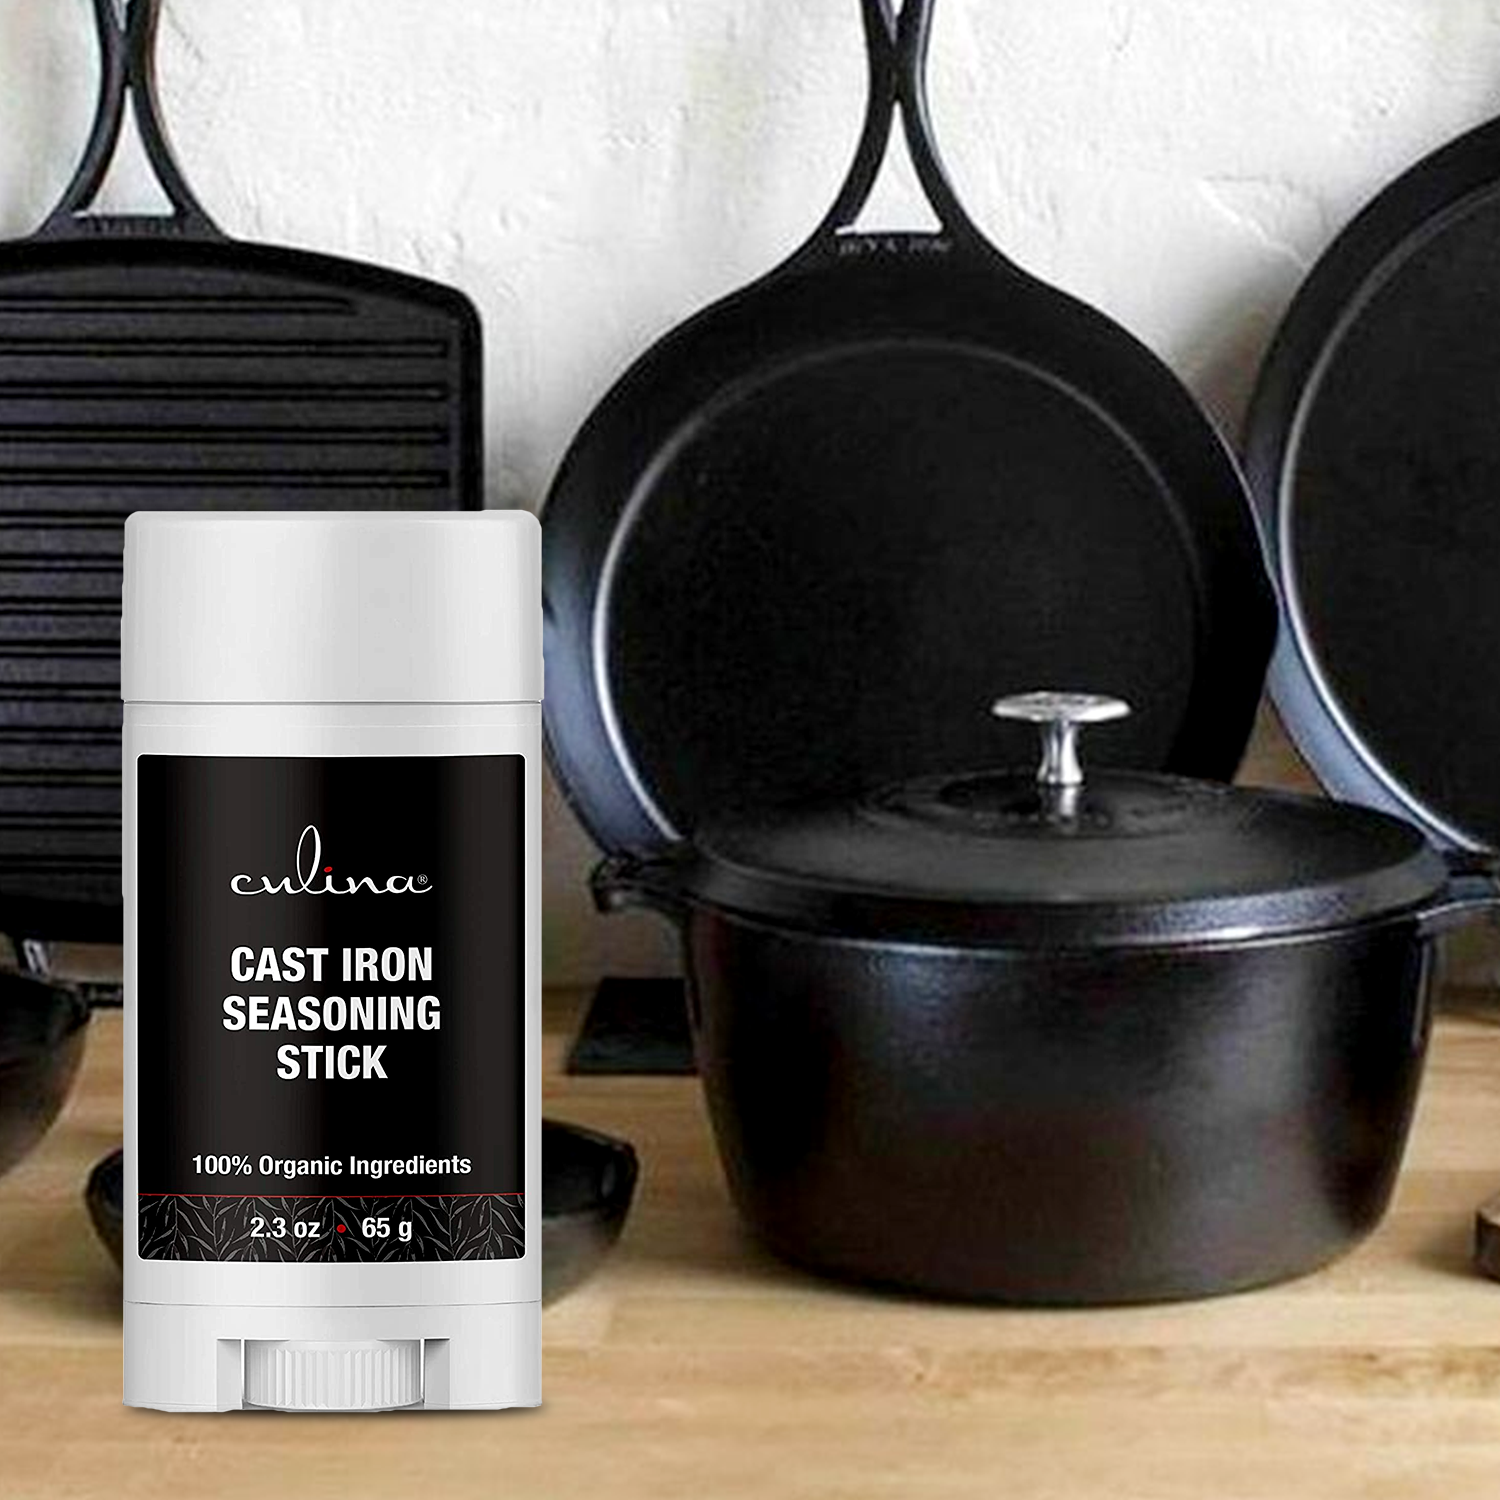
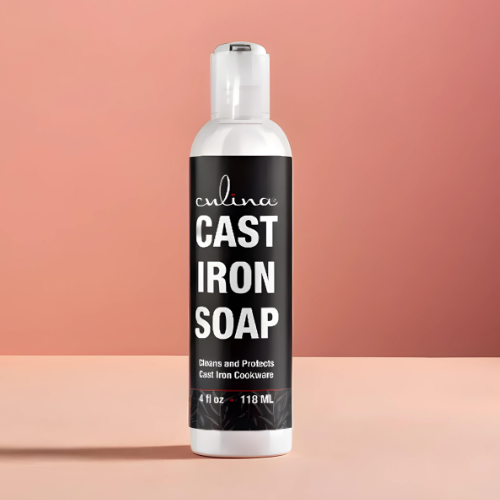
In the world of culinary adventures, knowing how to cure a cast iron dutch oven is a fundamental skill. Whether you’re a professional chef or a home cook, ensuring your cast iron dutch oven is properly cured can make a significant difference in your cooking experience. The curing process not only extends the life of your dutch oven but also enhances its natural non-stick properties, making cooking and cleanup a breeze.

Understanding the Importance of Curing Your Cast Iron Dutch Oven
Curing, also known as seasoning, is the process of applying a layer of oil to the surface of cast iron cookware and heating it to create a durable, non-stick surface. This is crucial for a few reasons:
- Prevents Rust: Cast iron is prone to rust if not properly cured.
- Enhances Flavor: A well-cured dutch oven can add a unique flavor to your dishes.
- Longevity: Proper curing extends the life of your cast iron dutch oven.
:max_bytes(150000):strip_icc()/med102639wkd0_0107_brisedchick_horiz-0124.jpg-00f24780581549f9827c996297ca1b03.jpg)
Materials You Will Need
- A clean, lint-free cloth or paper towel
- Your choice of vegetable oil, flaxseed oil, or shortening
- An oven
- Aluminum foil (to catch drips)

Step-by-Step Guide to Curing Your Cast Iron Dutch Oven
1. Clean the Dutch Oven
Before you begin the curing process, make sure your dutch oven is clean. Wash it with warm, soapy water and dry thoroughly with a lint-free cloth. This step is critical to remove any residual food particles or rust.
2. Apply the Oil
Using your chosen oil, rub a thin layer over the entire surface of the dutch oven, inside and out. Make sure to remove any excess oil, as too much can result in a sticky surface.
3. Preheat Your Oven
Preheat your oven to 375 degrees Fahrenheit. Place a sheet of aluminum foil on the bottom rack to catch any drips during the curing process.
4. Bake the Dutch Oven
Place the oiled dutch oven upside down on the middle rack of your preheated oven. Bake for one hour to allow the oil to polymerize and form a hard, non-stick layer.
5. Cool Down
After one hour, turn off the oven and let the dutch oven cool inside. This gradual cooling process helps to set the cured surface.
Maintaining Your Cured Cast Iron Dutch Oven
Regular Cleaning
To maintain the curing, clean your dutch oven after each use with warm water and a brush or sponge. Avoid using soap, as it can strip away the cured layer.
Re-Curing as Needed
Over time, you may notice the surface of your dutch oven becoming less non-stick. When this happens, simply repeat the curing process to restore its non-stick properties.
Common Pitfalls and How to Avoid Them
Using Too Much Oil
One of the most common mistakes is using too much oil during the curing process. This can result in a sticky, uneven surface. Always remember: a little goes a long way.
Skipping the Cleaning Step
Another common mistake is skipping the initial cleaning step. Residual food or rust can interfere with the curing process, resulting in an ineffective cure.
FAQs
Q: How often should I cure my cast iron dutch oven?
A: Ideally, you should cure your dutch oven every few months, or whenever the surface starts to lose its non-stick properties.
Q: Can I use any type of oil for curing?
A: While you can use a variety of oils, flaxseed oil is often recommended due to its high smoke point and ability to create a hard, durable layer.
Q: What should I do if my dutch oven develops rust?
A: If rust develops, scrub it away with a steel wool pad, clean thoroughly, and repeat the curing process to restore the non-stick surface.
Conclusion: Embrace the Tremendous Benefits of a Properly Cured Cast Iron Dutch Oven
Understanding how to cure a cast iron dutch oven is a skill that offers tremendous benefits. By following these steps, you can ensure your dutch oven remains a reliable, non-stick piece of cookware that will last for generations. Embrace the delightful cooking experience that a well-cured cast iron dutch oven provides.
For more detailed guides and tips on maintaining your cast iron cookware, visit The Kitchn.
As an Amazon Associate, I earn from qualifying purchases.

