Welcome to our comprehensive guide on how to restore a cast iron dutch oven! If you possess a beloved cast iron Dutch oven that has seen better days, don’t despair. These resilient kitchenware items can be brought back to life with the right techniques and care.
For any cooking enthusiast or professional chef, owning a well-maintained Dutch oven is a game changer. Let’s dive into the steps and processes involved in restoring your cast iron Dutch oven to its former glory.
Understanding the Importance of Cast Iron Dutch Ovens
Why Cast Iron Dutch Ovens?
Cast iron Dutch ovens are renowned for their durability and excellent heat retention. These are essential qualities for slow-cooking, braising, and baking.
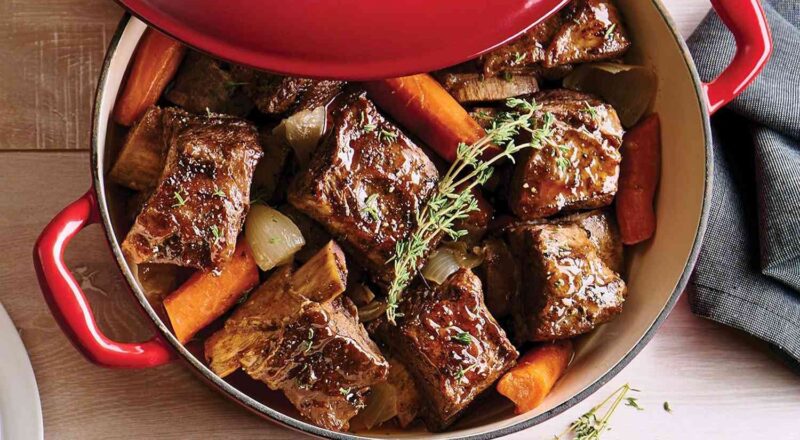
:max_bytes(150000):strip_icc()/med102639wkd0_0107_brisedchick_horiz-0124.jpg-00f24780581549f9827c996297ca1b03.jpg)
Signs Your Dutch Oven Needs Restoration
Common Issues
A few tell-tale signs that your Dutch oven needs restoration include rust, a sticky surface, and a lack of non-stick properties.

Step-by-Step Guide to Restoring Your Cast Iron Dutch Oven
Step 1: Gathering Your Supplies
Before you start, you will need a few supplies: steel wool, soap, a scrub brush, towels, vegetable oil, and an oven.
Step 2: Removing Rust
Use steel wool to scrub away rust. This might take some elbow grease, but it’s vital for the restoration process.
Step 3: Cleaning Thoroughly
Once the rust is removed, clean your Dutch oven with soap and a scrub brush to remove any remaining debris.
Step 4: Drying Completely
Make sure the Dutch oven is completely dry. You can use towels or heat it in the oven for a few minutes to ensure all moisture evaporates.
Step 5: Re-seasoning the Dutch Oven
This is the most crucial step. Coat the oven with a thin layer of vegetable oil and bake it upside down in the oven at 375F for an hour.
Step 6: Cool Down Period
Allow the oven to cool down inside the oven before you take it out. This ensures the seasoning sets properly.
Maintaining Your Restored Dutch Oven
Proper Cleaning Techniques
After each use, clean your Dutch oven with warm water and a brush. Avoid soap as it can strip the seasoning.
Regular Re-Seasoning
To keep your Dutch oven in top condition, re-season it occasionally by applying a light coat of oil and heating it.
Troubleshooting Common Problems
Surface Still Sticky?
If the surface remains sticky after seasoning, it could be due to excess oil. Simply reheat at a higher temperature to resolve this.
Reoccurring Rust
Keep your Dutch oven dry and re-season as necessary to prevent rust from reoccurring.
How to Use Your Restored Dutch Oven
Cooking With a Dutch Oven
From stews to bread, a restored Dutch oven is versatile. For more tips on using Dutch ovens, you can check out [this article](https://howtocleancastiron.com/how-to-clean-dutch-oven) on cleaning Dutch ovens.
Best Practices for Long-Term Care
Keep your Dutch oven oiled and stored in a dry place to ensure its longevity. Refer to this [guide](https://howtocleancastiron.com/how-to-make-bread-in-a-dutch-oven) for additional tips.
FAQs
What if I dont have vegetable oil?
Other fats like lard or flaxseed oil work well for seasoning.
Can I use soap on my Dutch oven?
Avoid soap unless you intend to re-season the Dutch oven right after cleaning.
How often should I re-season?
Re-season your Dutch oven every few months or when you notice it losing its non-stick property.
AllRecipes offers excellent advice on maintaining Dutch ovens.
As an Amazon Associate, I earn from qualifying purchases.