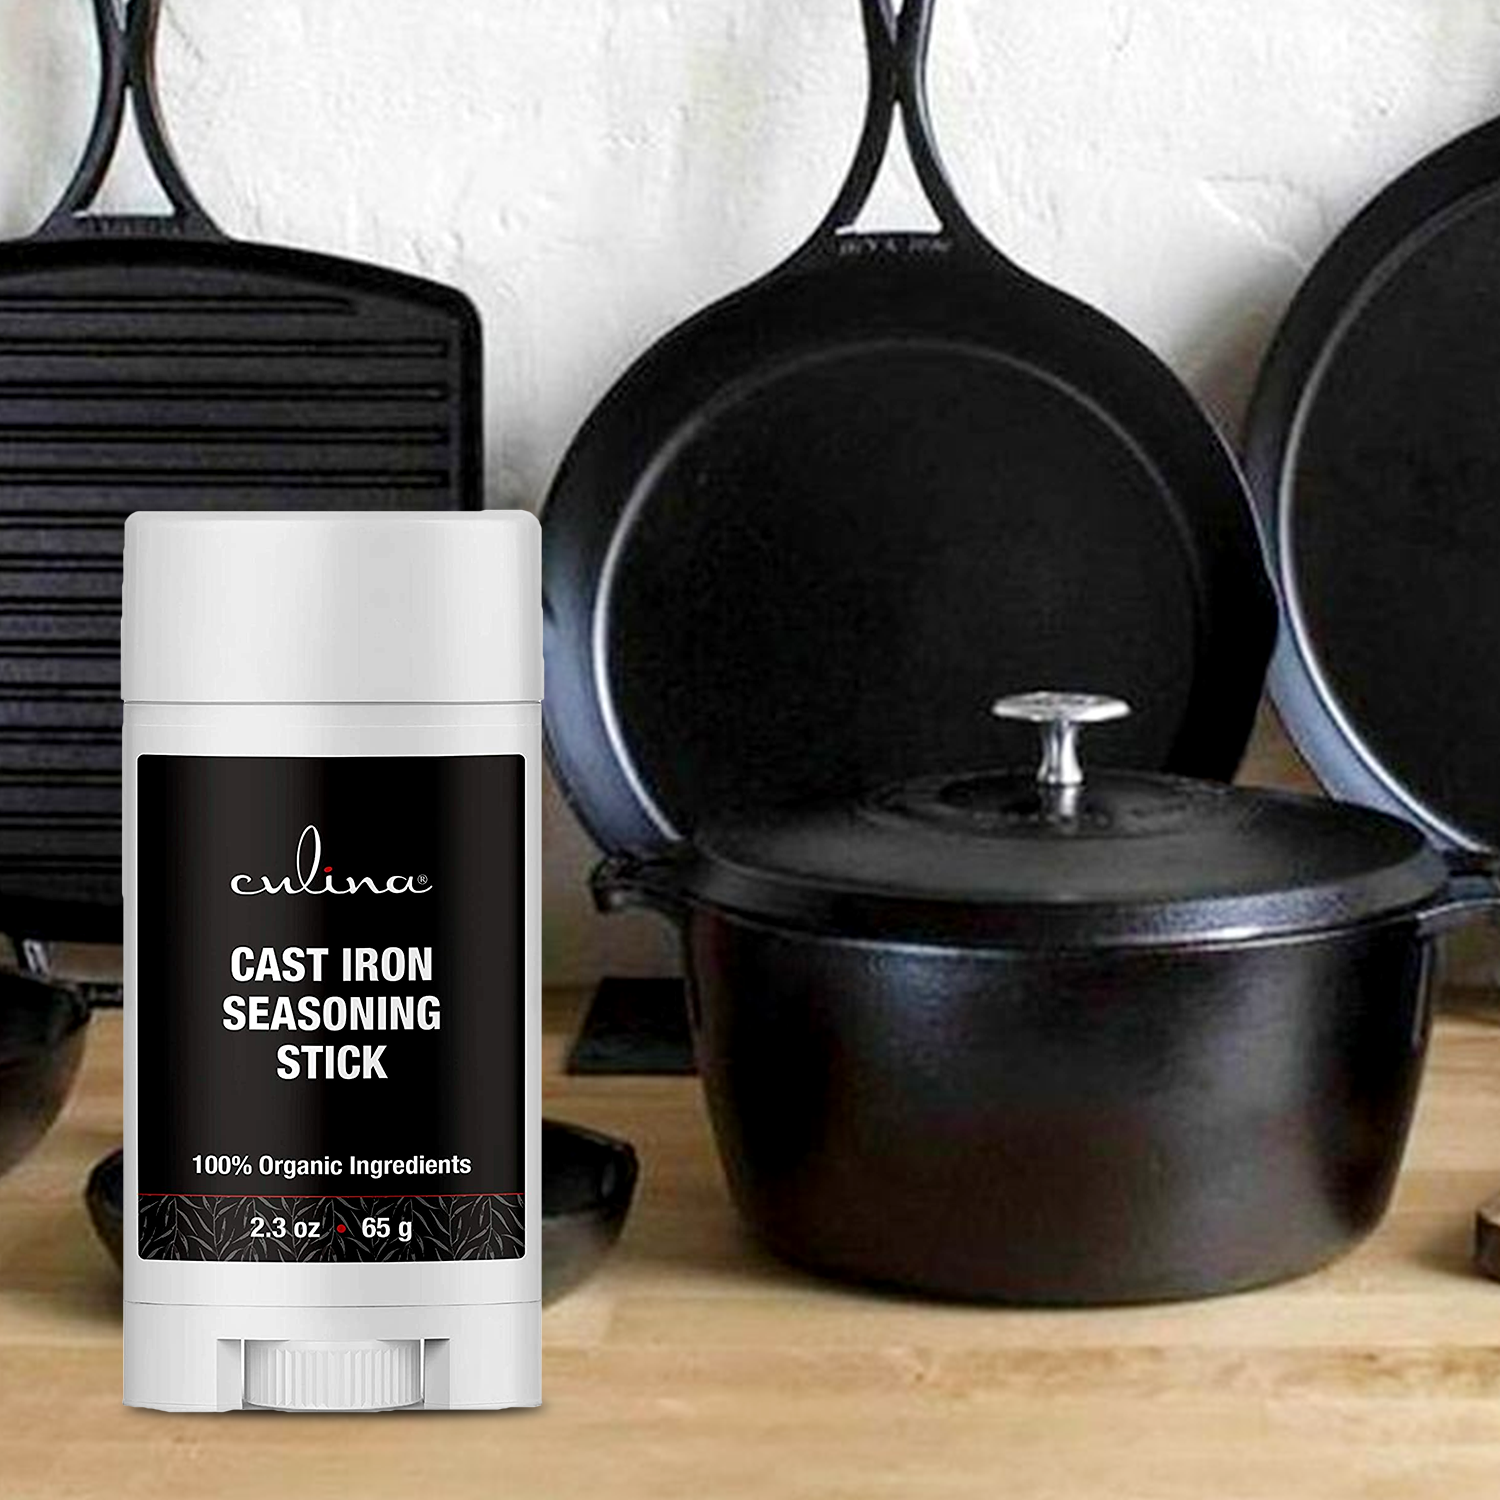
Seasoning a Dutch oven for the first time can seem like a daunting task, especially if you’re new to cooking with cast iron. However, it’s an essential process to ensure that your Dutch oven lasts for a long time and offers non-stick cooking performance.
When you season a Dutch oven for the first time, you’re essentially creating a protective layer that helps prevent rust and food from sticking. This article provides a comprehensive guide on how to season a Dutch oven for beginners.

What You Will Need
Before we dive into the step-by-step process, lets gather the necessary materials:
- Dutch oven
- Vegetable oil, flaxseed oil, or any other high smoke point oil
- Dish soap and water
- Scrubbing brush or sponge
- Aluminum foil
:max_bytes(150000):strip_icc()/med102639wkd0_0107_brisedchick_horiz-0124.jpg-00f24780581549f9827c996297ca1b03.jpg)
Step-by-Step Guide to Season a Dutch Oven
1. Clean the Dutch Oven
The first step in the seasoning process is to thoroughly clean your Dutch oven. Use warm water and dish soap to scrub away any dirt, grime, or residue. It’s important to start with a clean surface to ensure that the oil adheres properly.
2. Dry the Dutch Oven Completely
After cleaning, dry the Dutch oven completely either by air drying or using a towel. Any remaining moisture can lead to rusting, so make sure it is thoroughly dried.
3. Apply a Thin Layer of Oil
Once the Dutch oven is dry, apply a thin layer of oil to the interior and exterior of the pot and lid. You can use a cloth or paper towel to spread the oil evenly.
4. Preheat Your Oven
Preheat your kitchen oven to around 450F (230C).
5. Bake the Dutch Oven
Place the Dutch oven upside down in the kitchen oven. Line the bottom rack with aluminum foil to catch any drips. Bake for about an hour.
6. Cool Down
After an hour, turn off the oven and let the Dutch oven cool down inside the oven. This will allow the oil to solidify and form a strong coating.
7. Repeat if Necessary
Two or three coating layers usually suffice to create a good non-stick surface. So, don’t hesitate to repeat the process for better results.

Why is Seasoning Important?
When you properly season a Dutch oven, you enhance its cooking capabilities and extend its lifespan.
The seasoning process creates a non-stick layer that improves with each use, reducing the need for excess oils and fats in your cooking.
Maintenance Tips
Regular Cleaning
A seasoned Dutch oven is easier to clean. Avoid using harsh detergents; instead, opt for mild soaps and warm water. If food gets stuck, a scrubbing brush usually does the trick.
Re-Season Periodically
Even the best-seasoned Dutch ovens may need a touch-up. If you notice the surface becoming dull or food starting to stick, it may be time to re-season the pot.
Storage
Store your Dutch oven in a dry place to avoid any chance of rusting. Lightly oiling it before storage can also add an extra layer of protection.
Common Mistakes to Avoid
Using the Wrong Oil
Not all oils are created equal, especially when it comes to seasoning. Oils with a high smoke point, such as vegetable oil, flaxseed oil, or canola oil, are ideal for seasoning.
Skipping the Cleaning Step
It may be tempting to skip the initial cleaning step, especially if your Dutch oven looks clean. However, skipping this critical step can lead to uneven seasoning and potential rusting.
Not Preheating the Oven
Preheating your oven is essential. Placing a Dutch oven in a cold oven and then heating it up can cause uneven seasoning, which would affect the performance of the pot.
FAQs
How Often Should I Season My Dutch Oven?
The frequency of seasoning your Dutch oven depends on how often you use it. Frequent users might find themselves re-seasoning it every few months, while occasional cooks can get away with seasoning once or twice a year.
Can I Use Olive Oil for Seasoning?
It’s best to avoid using olive oil for seasoning because it has a lower smoke point and may not form a strong, durable layer. Stick to oils like vegetable or flaxseed oil.
Do I Need to Season an Enameled Dutch Oven?
Enameled Dutch ovens do not require seasoning as the enamel coating acts as a non-stick layer.
Conclusion
Seasoning your Dutch oven is an essential step to ensure its longevity and effectiveness. By following these simple steps, you’ll create a durable, non-stick surface that will make your cooking experience more enjoyable.
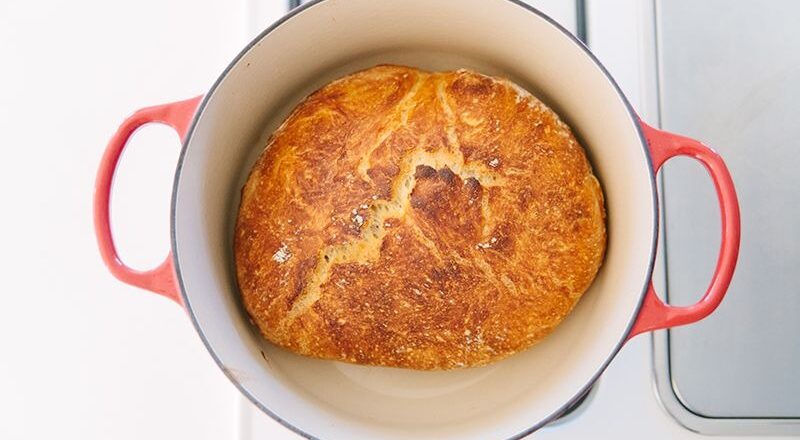
Whether you are using a Dutch oven for [making bread](https://howtocleancastiron.com/how-to-make-bread-in-a-dutch-oven/#dofollow ‘bread’) or[ cooking pot roast](https://howtocleancastiron.com/how-to-cook-pot-roast-in-dutch-oven/#dofollow ‘pot roast’), a well-seasoned Dutch oven is a valuable kitchen asset.
For additional information on maintaining your Dutch oven, you can refer to this [guide on cleaning a Dutch oven](https://www.seriouseats.com/how-to-clean-dutch-oven-7092999/#nofollow).
As an Amazon Associate, I earn from qualifying purchases.

